No-Bake Turmeric Coconut Bars
on Oct 14, 2020, Updated Aug 29, 2024
This post may contain affiliate links.
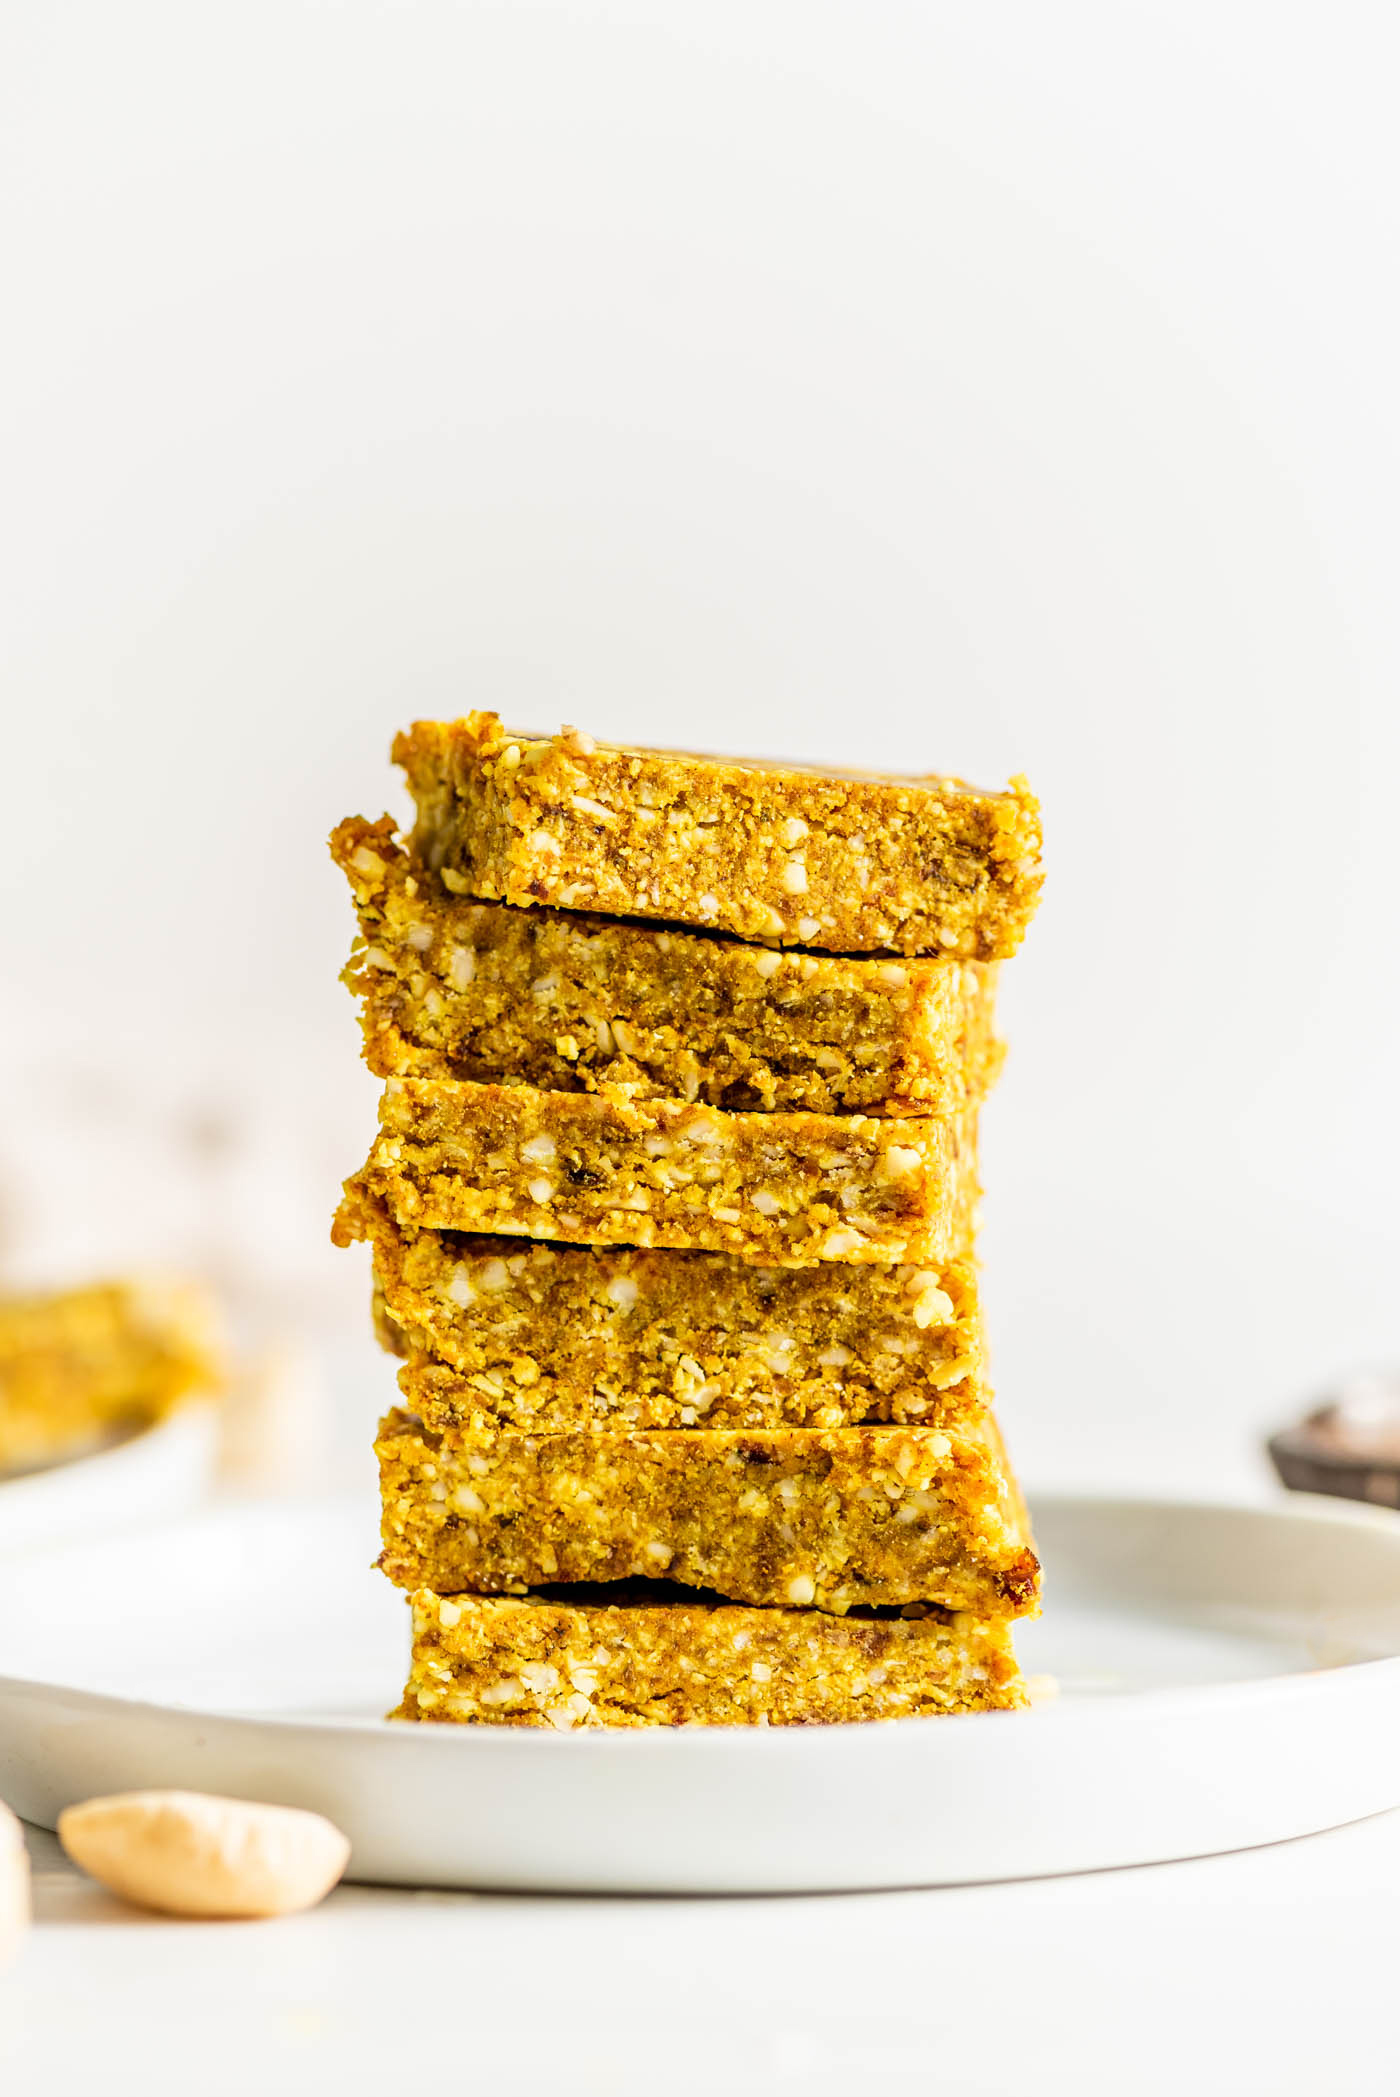
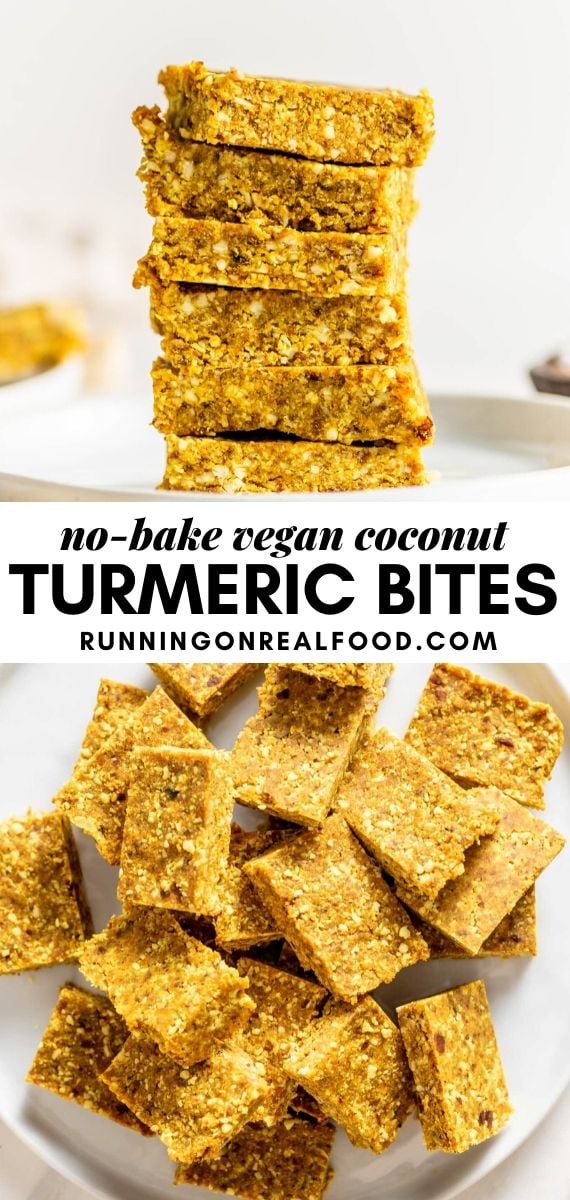
If you’re looking for ways to include turmeric in your diet, these sweet and spicy, no-bake turmeric coconut bars are a must!
About the Recipe
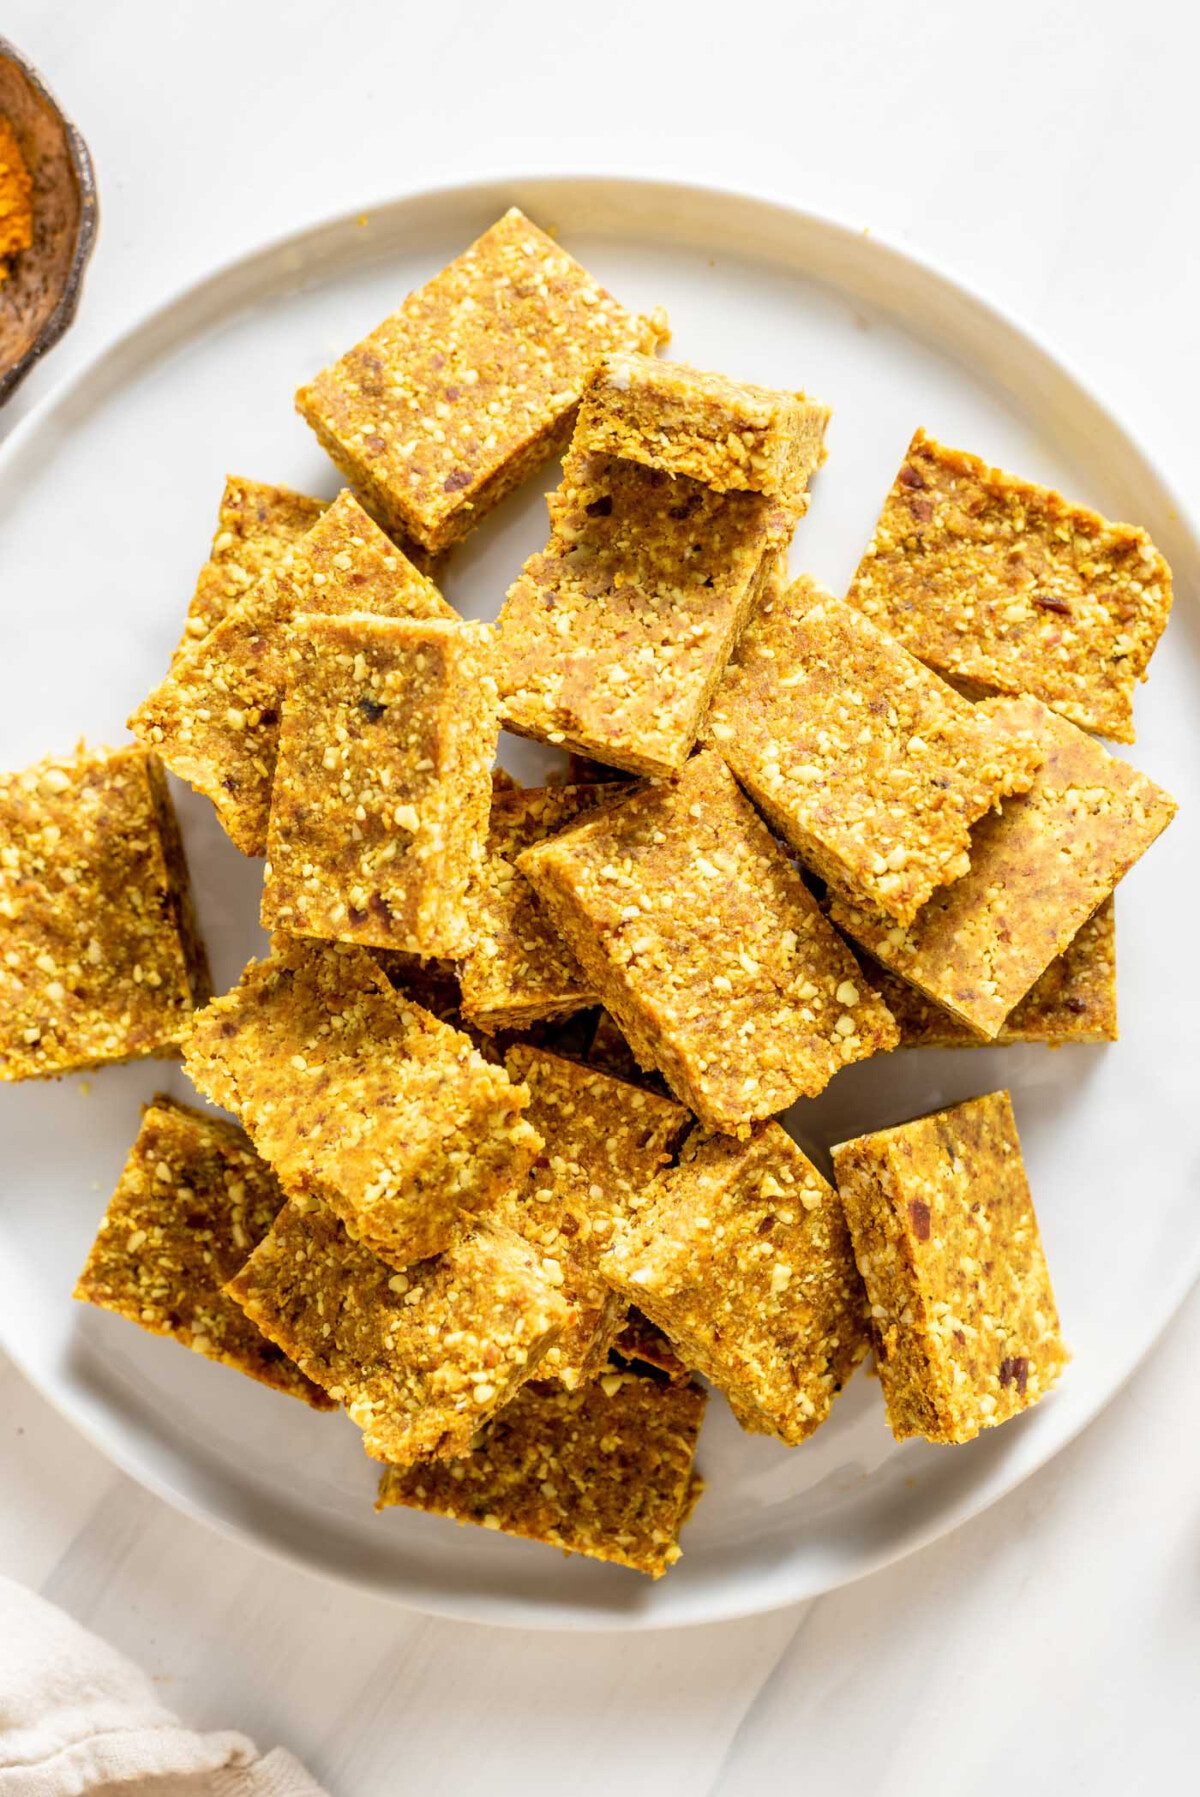
These bars are vegan, gluten-free and have no added sugar. They have a sweet and spiced flavour and firm but chewy texture. You can enjoy these as an energy bar, healthy dessert or snack anytime. They’re also yummy crumbled over smoothie bowls, oatmeal or ice cream.
If you have dates and nuts on hand, you can make endless variations of homemade energy bars and balls. Try these Cranberry Sunflower Seed Energy Balls, Lime Coconut Energy Bites and No-Bake Granola Bars for more! You can also use coconut, cashews and dates in these No-Bake Cashew Coconut Balls.
Ingredients
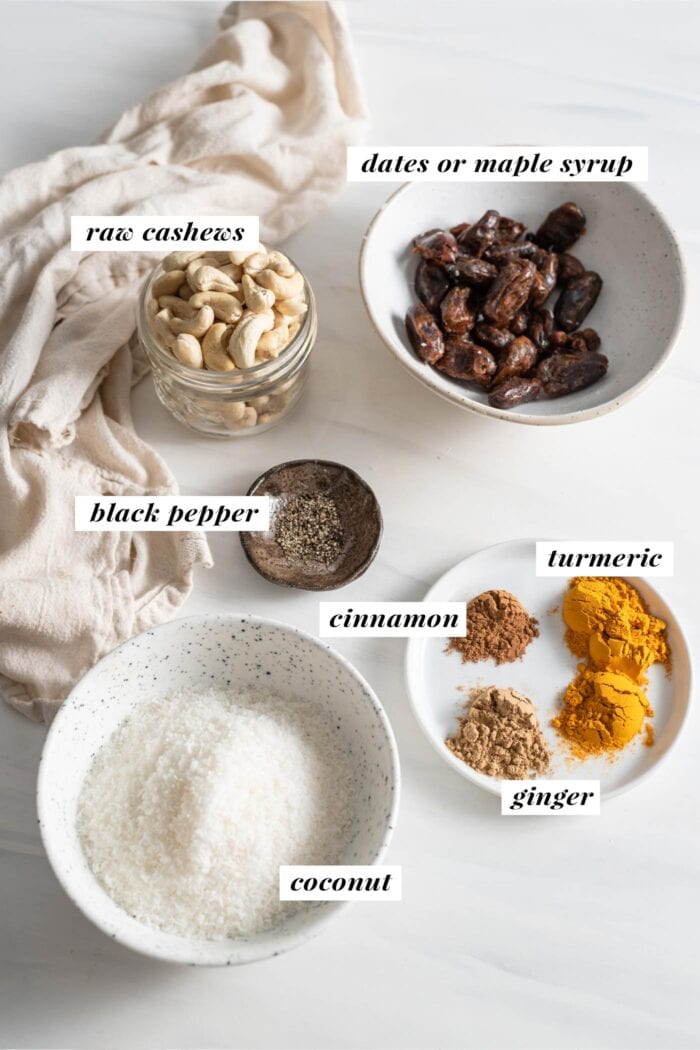
- coconut – use unsweetened fine or medium shredded coconut (may be labelled desiccated coconut), cannot be substituted in this recipe
- cashews – use plain, raw cashews with no added oil or salt
- sweetener – these can be made with dates or maple syrup, we’ll cover more on that below
- ground turmeric – good turmeric should be a bright, deep yellow colour and have a strong flavour, use organic if you can!
- pepper – seems a bit odd in a sweet snack, I know, but the piperine in black pepper may improve bioavailability of curcumin (active compound in turmeric) ….plus it does add an interesting flavour to the bites!
This list is not complete. Please see the recipe card at the end of the post for the complete ingredient list with measurements and detailed instructions.
Step-by-Step Instructions
Before You Start: Line a 7-8 inch square baking pan with parchment paper so the paper sticks out over the sides of the pan.
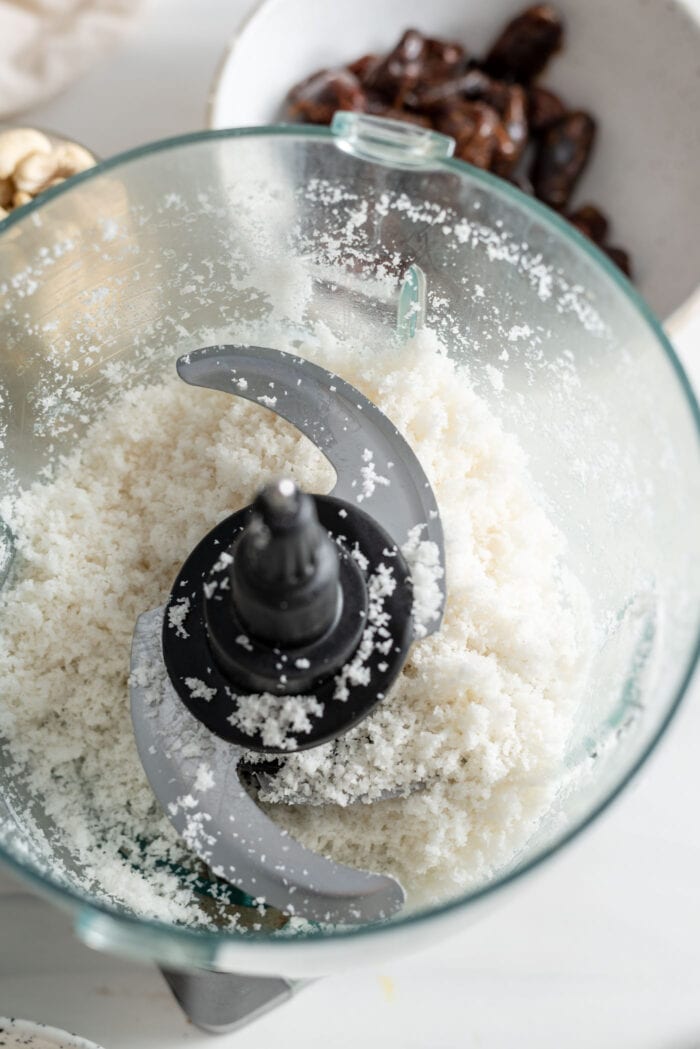
Step 1. Add the shredded coconut to your food processor and blend until it starts to form a chunky paste. Depending on your food processor, this may take as long as 10 minutes, so be patient.
When you start to see a bit of paste stuck to the walls of the food processor and the mixture seems oily, it’s ready!
Step 2. Add the cashews and process for another minute or two until they’re broken down and completely mixed with the coconut.
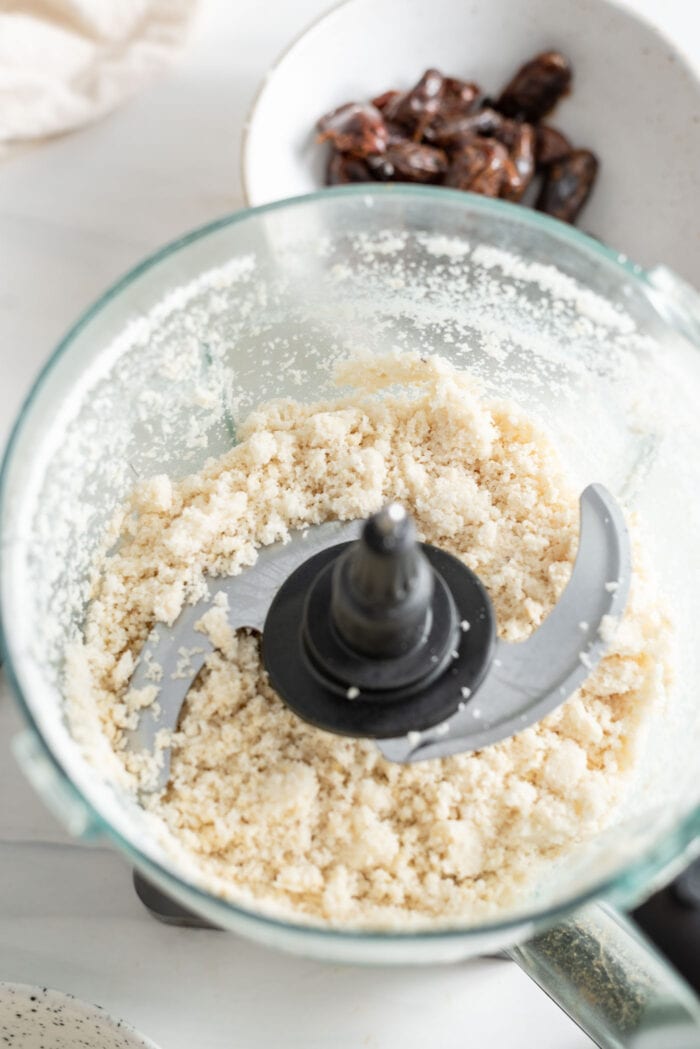
Step 3. Add the rest of the ingredients and blend into a crumbly but somewhat sticky “dough”.
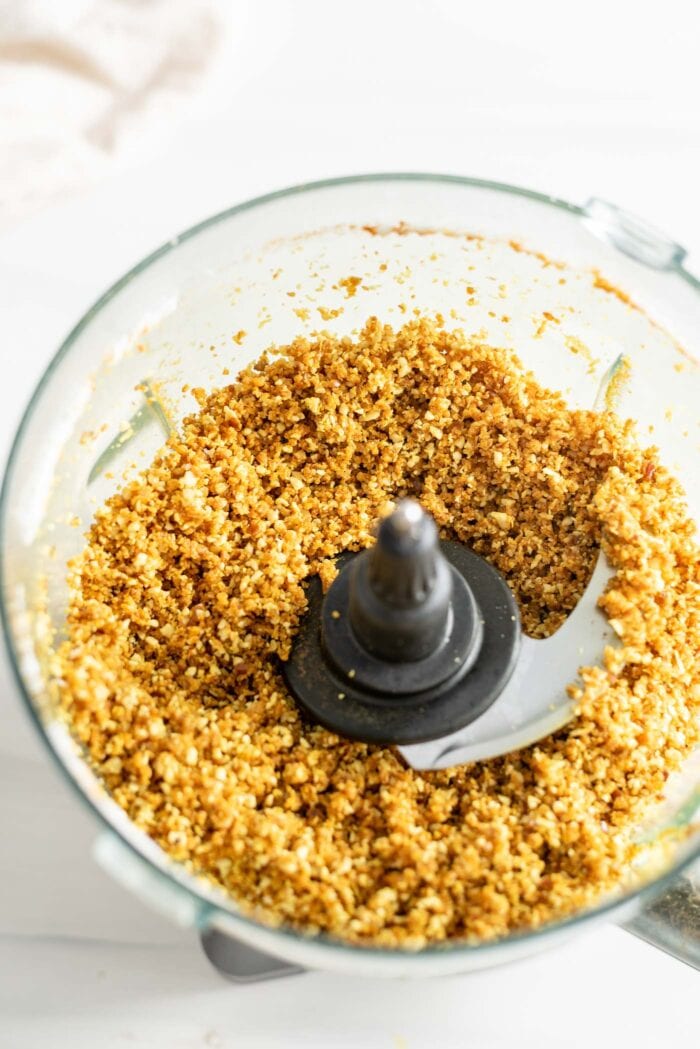
Step 4. Firmly press the dough into the lined baking dish. Take a few minutes to really press it down, especially into the corners.
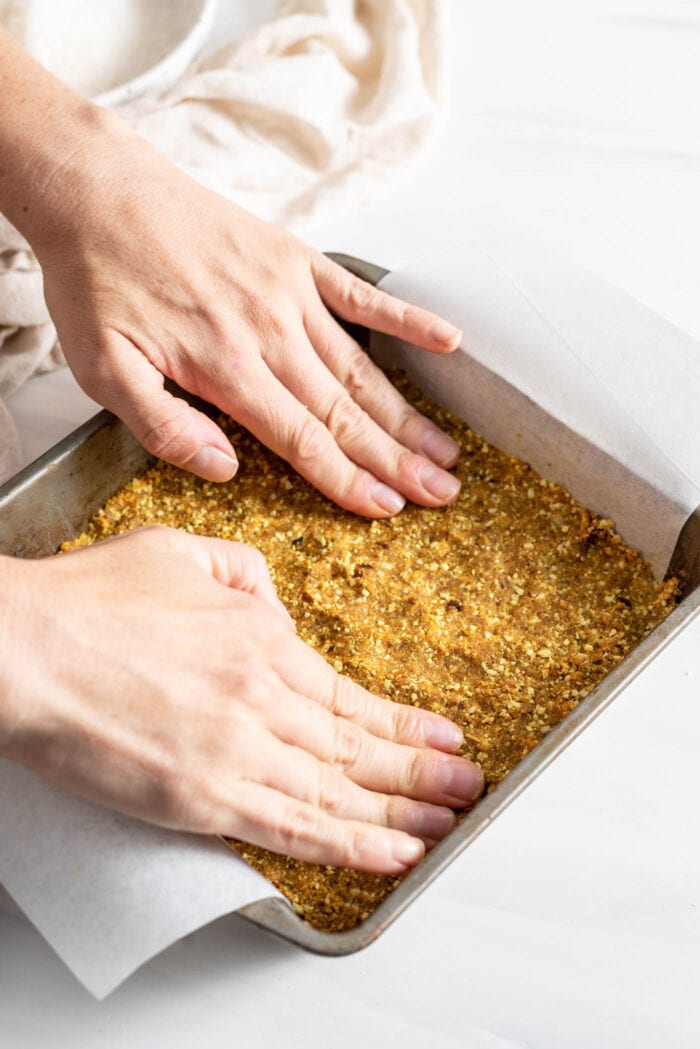
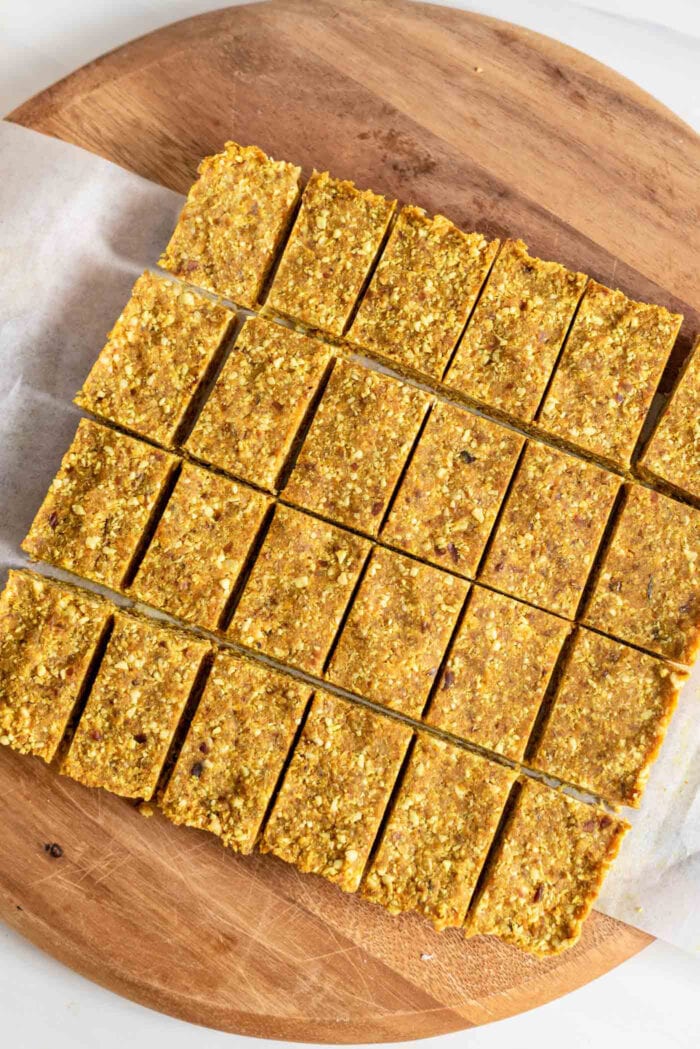
Place the pan in the freezer for 1 hour to firm then lift the bars out of the pan, slice and enjoy!
FAQs
Sorry, no. This recipe needs a food processor to start releasing the oils from the coconut. This is what firms in the freezer to bind the bars.
This recipe has only been tested with cashews, which were used for their mild flavour and soft texture. I can’t guarantee success with a different nut, however, I have had feedback that they work with almonds.
It’s really up to you! I like them with both. Dates add a lovely caramel flavour, maple syrup adds a beautiful sweetness that works well with the pepper and turmeric. You can also use half and half or any combination of the two. The last time I made them with 1/2 cup of soft pitted dates and 1 tbsp of maple syrup.
How to Store
- Fridge: Store in a sealed container for up to 2 weeks.
- Freezer (Recommended): Store in a sealed container or freezer-safe bag for up to 3 months. They don’t quite freeze solid but they get very hard. I still enjoy them straight from the freezer though. If you want them a bit softer, let sit at room temperature for 10 minutes before eating.
- Room Temperature: They will keep shortly at room temperature but I don’t recommend it since the oils from the coconut will start to melt and the bars will become very soft. If you’re taking to-go, they’ll be ok for a while if they’re kept cool.
More Energy Bites
Did you try this recipe? I’d love to hear about it! Scroll down to comment section below to leave your star rating and review.
⭐⭐⭐⭐⭐
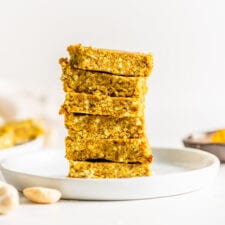
No-Bake Turmeric Coconut Bars
Ingredients
Instructions
- Add the coconut to a high-speed blender or food processor and mix until it starts to get a bit oily and paste-like. Depending on your food processor, this may take up to 10 minutes. Be patient. When you start seeing a bit of paste sticking to the walls of the processor, it’s ready. It’s important you start to see that oiliness as this is what binds the bar as they harden in the freezer.
- Add the cashews and process for another couple of minutes until they're completely broken down and mixed into the coconut.
- Add the rest of the ingredients and blend into a crumbly but somewhat sticky dough.
- Line a 7-8 inch square baking pan with parchment paper so it sticks out over the edges of the pan. You'll need this to lift the bars out of the pan when they're done. Firmly press the mixture into the pan, taking a few moments to really press it down and even it out, especially into the corners.
- Place the pan in the freezer for 1 hour to firm.
- Use the edges of the parchment paper to lift the bars out the pan. Cut into 24 mini bars, 12 larger bars or 16 squares.
Notes
Nutrition
Originally published on September 7, 2017.
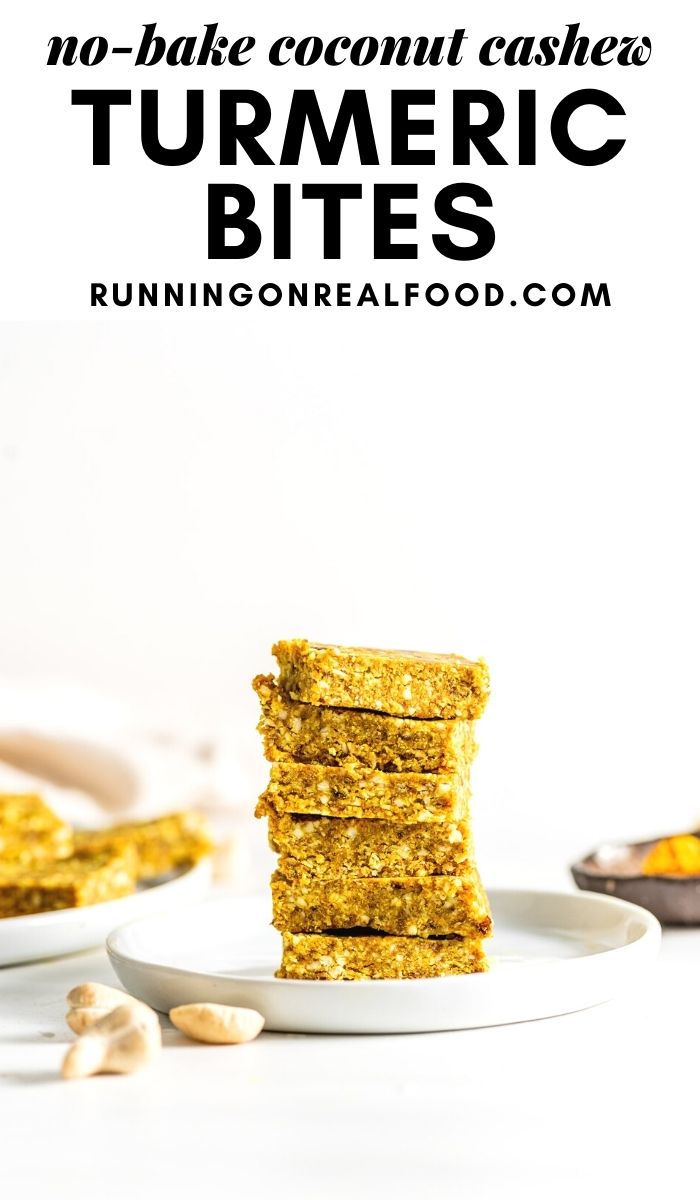
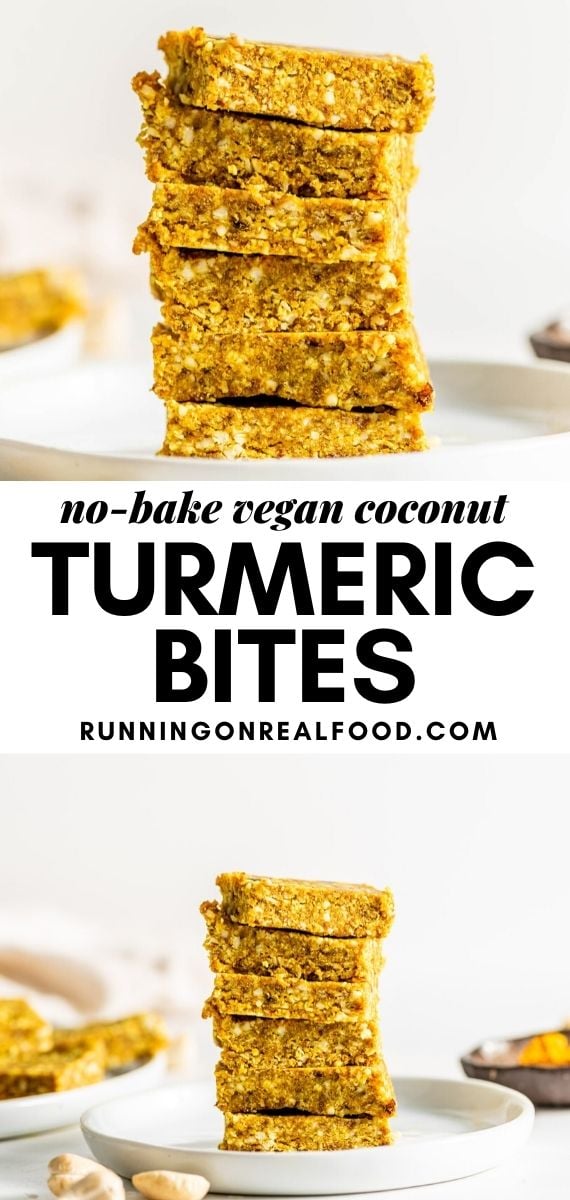
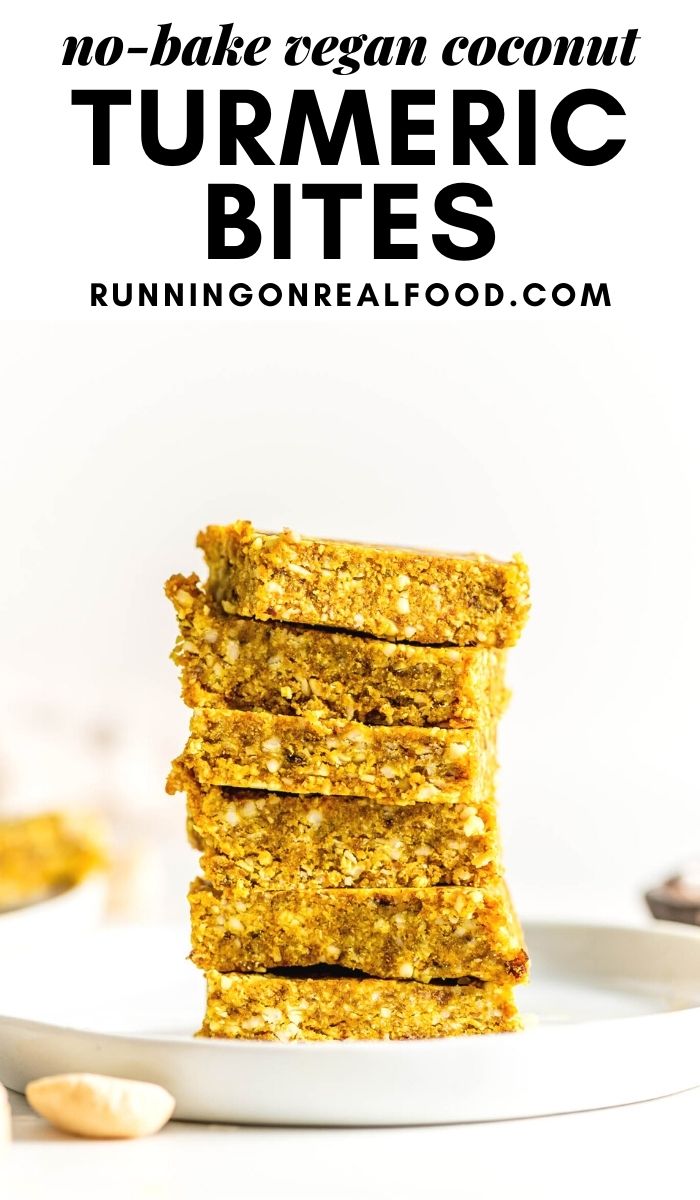


Any tips on adding additional protein to these? Do you think a scoop of protein powder + a bit of liquid would still work alright?
I haven’t tried protein in these. It might work ok, you’d definitely need additional moisture though or they’ll be too dry. Let me know if you try it!
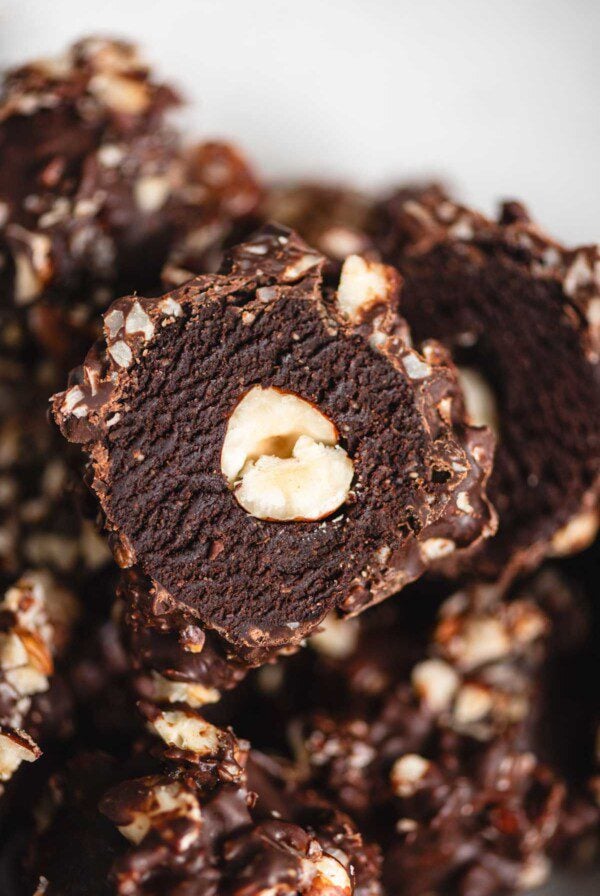
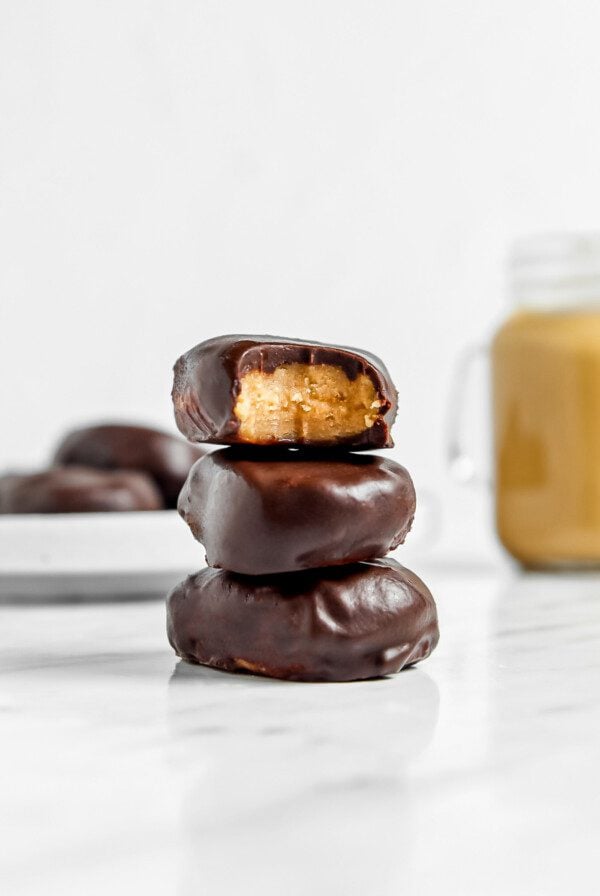
OK … you asked I let you know and YES I MADE THEM INTO TRUFFLES/BALLS AND DIPPED IN SUPER DARK CHOCOLATE!! Beyond amazing. Topped with tiny shreds of crystalized ginger. Beautiful and just outrageously delicious.
Those sound incredible! Thanks for letting me know!