3-Ingredient Chocolate Date Balls
on May 31, 2023, Updated May 14, 2026
This post may contain affiliate links.
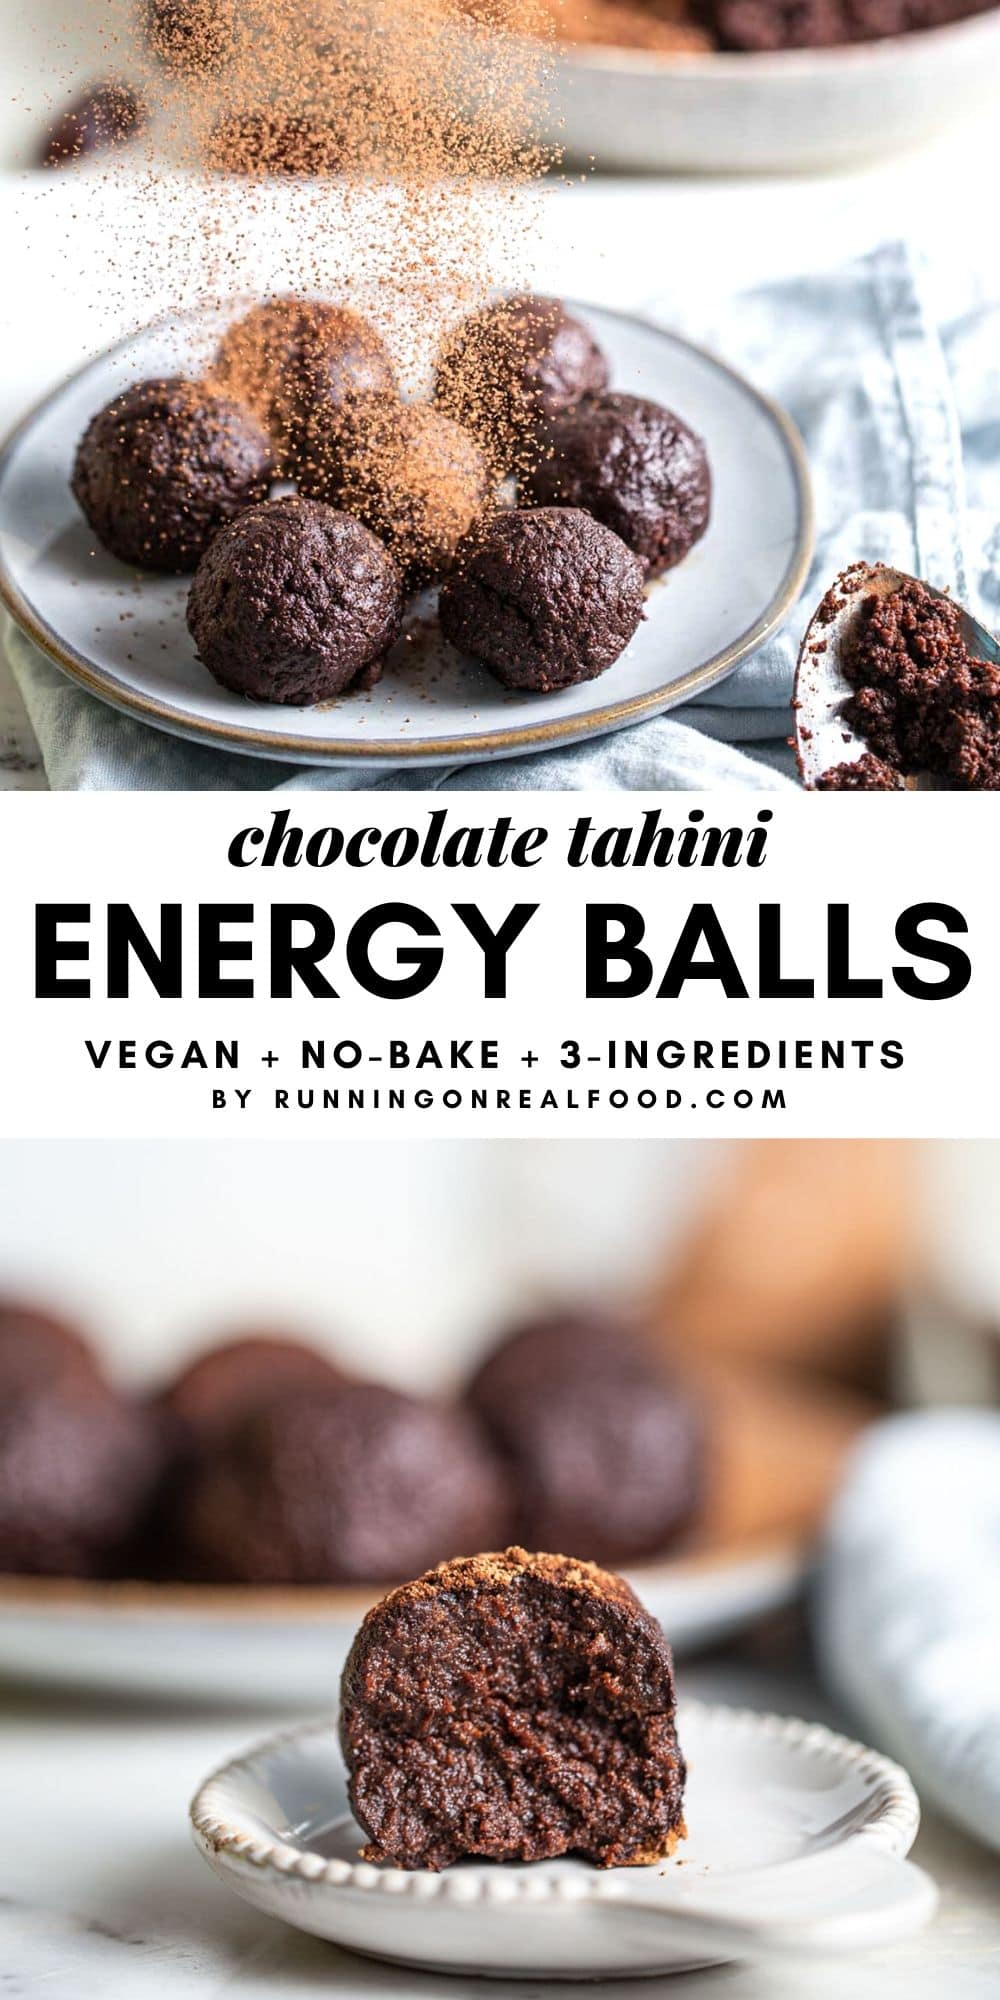
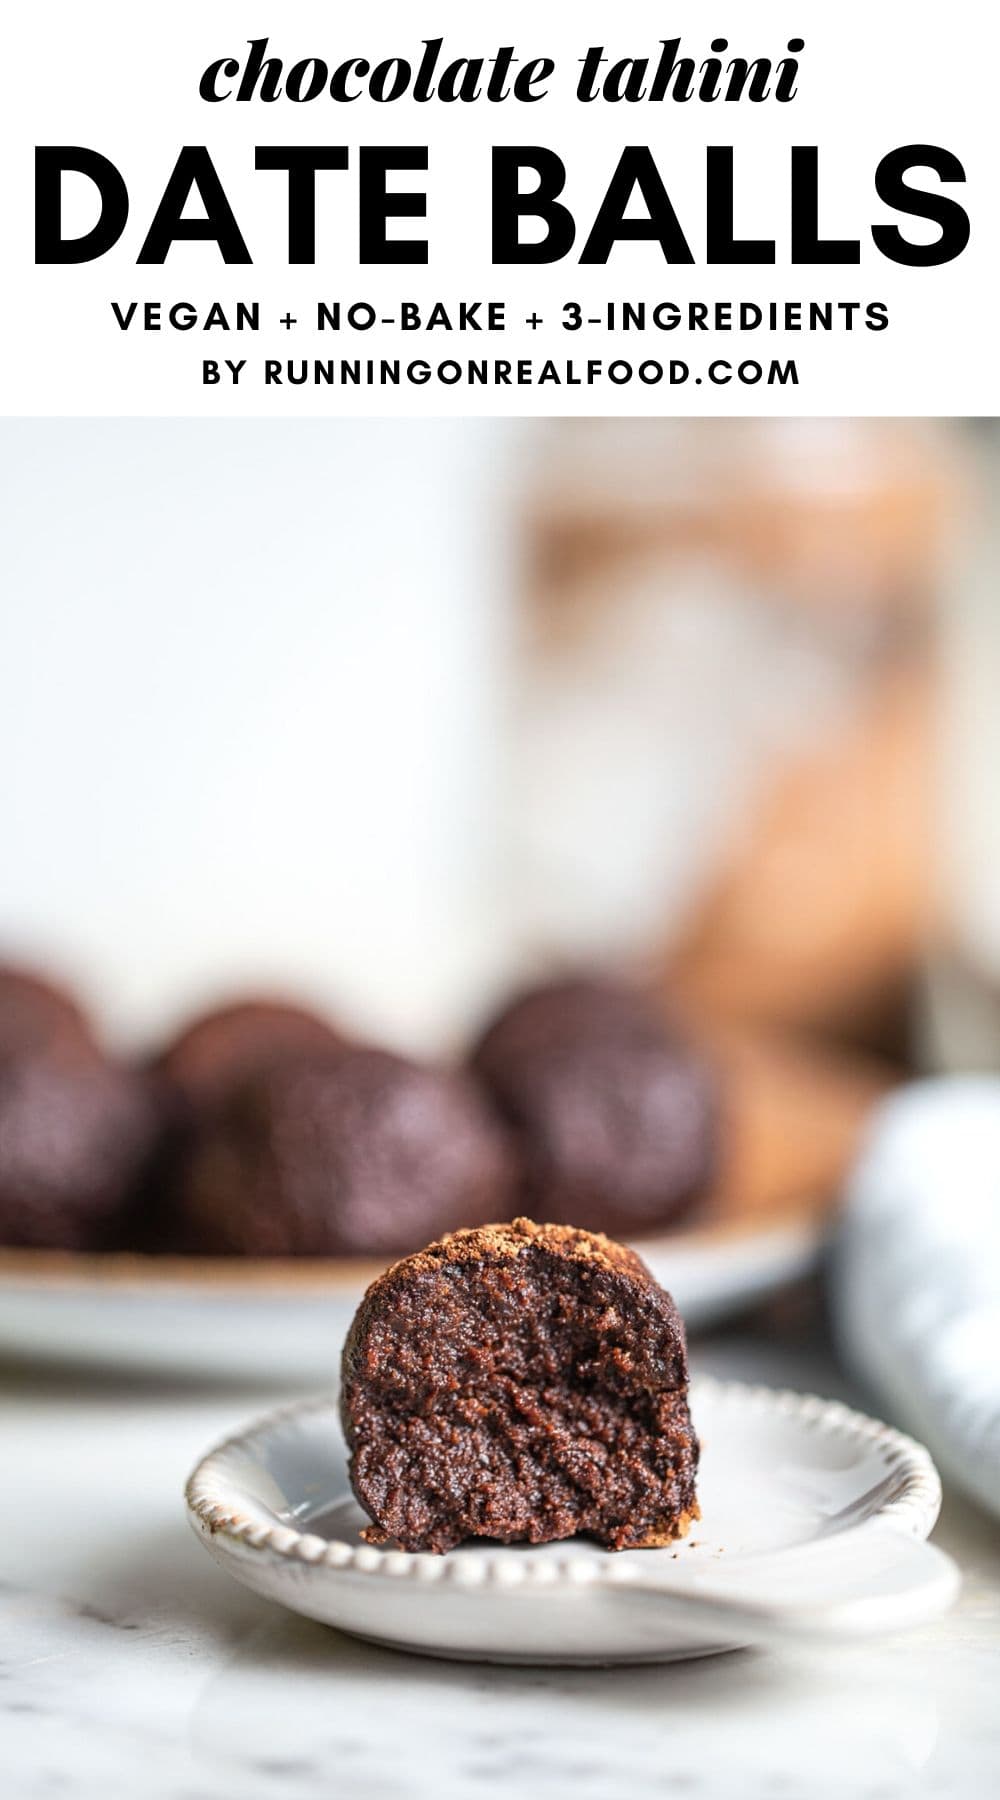

These 3-ingredient chocolate date balls with tahini are ready in 10 minutes and taste like brownie bites or a delicious chocolate truffle.
The base is dates, tahini and cocoa powder which I know sounds too simple but the combination is rich and satisfying. You can enjoy as is or roll them in crushed pecans to add texture.

5-Star Review
These are awesome. I’m always trying new recipes but few turn out as well as hoped – this one’s a 10/10! I did have super soft dates to hand but I’m sure this’ll turn any dates into a satisfying chocolate hit.
Why You’ll Love Chocolate Date Balls
These chocolate date balls, or bliss balls, are perfect for a quick homemade snack or dessert. Here’s why we love them:
- Only 3 ingredients needed (plus optional salt and vanilla).
- Ready in about 10 minutes of hands-on time.
- No baking required.
- Naturally sweetened with dates, no added sugar.
- Fudgy, rich texture that tastes like dessert.
- Easy to customize with different coatings and mix-ins.
- About 100 calories per ball.
- Stores well in the fridge for up to 2 weeks or freezer for 3 months
Never used tahini in desserts before? Try it in these salted caramel tahini cups, tahini hemp seed bars and tahini date cookies as well.
If you’re looking for date energy balls, these Cranberry Energy Balls, Chocolate Energy Balls and Oatmeal Energy Balls are all easy to make and delicious too!
🔍 Recipe at a Glance
Prep Time: 10 min
Chill Time: 60 min
Servings: 16 Balls
Per Serving: 102 calories
Diet: Vegan, gluten-free
Difficulty: Easy
Ingredients & Substitutions
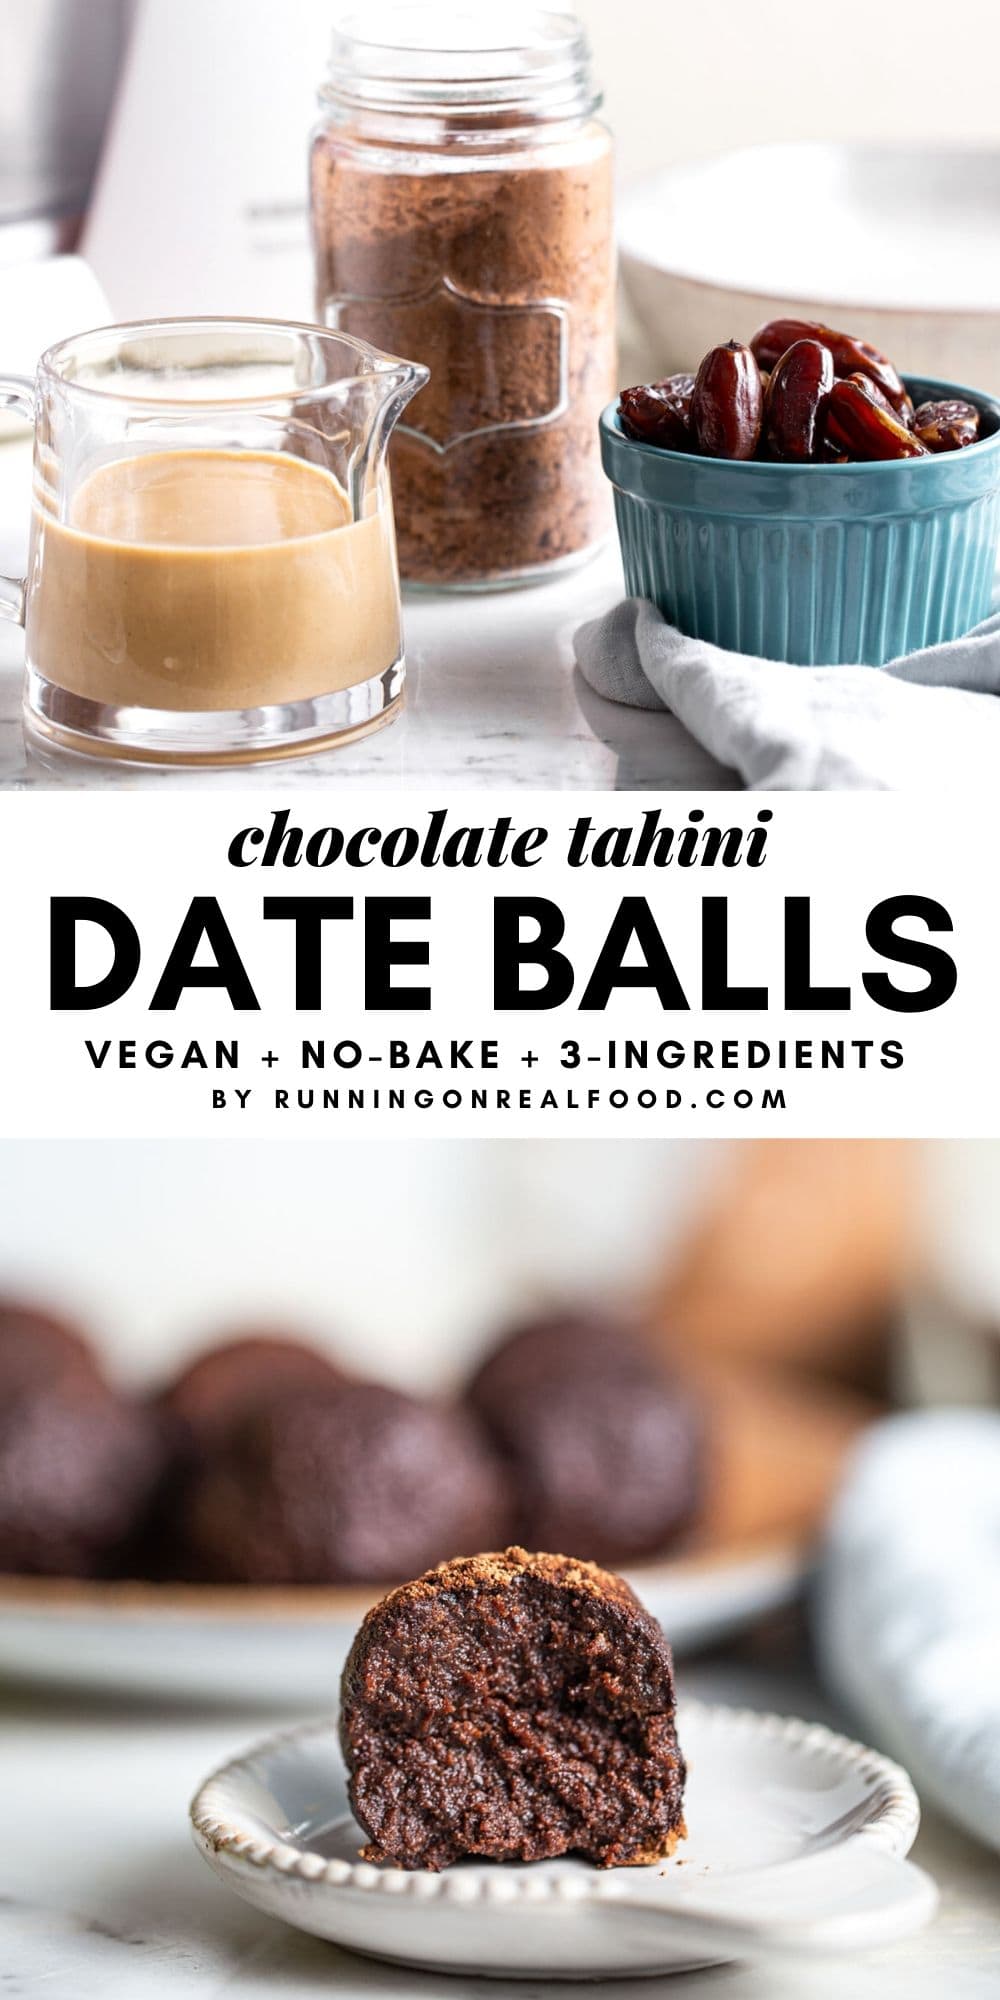
All you need is tahini (or any nut or seed butter), cocoa powder and dates! Here are the ingredient details and possible substitutions.

This list is not complete. Please see the recipe card at the end of the post for the complete ingredient list with measurements and detailed instructions.
- Tahini: Good tahini should be smooth and pourable, not stiff or separated. I use a runny, mild tahini for this recipe. The flavour is subtle in the final product since it blends with the cocoa, but a very bitter tahini will come through. You can swap it for sunflower seed butter to keep the recipe nut-free, or use peanut butter, almond butter or cashew butter if that’s what you have on hand.
- Cocoa: Either unsweetened cocoa powder or raw cacao powder works here. Cacao powder is slightly more bitter and more nutritionally dense; cocoa powder gives a milder, sweeter chocolate flavour. Both work well.
- Dates: Soft, moist dates are needed here. They provide all the sweetness and the stickiness that holds the balls together. Medjool dates are the easiest to use since they’re naturally soft and caramel-like. Sayer dates and Deglet Noor dates also work well. If your dates feel dry and firm, soak them in hot water for 10 minutes, drain well, and pat dry before using.
- Sea salt (optional): Salt is optional but I like to add it. It balances the richness of the cocoa and brings out the sweetness of the dates.
- Vanilla extract (optional): Another optional addition that enhances the flavour of the other ingredients and makes them taste more like aa dessert.
Variations & Additions
There are lots of ways to customize chocolate date balls. Here are some ideas:
- Chocolate-dipped truffles: Roll the balls in crushed pecans or almonds, then dip in melted dark chocolate and chill until set. These are great for holidays. or try these Homemade Vegan Ferrero Rocher.
- Chocolate orange: Add 1 tbsp of orange zest to the food processor before blending. The citrus cuts through the richness nicely.
- Chocolate mint: Add 1/4 tsp peppermint extract for a peppermint patty-style bite. Great for the holidays. Or try these No-Bake Peppermint Brownies.
- Peanut butter chocolate: Swap the tahini for peanut butter. The flavour is bolder and a bit more crowd-pleasing for people who haven’t made date-based treats before. Or try these Chocolate Peanut Butter Protein Balls.
- Dark chocolate coconut: Add 1/2 cup shredded coconut and 1/4 cup dark chocolate chips. Roll finished balls in extra coconut.
- With oats or seeds: Pulse in up to 3/4 cup rolled oats, or up to 1/2 cup hemp seeds for extra fibre and protein. Process them separately for a few seconds before adding the dates so they break down a bit first.
- Spiced: Add 1 tsp cinnamon, a pinch of ginger and a pinch of cayenne for a Mexican chocolate-style bite.
How to Make Chocolate Date Balls
Before you Start: Assess your dates. Squeeze one between your fingers. If it’s soft and sticky, you’re good to go. If it feels dry and firm, soak the pitted dates in hot water for 10 minutes, then drain and pat dry.
Step 1: Blend. Add the dates, tahini, cocoa powder, salt and vanilla to a food processor. Process until the mixture comes together into a thick, sticky dough. This usually takes about 30 to 60 seconds.
When it’s ready, you should be able to press it between your fingers and have it hold together easily. If it’s too crumbly, add 1 tbsp warm water and process again. If it’s too sticky to roll, refrigerate the dough for 30 minutes.

Step 2: Roll. Scoop out about 1 heaping tablespoon of dough per ball. Roll firmly between your palms. The warmth from your hands helps the mixture come together. If you’re adding a coating, roll each ball in cocoa powder, crushed pecans, shredded coconut or cookie crumbs now.
Step 3: Chill. Place the finished balls on a parchment-lined tray or plate and refrigerate for at least 1 hour to firm up. They can also go in the freezer for 30 minutes if you’re in a hurry.

Deryn’s Notes
- Don’t over-process. Once the dough forms a big ball in the food processor and pulls away from the sides, stop. Over-processing makes it warmer and sticker, which makes rolling harder.
- Dough too dry? You shouldn’t have a problem rolling the dough into balls but if it seems too crumbly to roll, add 1 tbsp of warm water and process again. Check to see if you can press it together and if not, repeat. You shouldn’t need more than 1 tbsp of water.
- Dough too Wet? If you soaked the dates before use, you may need extra cocoa powder to balance the added moisture.
- Chill the Dough: If the mixture feels to sticky to shape into balls, chill in the fridge for 30 minutes before rolling to make it easier to work with and then chill again after rolling into balls.
- Measuring. For best results, I always suggest using a kitchen scale to accurately measure ingredients.
Recipe FAQs
No. Tahini gives these a slightly nutty, sesame flavour that’s quite subtle once the cocoa and dates come together, but you can swap it for any nut or seed butter. Peanut butter, almond butter, cashew butter and sunflower seed butter all work. Each one changes the flavour slightly, but the texture stays the same.
Medjool dates are the gold standard for this kind of recipe. They’re naturally soft, large and very sweet. Sayer and Deglet Noor dates also work well. The key is moisture: if your dates feel dry or leathery, soak them in hot water for 10 minutes before using.
They’re one of my favourite meal prep snacks. Make a batch on Sunday and keep them in the fridge all week. They actually taste better after a day or two once everything has had time to meld together.
This usually means the dates weren’t moist enough or tahini was too stiff. Add 1 tbsp of warm water and process again. Check whether you can press the dough together between your fingers and repeat if needed.
Not easily. The food processor is what breaks down the dates and incorporates everything into a smooth dough. A high-powered blender with a tamper could work in a pinch, but a food processor is the right tool here.

How to Store
- Store in an airtight container in the fridge for up to 2 weeks. They can also be stored at room temperature for 2 to 3 days in a cool spot, though the fridge is better for texture and longevity.
- For longer storage, freeze in a single layer on a tray until solid, then transfer to a freezer bag or airtight container. Keeps well for up to 3 months. Thaw in the fridge overnight or eat them straight from the freezer for a firmer, almost truffle-like texture.
If you make this recipe, please consider leaving a comment and a ⭐⭐⭐⭐⭐ rating in the comment section below. It helps others who are thinking of making the recipe, and I love to hear from you. Thanks for trying my recipes! – Deryn

3-Ingredient Chocolate Date Balls
Ingredients
- 2 cups packed, soft pitted dates, 350 g
- 1/2 cup tahini , 125 g, or other nut or seed butter
- 1/2 cup cocoa powder, 45 g
- 1/2 tsp sea salt, optional but recommended
- 1 tsp vanilla extract, optional
Instructions
- Before you start, asses your dates. If they're soft and squishy, you can proceed with the recipe. If they're very dry, soak them pitted in hot water for 10 minutes then drain well before using in the recipe.
- Add the dates, cocoa powder, tahini and salt (and optional vanilla) to a food processor and process until it forms a thick dough. If you did not soak the dates and the mixture is too crumbly to roll into balls, add 1 tbsp warm water and process again. If you soaked the dates and the mixture is too wet, add a little extra cocoa powder to balance the moisture and/or chill the dough in the fridge before rolling into balls. If you're adding anything else like nuts, coconut or chocolate chips, add them after blending and pulse a few times to combine.
- Roll into about 16 balls. Coat in cocoa powder, crushed pecans or almonds, cookie crumbs or coconut and place on a parchment paper-lined plate or baking tray. Place in the fridge or freezer for at least 1 hour to firm.
Video
Notes
Nutrition
Originally published on October 17, 2017.


These are AWESOME. I’m always trying new recipes but few turn out as well as hoped – this one’s a 10/10! I did have super soft dates to hand but I’m sure this’ll turn any dates into a satisfying choccy hit.
Thank you, Andrew! Really appreciate the review and I’m so glad you enjoyed.
You’re welcome, and thank YOU! I love the simple and wholesome ingredients list, plus a doddle to make. Congrats on an amazing website, I’ll be exploring it a lot more I’m sure.
I made this as a treat option for babies (who don’t yet eat sugar) at a party.
I made 10g balls and got a total of 52 with this recipe! Rolled them in cocoa powder to make them look like truffles.
OOMMGGG!!! I cannot even explain how ridiculously delicious and easy these are!!!!! I LOVE chocolate but I’m trying to be good… and I ALWAYS wish for some small sweet treat!!! These are decadent! Thanks so much for sharing the recipe!
Haha, you’re very welcome! I’m so glad you loved them.
So easy and delicious! Thank you for such an easy delicious recipe. I was short for school snacks tomorrow and was at the end of a long day, these were so easy to make. I got my son to try some for dessert and he loved them. So much better than the biscuit based recipes I’ve used in the past, and much more decadent and rich.
These are amazing! So rich and they handle my sweet tooth. The salt is a great addition with the chocolate and “caramel” of the dates. Thank you for another awesome (and so easy) recipe!
Yay! I’m so glad you loved them! Thanks for letting me know.
Ok so these are ridiculously addictive! I keep mine in the freezer and take one whenever I have a sweet craving. So easy to make. Love this recipe.
Haha, agreed! So addictive! So glad you enjoyed them. Thanks!
Thank you, conquered my sweet tooth without the sugar.
You are so welcome! Glad you enjoyed them.