Homemade Mounds Bars Recipe
Enjoy a delicious combination of dark chocolate and creamy coconut with this easy homemade Mounds bar recipe.
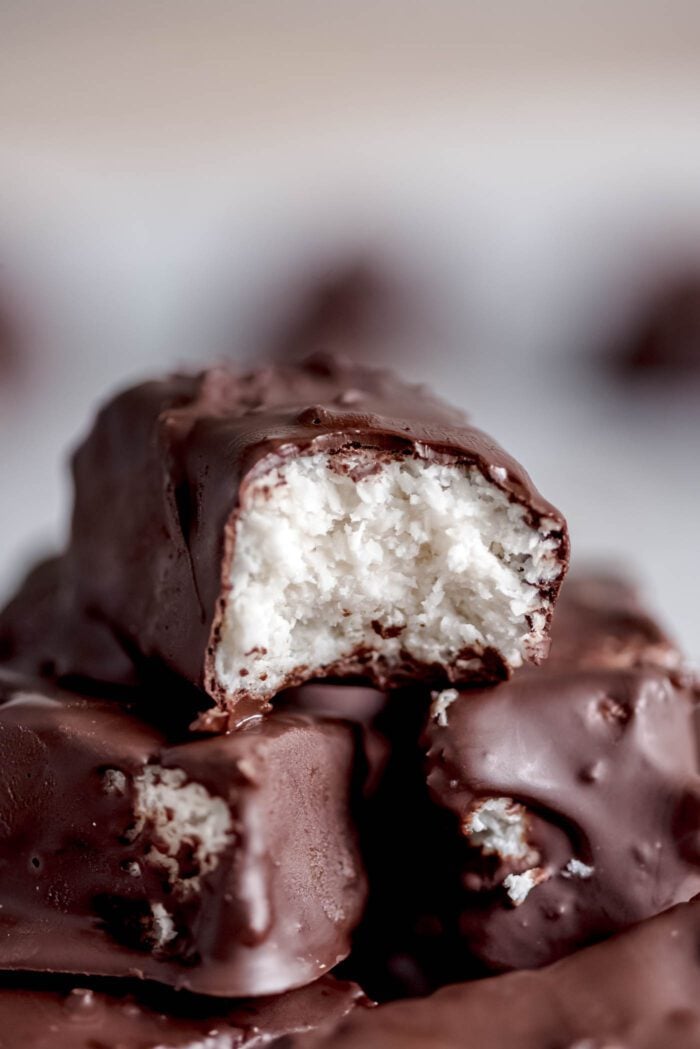
About the Recipe
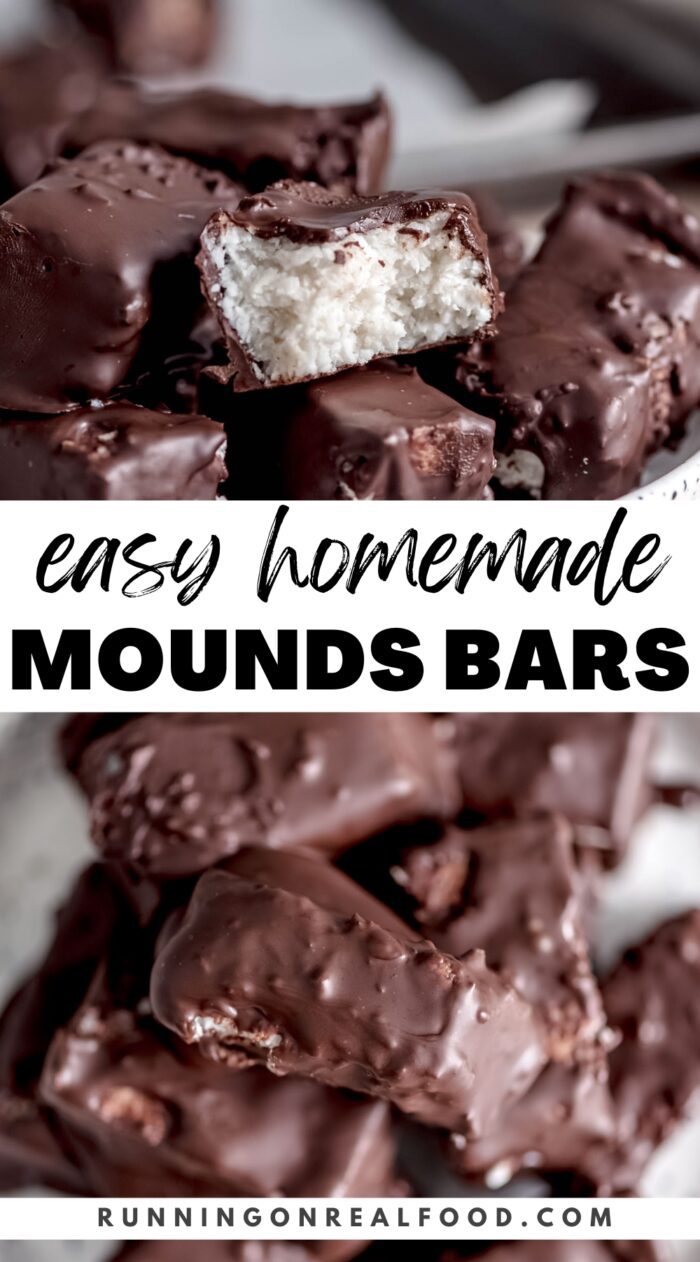
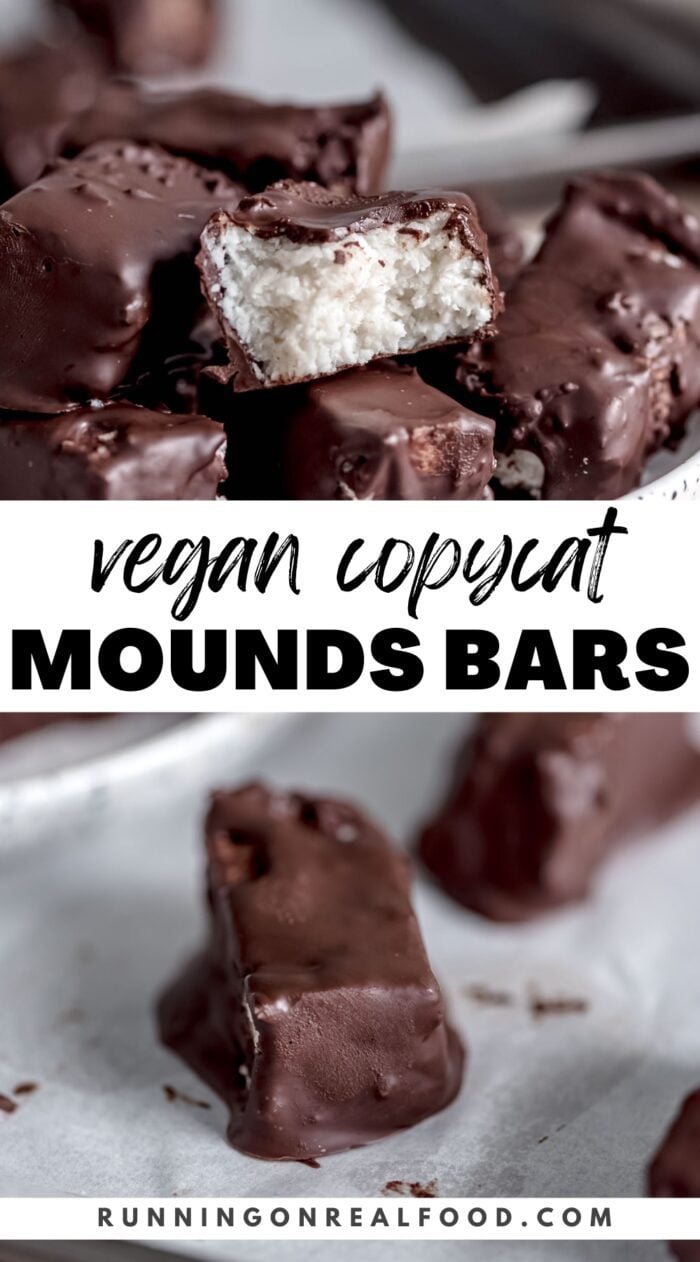
Are you a fan of Mounds bars? Or maybe you’re more familiar with Bounty Bars? This homemade Mounds bar recipe is a copycat version of these two popular candy bars, featuring a creamy coconut filling coated in dark chocolate, just like the original.
The recipe is made with just 5 simple ingredients – coconut, coconut milk, maple syrup, coconut oil and chocolate. Though simple, the bars are rich, decadent and sure to hit the spot.
For more homemade candy bars and treats, you’ll have to try these Homemade Reese’s Peanut Butter Eggs, Vegan Thin Mints Cookie, Vegan Homemade Butterfingers, Homemade Vegan Ferrero Rocher and Homemade Twix Bars next.
Ingredient Notes
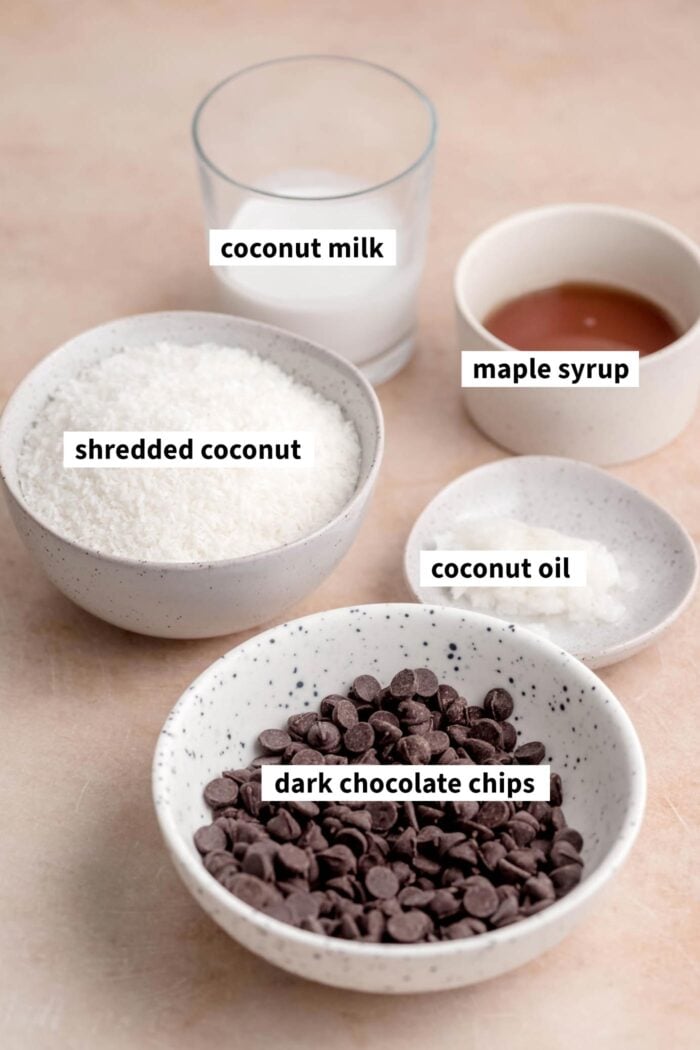
The complete ingredient list with measurements is located in the recipe card at the end of the post. Use that when you’re ready to proceed with the recipe.
- Shredded Coconut: The recipe calls for unsweetened shredded coconut (desiccated coconut). You can use sweetened coconut, which will be more similar to the original bars, but the bars will be much sweeter and of course, have more added sugar.
- Coconut Milk: You’ll need canned full-fat (regular) coconut milk. Shake well before opening! Do not use carton or light coconut milk. Canned coconut cream would also work.
- Coconut Oil: I used refined coconut oil but refined or unrefined is suitable.
- Maple Syrup: You can substitute another liquid sweetener such as agave syrup or honey.
- Chocolate Chips: Dark chocolate chips are suggested but you can also use dairy-free milk chocolate chips or any semi-sweet chocolate.
Variations
- Almond Joy: Add whole almond on top of each bar before coating in chocolate.
- Mint: Add a few drops of mint extract to the coconut mixture.
- Toasted Coconut: Before blending the coconut, toast for 5-10 minutes on a baking sheet at 350 F until lightly golden.
- Peanut Butter: Add 2 tbsp peanut butter (or almond butter) to the coconut mixture.
Step-by-Step Guide
Step 1: Blend Coconut Filling
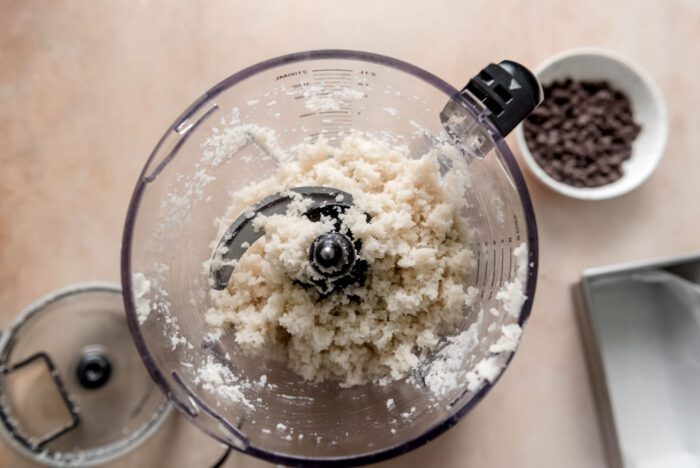
Add the coconut, coconut milk, coconut oil and maple syrup to a high-speed blender or food processor and blend until the mixture becomes paste-like.
You want the fats to start releasing from the shredded coconut so this may take a few minutes. You may need to stop and scrape down the sides every 20-30-seconds.
Step 2: Freeze Bars
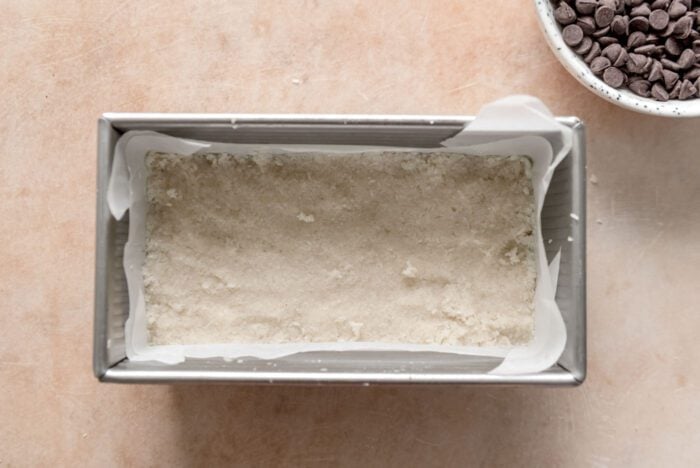
Line a 9×5-inch loaf pan with parchment paper so you’ll be able to lift the bars out of the pan, then firmly press the coconut mixture into the pan. You could also use an 8×8-inch pan but the bars will be quite thin.
Chill the bars in the freezer for at least 1 hour.
Step 3: Melt Chocolate
When you’re nearly ready to pull the bars from the freezer, melt the chocolate in the microwave in 20-second increments or using a double boiler, until completely smooth.
When melting the chocolate for coating, I like to use a double boiler or a heatproof bowl set over simmering water in a small pot on the stovetop. This gentle heating method helps melt the chocolate evenly and prevents it from burning.
Quick Tip: I added 2 tbsp melted coconut oil to the chocolate to thin it out and make it easier to coat the bars. This is optional. After you melt the chocolate, determine if this may be helpful. It will depend on the brand of chocolate and cacao content.
Step 4: Coat Bars in Chocolate
Line a baking sheet with parchment paper. Lift the bars from the pan using the edges of the parchment paper and cut into 16 portions.
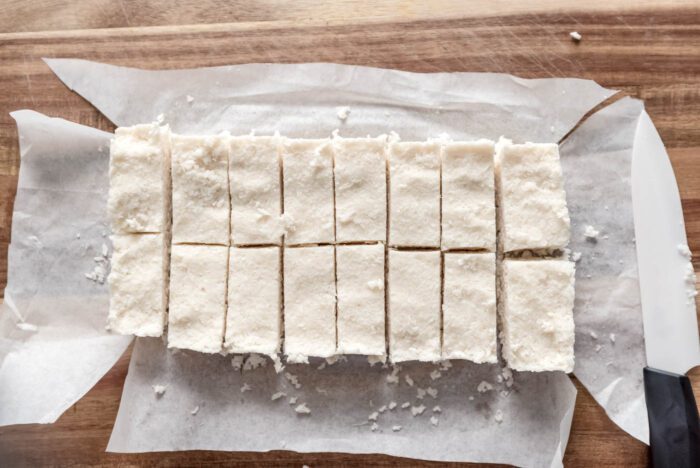
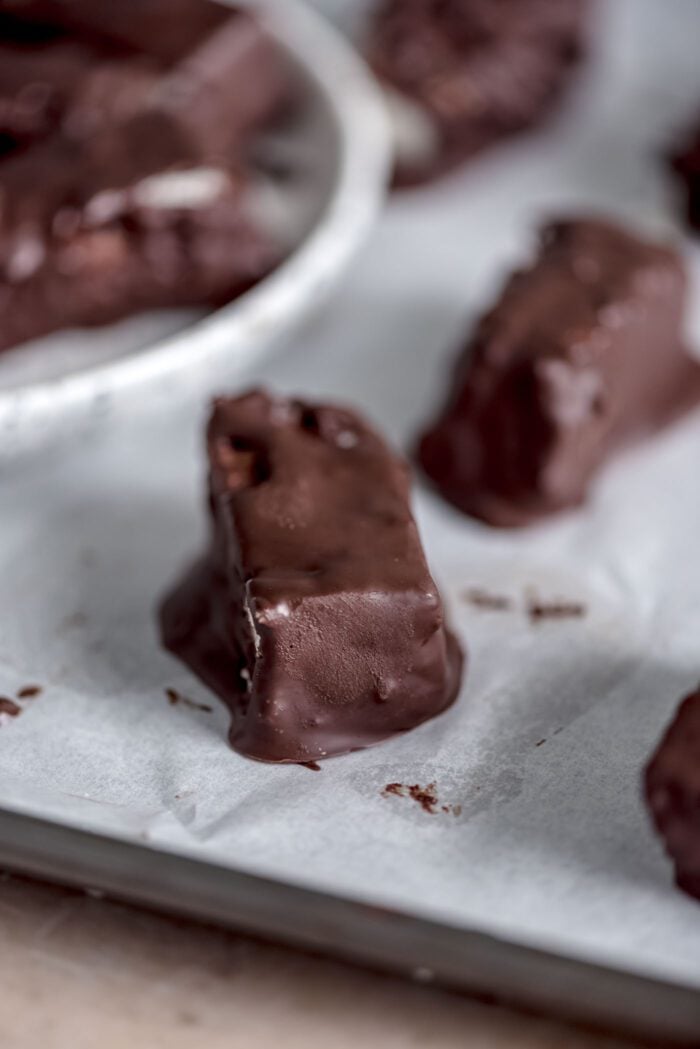
Use two forks to dip the bars in the chocolate, flipping to coat all sides.
You can also just drizzle the chocolate over each bar which is a bit quicker and easier but the bottoms won’t be coated.
Quick Tip: After coating the bars with chocolate, gently tap the baking sheet on a flat surface to release any air bubbles trapped in the chocolate for a smoother, more polished appearance.
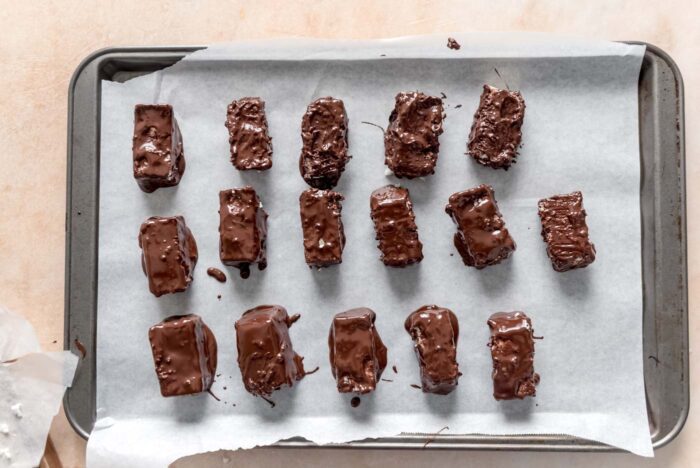
Step 5: Chill Bars
Place the pan in the freezer for 30 minutes or fridge for about an hour until the chocolate is set.
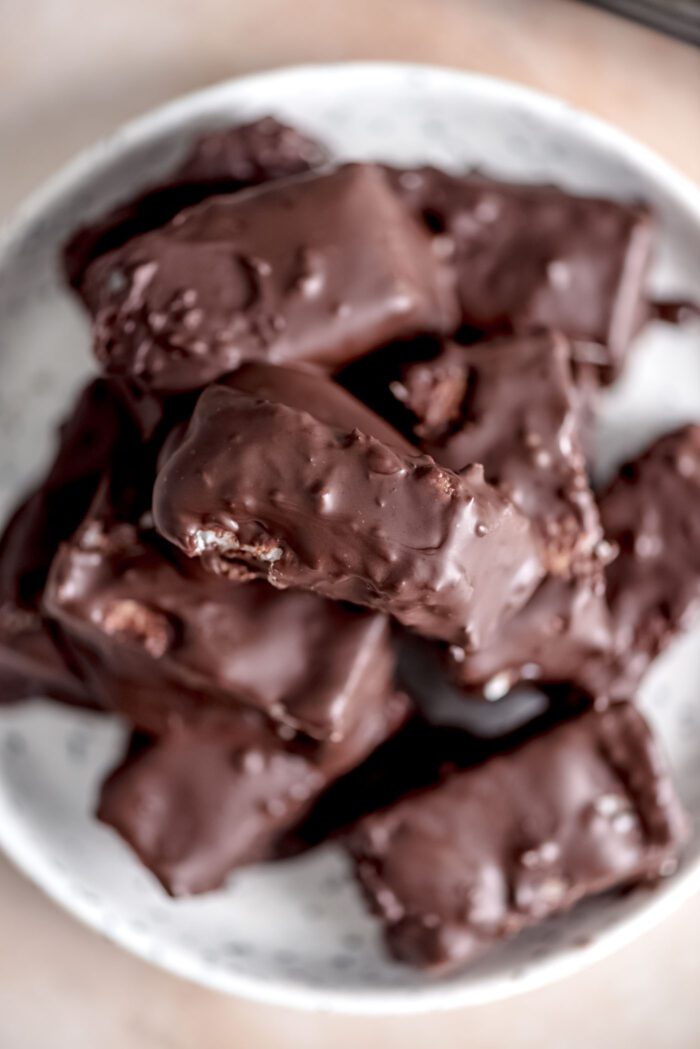
Recipe FAQs
You’ll only need about 10-15 minutes to actually make the bars, however, you’ll also need about 90 minutes of chilling time. The total time required is about 1:45 hours.
Yes, you can use sweetened coconut flakes for homemade Mounds bars. However, you may need to adjust the amount of maple syrup to account for the added sweetness, or you may not need it at all.
It depends on your version of healthy but making your own can be a healthier option because you have control of the ingredients used. This recipe uses maple syrup as a natural sweetener and dark chocolate for a lower sugar option. It’s also dairy-free, vegan and gluten-free.
The ingredients of store-bought Mounds bars are corn syrup, semi-sweet chocolate, lecithin, milk, coconut sugar, salt, hydrolyzed milk protein and sodium metabisulfite (not vegan-friendly or dairy-free).
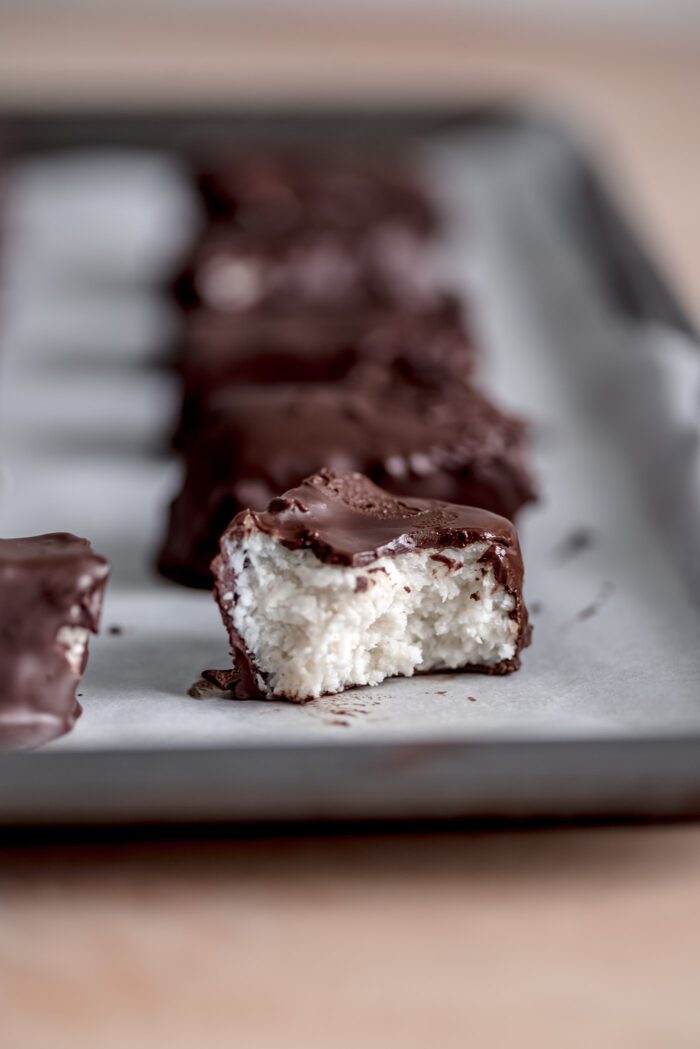
Expert Tips
- If you want to skip coating the bars in chocolate, I’d suggest making them in an 8×8-inch pan. You don’t need to chill the bars, then add the chocolate. Just press the coconut mixture into the pan firmly, top with melted chocolate then freeze until firm. Once set, lift out of the pan and slice into squares.
- You have a few options for coating in chocolate:
- Simply press the coconut into the pan and top with melted chocolate as noted in above point.
- Drizzle each bar with chocolate on the pan. This is easy and will use less chocolate, but the bottoms won’t get coated.
- Dip each bar directly into the melted chocolate and flip to coat entirely. I like this method, it just takes a little longer and you may need some extra chocolate. I like to add 1-2 tbsp melted coconut oil or plant-based butter to the chocolate to thin it out and stretch it further.
- Measuring: It’s not required but I always suggest using a digital scale to measure your ingredients accurately.
Storing Instructions
- The bars must be kept chilled, either in the fridge or freezer.
- You can store them in a sealed container in the fridge for up to 2 weeks. I would suggest the fridge if you’ll be eating them all in less than a week.
- You can store them in a sealed container in the freezer for up to 3 months. If frozen, let sit at room temperature for 5-10 minutes before eating. They’ll soften quickly if it’s warm.
Did you try this recipe? I’d love to hear about it! Scroll down to the comment section to leave a star rating and review.
⭐️⭐️⭐️⭐️⭐️

Homemade Mounds Bars Recipe
- Prep Time: 15 mins
- Cook Time: 90 mins
- Total Time: 1 hour 45 minutes
- Yield: 16
- Category: Dessert
- Cuisine: American
- Diet: Vegan
Description
Indulge in this homemade copycat version of the classic Mounds bar, featuring a creamy coconut filling wrapped in rich dark chocolate.
Ingredients
- 3 cups (213 g) loosely packed unsweetened shredded coconut
- ½ cup (118 mL) coconut milk
- 2 tbsp (30 g) melted and cooled coconut oil
- ¼ cup (72 g) maple syrup
- 1 cup (150 g) dark chocolate chips
Instructions
- Prepare: Line a 9×5-inch baking pan with parchment paper.
- Blend Coconut Mixture: In a food processor or high-speed blender, combine all of the ingredients except chocolate chips. Pulse until the coconut is well broken up and the mixture starts to become like a paste. This may take a few minutes.
- Press Bars into Pan: Spread coconut mixture in the lined baking pan and firmly press down into an even layer. Place in the freezer for at least 1 hour to firm.
- Melt Chocolate: After at least 1 hour, remove the baking pan from the freezer and let sit to thaw for a couple of minutes while you melt the chocolate chips. To melt chocolate chips, place in a microwave-safe bowl and microwave in 20-second increments until all chips are melted, stirring in between increments. Alternatively, use a double boiler or heatproof bowl placed over a small bot of boiling water to melt the chocolate.
- Slice Bars: Remove parchment paper with coconut mixture inside from the baking pan. Cut the sheet into 16 bars and place on a baking sheet lined with parchment paper.
- Coat Bars in Chocolate: Drizzle melted chocolate over the top of each bar or use a spoon and fork to to dip each bar into chocolate. You may need a bit more melted chocolate chips if completely dipping each bar.
- Chill Bars: Place the chocolate-covered bars in the freezer for at least 30 minutes or fridge for at least one hour to harden. Enjoy.
Notes
Store the bars in a sealed container the fridge for up to two weeks or in the freezer for up to 3 months. If frozen, thaw for few minutes at room temperature before eating.
If you find your melted chocolate is quite thick and difficult to drizzle or dip the bars into, mix in 1-2 tbsp melted coconut oil to thin.
Nutrition
- Serving Size: 1
- Calories: 179
- Sugar: 7 g
- Sodium: 7 mg
- Fat: 15 g
- Carbohydrates: 11 g
- Fiber: 3 g
- Protein: 2 g





5 stars on taste! I did thin the chocolate down with a tablespoon of coconut oil. When I make them again. I think I will pull the coconut mixture out of the freezer after 30 minutes and make them into 1/2” balls. Then fully freeze and dip into the thinned out chocolate. They will look more uniform and professional, hopefully!
Thank you for posting a real recipe and not a microwave 3 ingredient version. They aren’t finished yet but I can tell already they will be great !
I hope you enjoy!
Loved. I did use your tip to make them as a sheet of bars rather than individual bars. It was super easy that way, just spreading the melted chocolate over top. I might try them as individual bars next time though.