Vegan Homemade Snickers
on Sep 09, 2021, Updated Aug 19, 2024
This post may contain affiliate links.
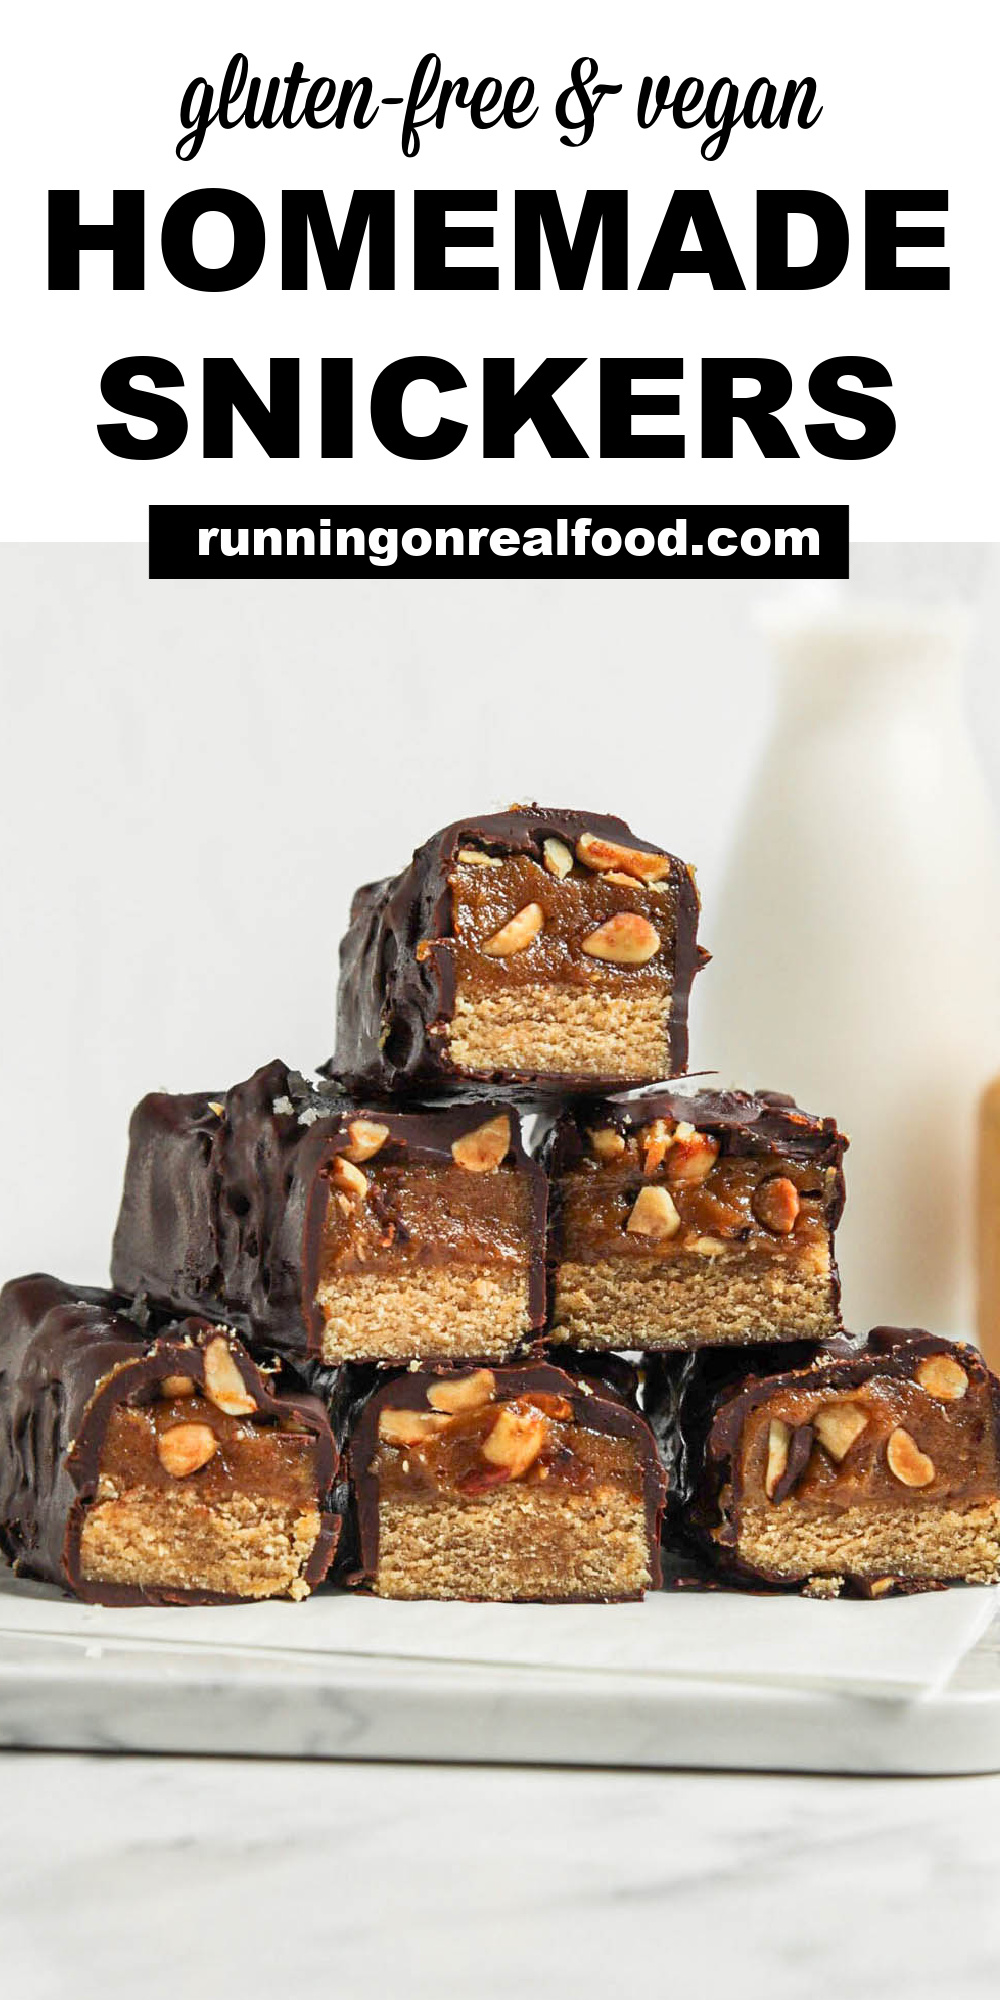
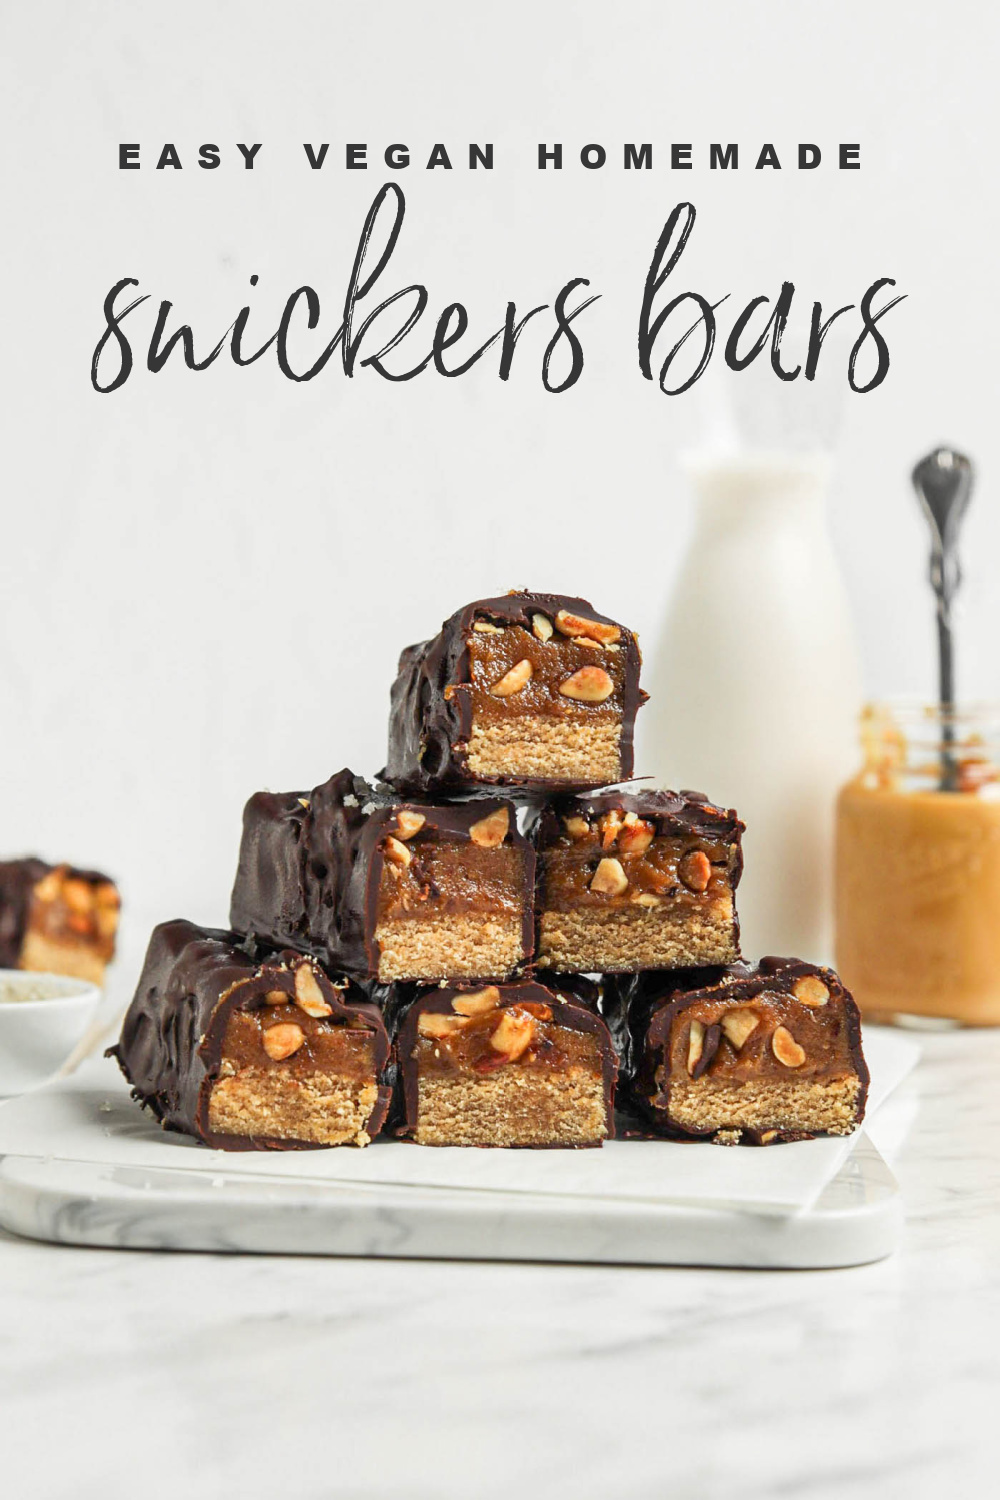
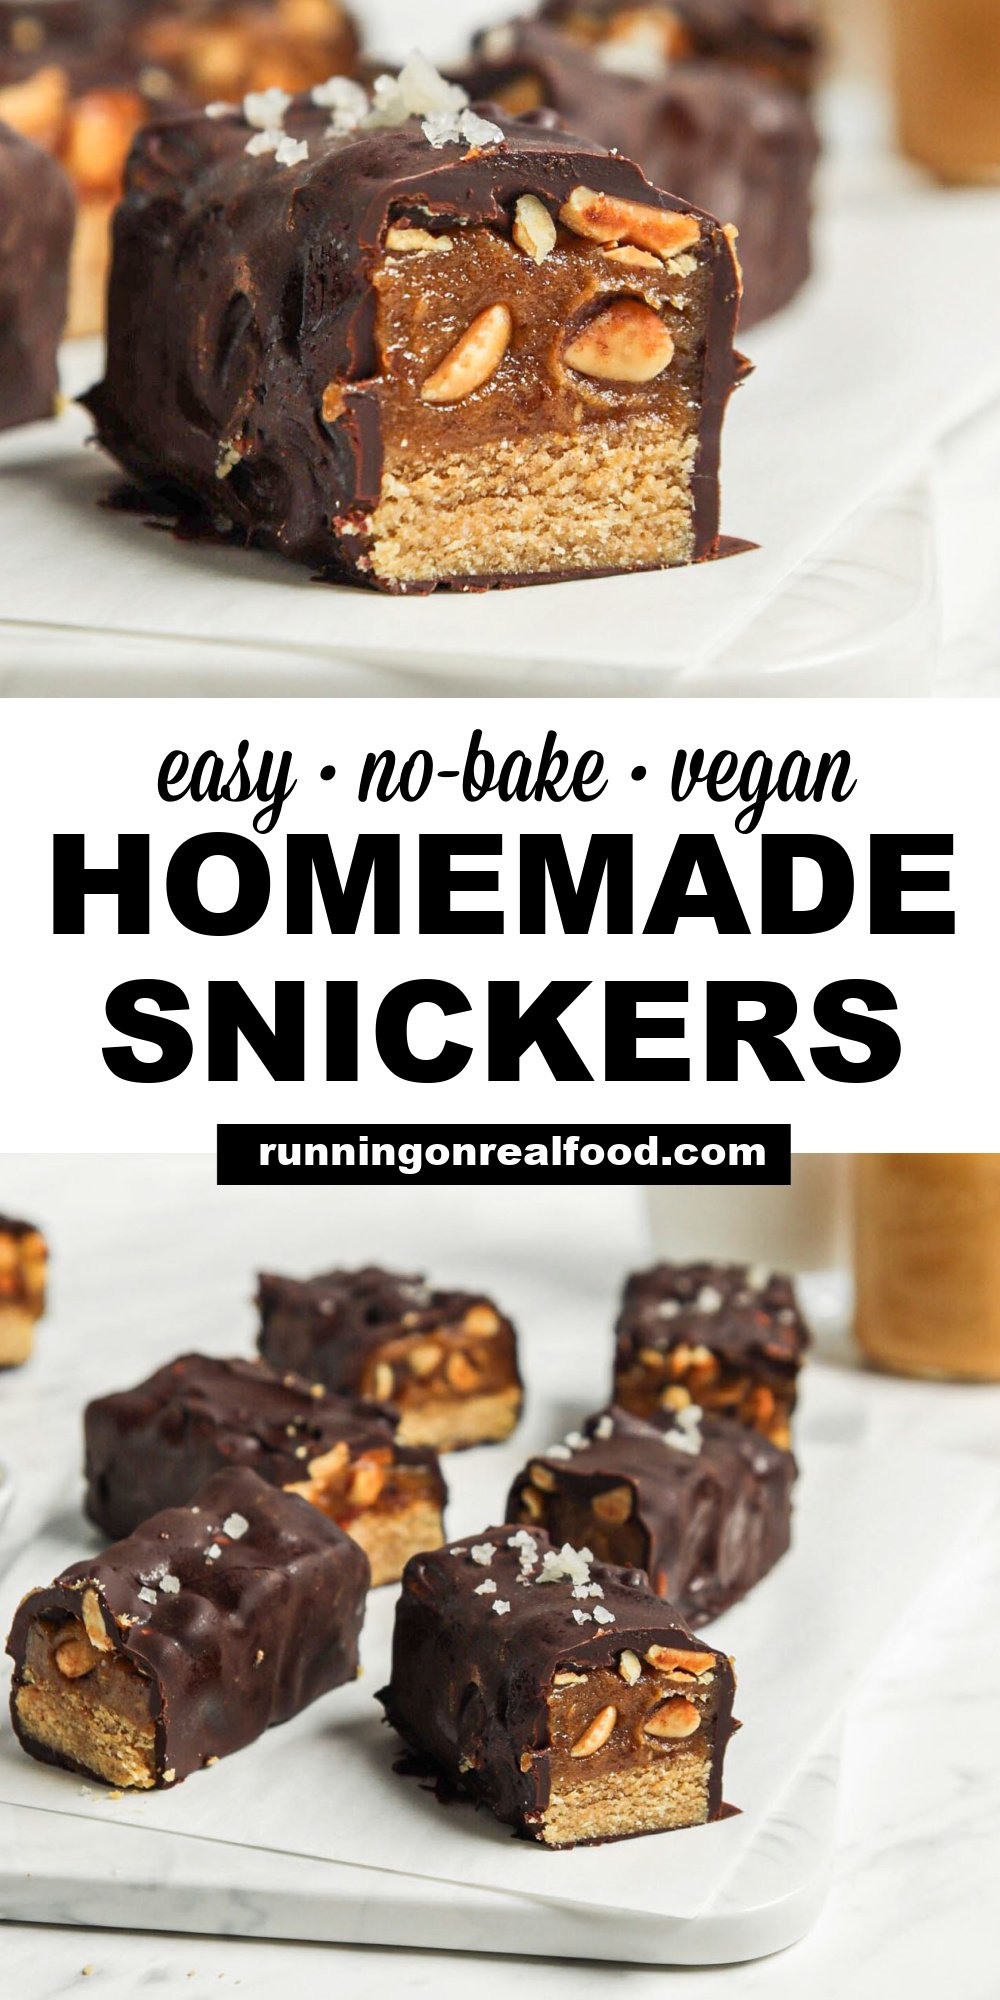
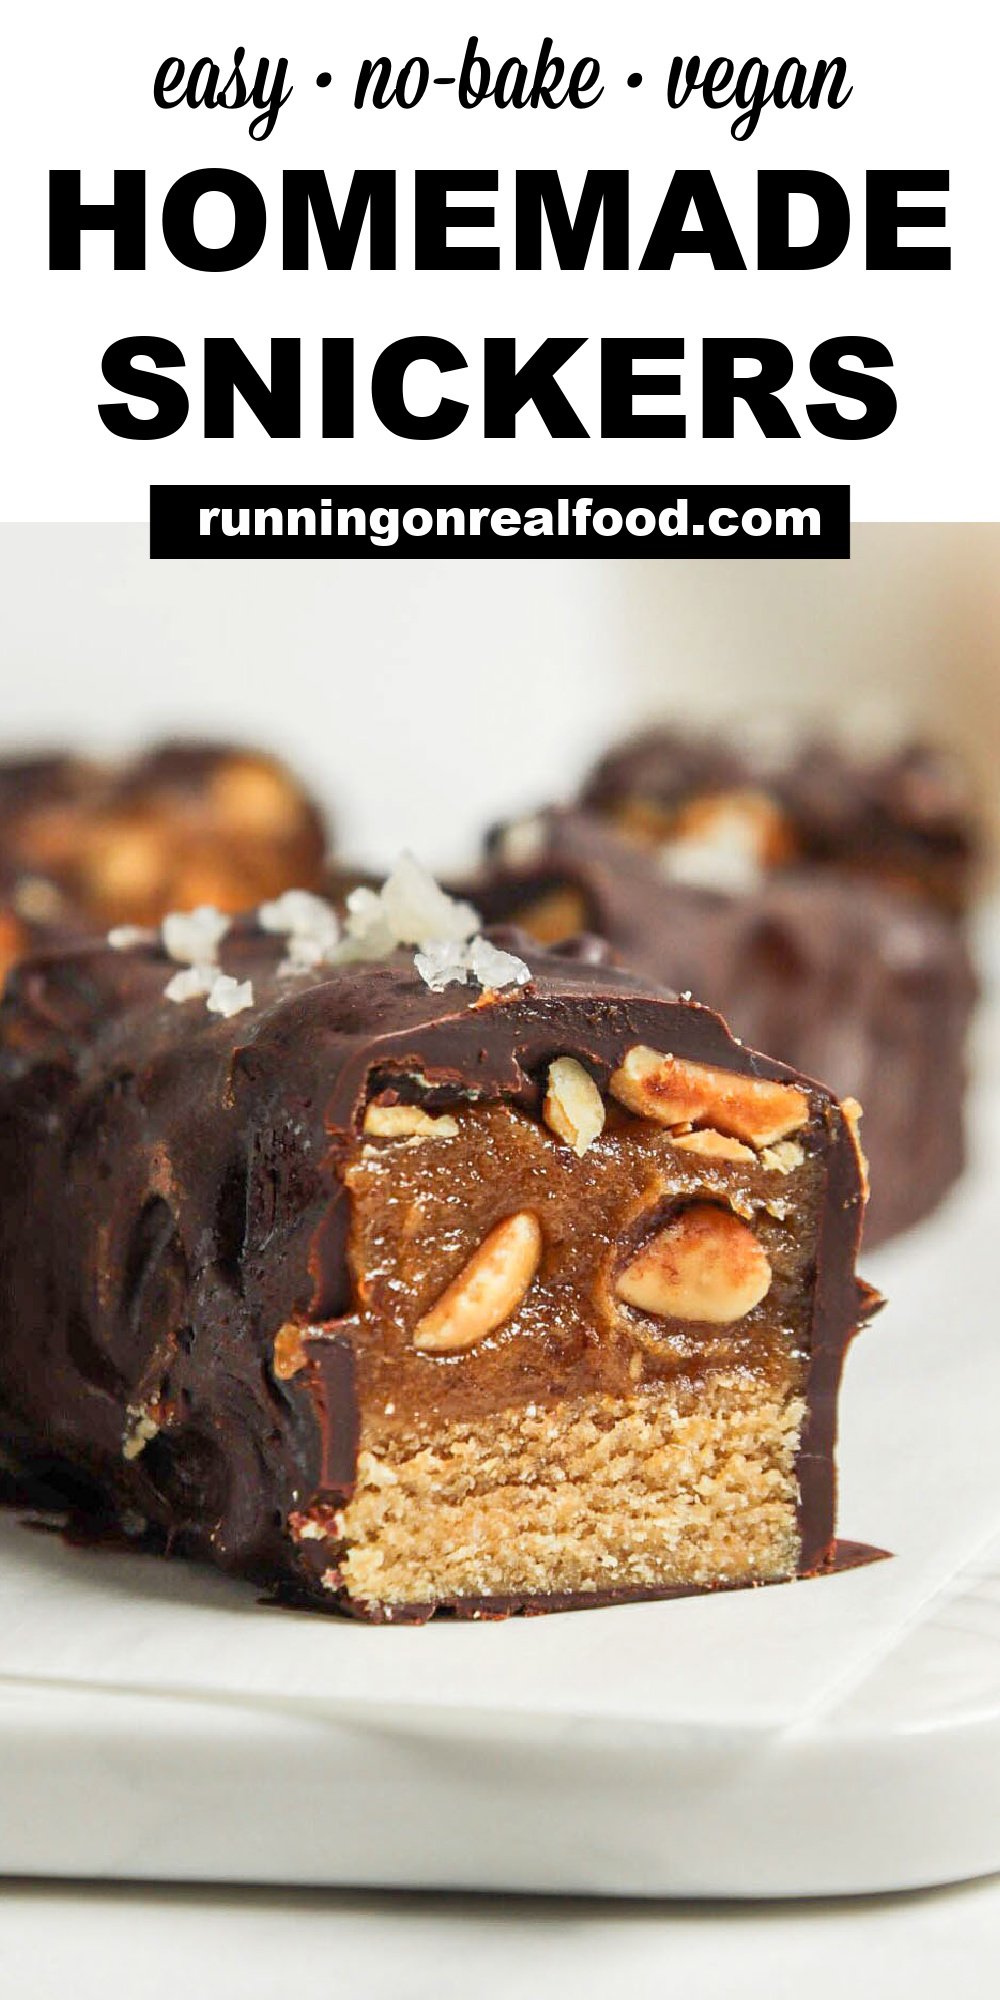
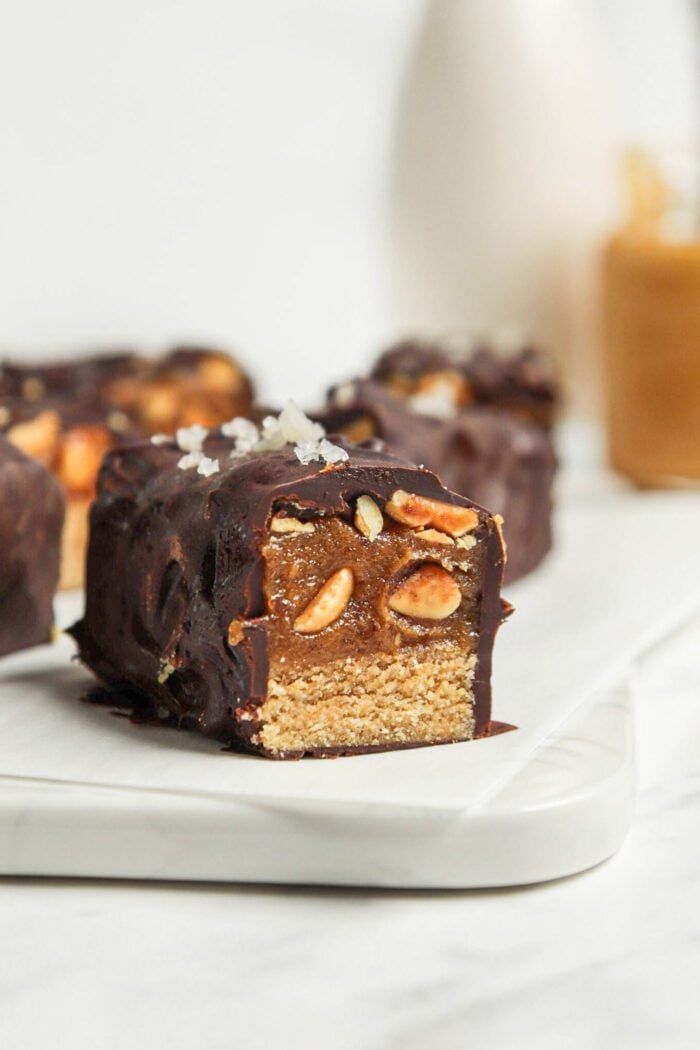
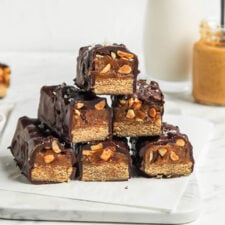
These no-bake vegan homemade snickers feature nougat, caramel, peanuts and chocolate, just like the classic candy bar and are easy to make with just 8 simple ingredients.
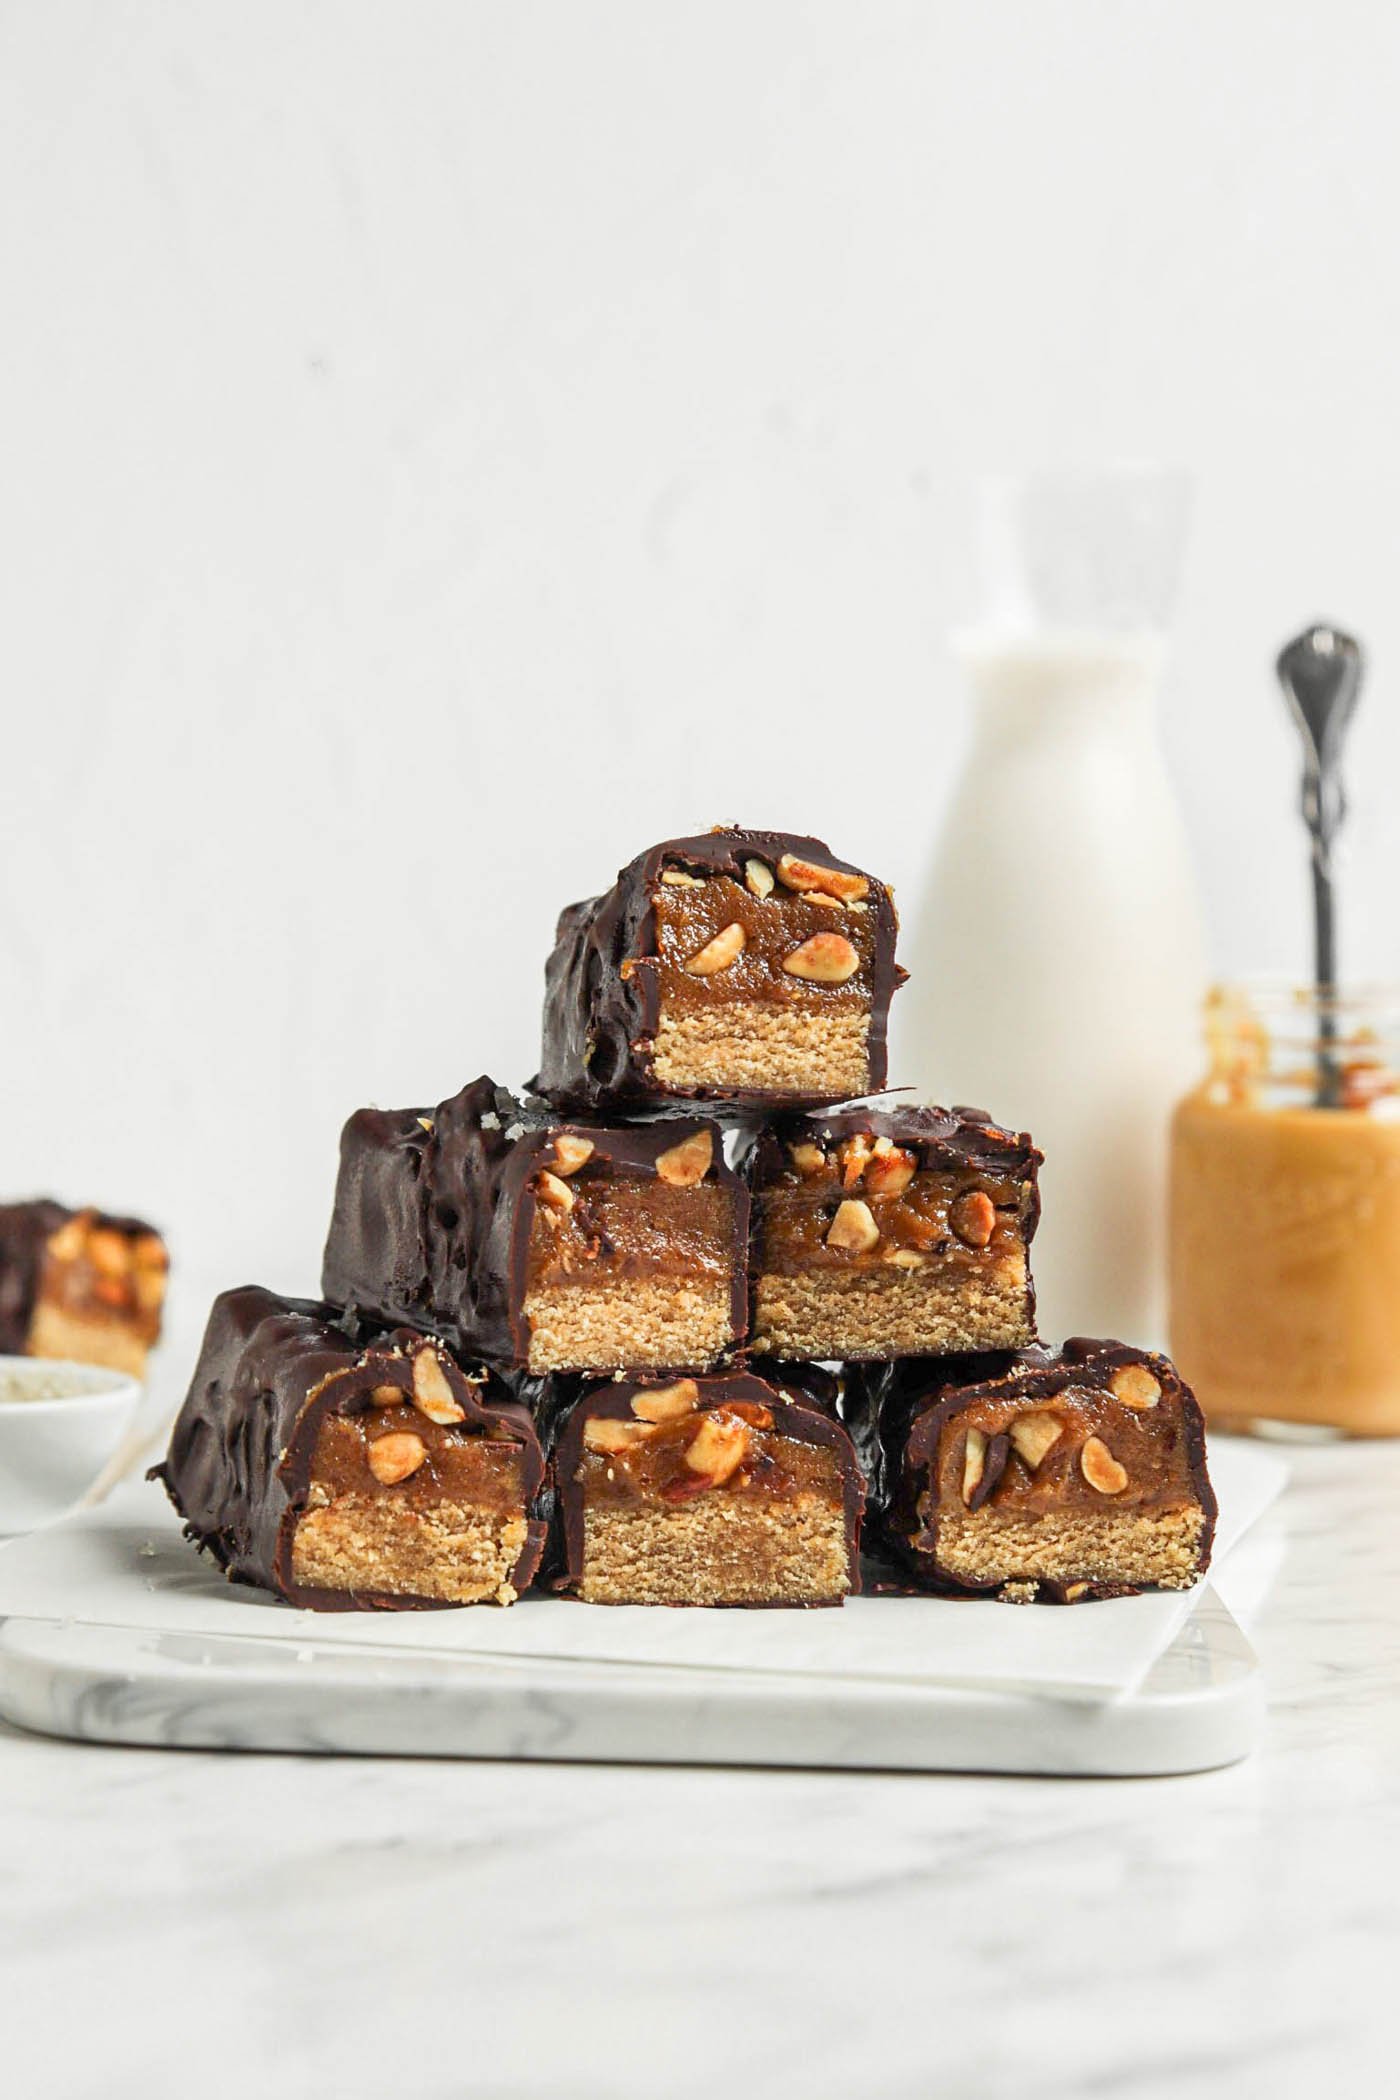
You’ll enjoy a sweet and creamy peanut butter nougat base and decadent date caramel with crunchy peanuts, all coated in delicious chocolate. They’re so good and taste just like the store-bought version, if not better!
After these ones, don’t miss these homemade Butterfinger bars, vegan homemade Twix bars and copycat vegan Mounds bars.
Recipe Features
- These bars are vegan and gluten-free, that means no eggs or no dairy (depending on the chocolate you use).
- They’re made with just a handful of ingredients and are a lot of fun to make. Try making them with the kids! No baking required.
- Homemade Halloween Treat: If you have allergies in your household or are just looking for a homemade alternative to store-bought candy, these are perfect for Halloween!
- Just 8 ingredients needed!
Ingredients
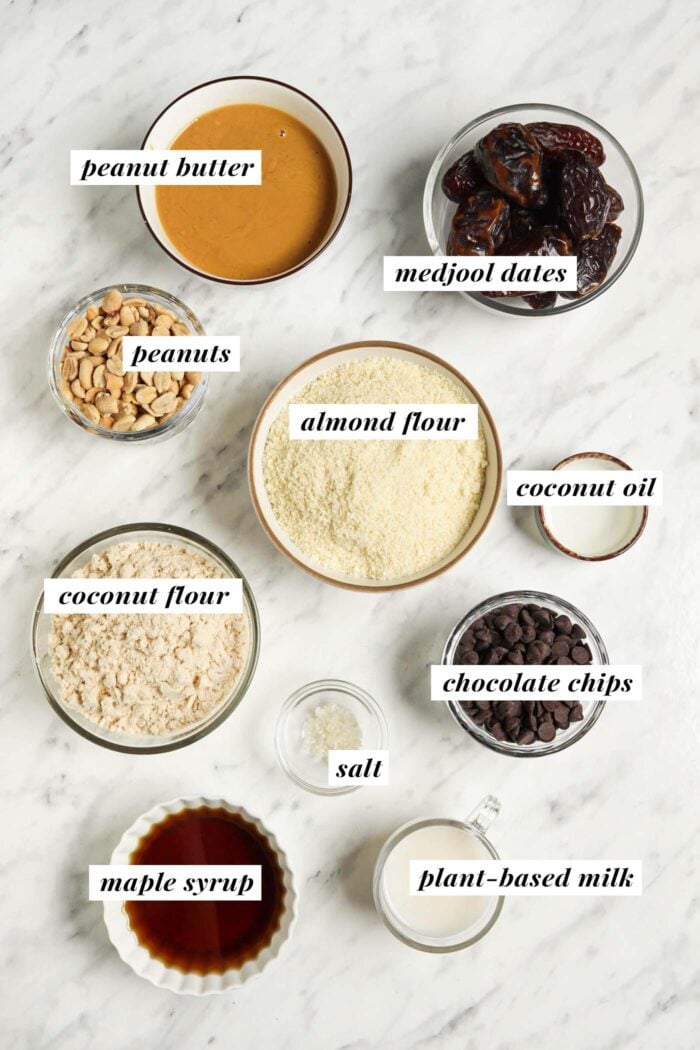
- Almond & Coconut Flour: These can not be substituted for other flours but the ratio may be adjust slightly if you’re short on one or the other. If you prefer, you can make the oat flour crust from my homemade Twix bars.
- Peanut Butter: Use natural peanut butter with no added oils or sugar. You can also use almond butter, cashew butter or even sunflower seed butter, though it does have a more pronounced flavour.
- Maple Syrup: This can’t be substituted for a dry sweetener as the moisture is needed to work with the almond and coconut flours. You can however, use agave syrup as a substitute. For lower-sugar bars, you could also substitute liquid monk fruit sweetener.
- Medjool Dates: Soft medjool dates are best but you can also use about 3/4 cup packed of another variety of dates. Just make sure they’re soft and not dried out. If they’re overly dry, you can soak them in hot water (pitted) for 15 minutes then drain well before use.
- Peanuts: Any kind works (blanched, roasted unsalted) but roasted salted peanuts are the yummiest here!
- Chocolate: You can use chocolate chips, dark chocolate or any other chocolate you enjoy. Just be sure to use dairy-free chocolate if you want the bars to be vegan.
Step-by-Step Instructions
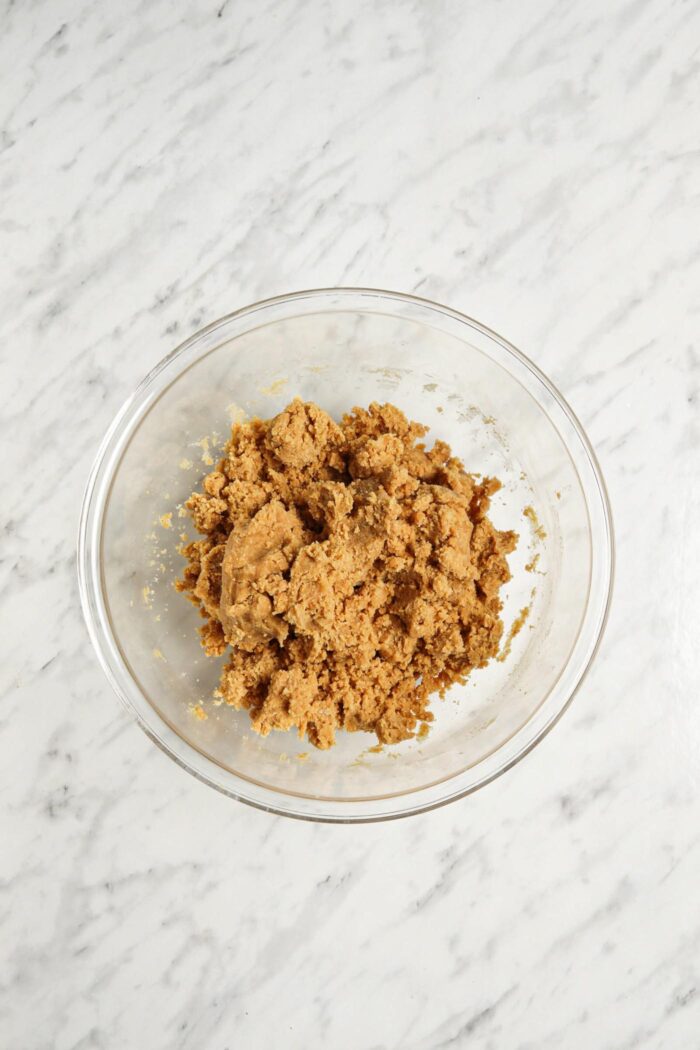
Step 1: Mix the nougat cookie base ingredients together to form a crumbly but moldable dough.
Quick Tip: The dough will be a bit crumbly but you should be able to squeeze bits of it together between your fingers. If it seems too dry, slowly add plant-based milk 1 tablespoon at a time until you have the right consistency.
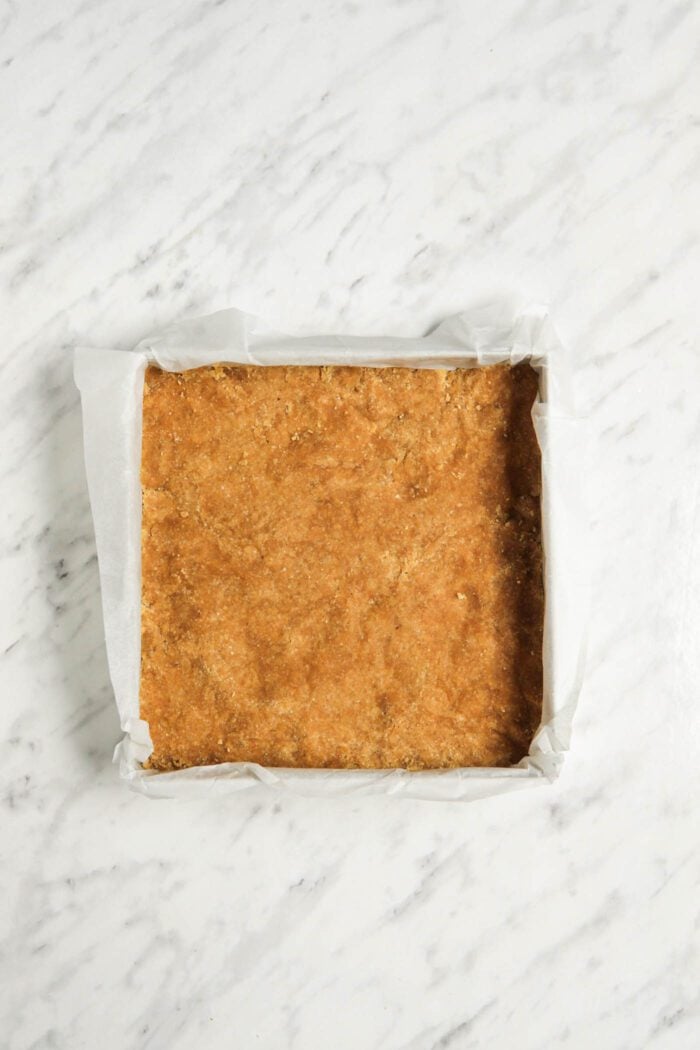
Step 2: Firmly press the dough into a lined 8-inch baking pan. I recommend lining the pan with parchment paper so it sticks out over the edges of the pan. This will help you lift the bars out of the pan once set. Place the pan in the freezer while you make the caramel layer.
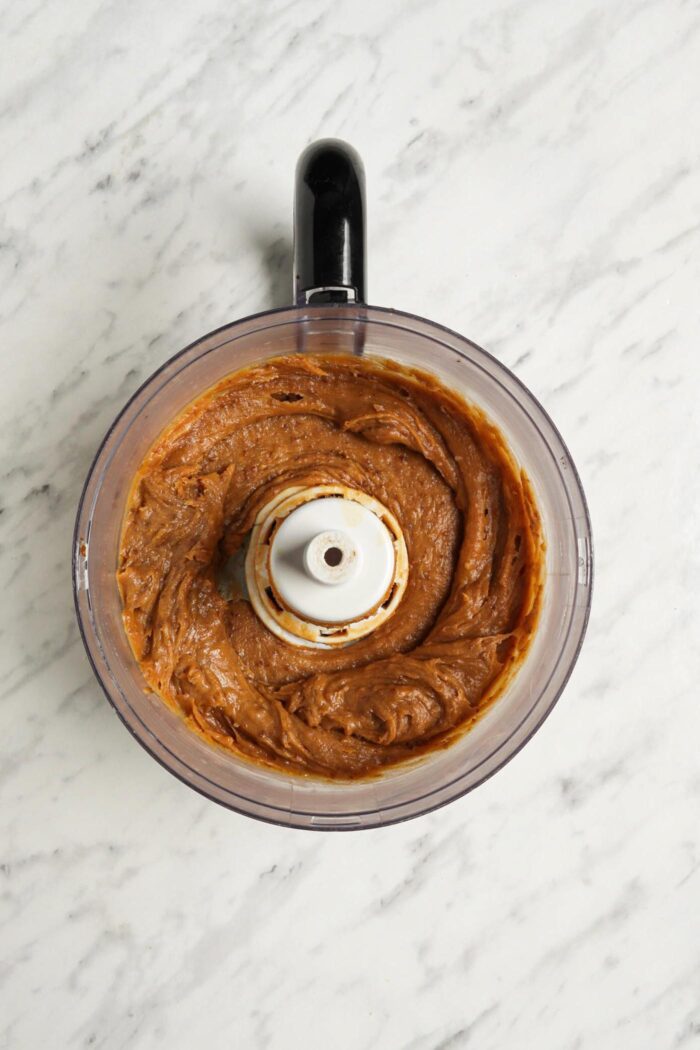
Step 3: Add the caramel ingredients to a food processor and blend until smooth. Stop to scrape down the sides as needed until everything is fully incorporated.
Step 4: Spread the caramel mixture evenly over the nougat layer in the baking pan.
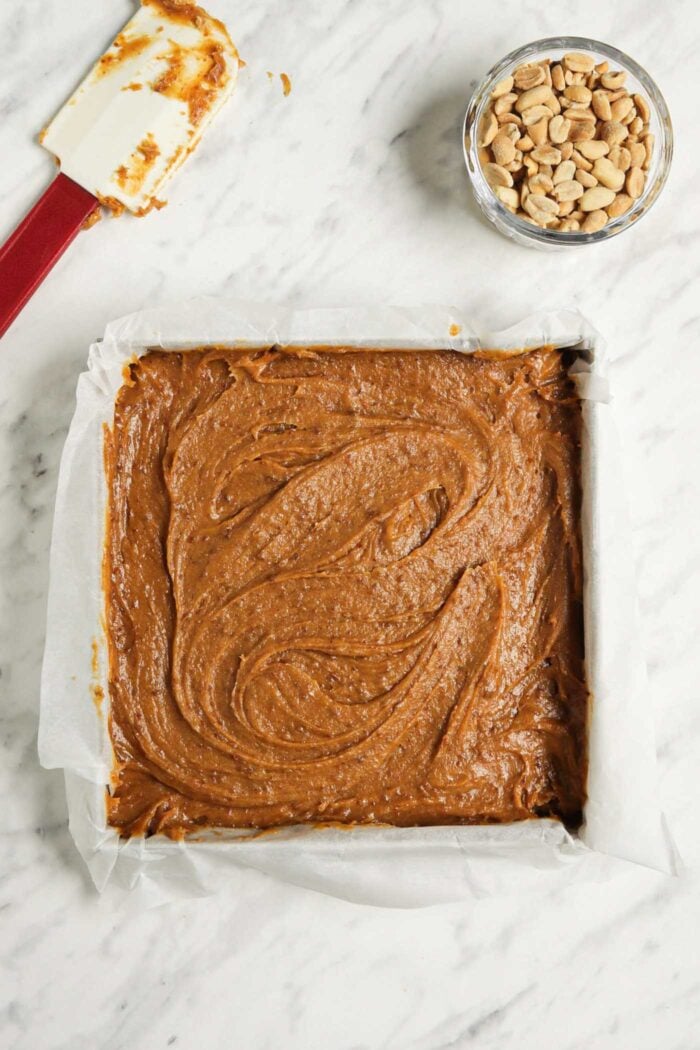
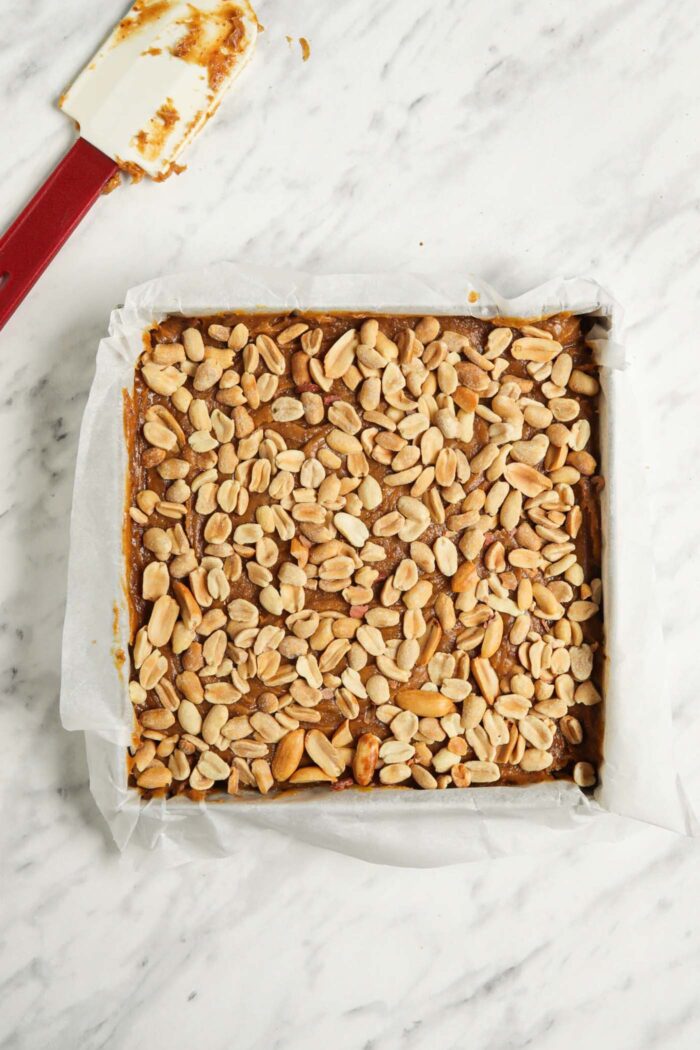
Next, sprinkle the roasted peanuts evenly over the caramel, lightly pressing them down. Place the whole pan in the freezer for at least 4 hours.
Last Steps: Slice the bars and Coat in Chocolate. Almost there! We just need to slice the bars and coat in chocolate.
Grab the bars from the freezer and lift them out of the pan using the edges of the parchment. Place the sliced bars back in the freezer while you prepare the melted chocolate.
Next, melt the chocolate in a double boiler or in the microwave. Once the chocolate is completely smooth, dip each bar in the chocolate until coated on all sides.
Set the bars on a cooling rack or lined tray and place in the fridge until the chocolate has hardened.
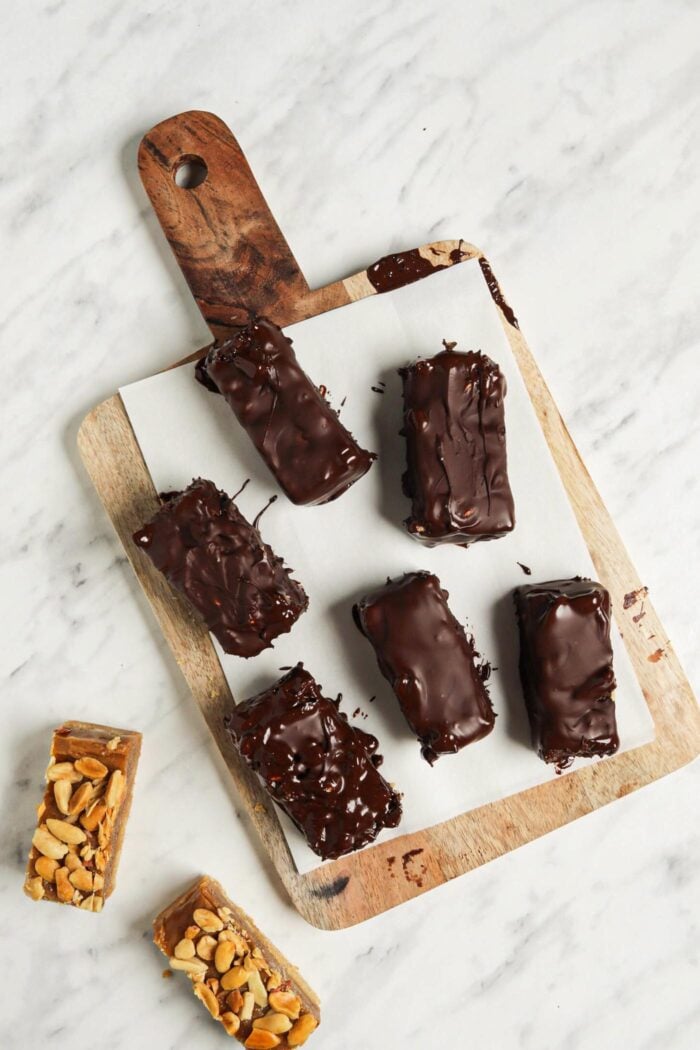
You did it! Your amazing homemade vegan Snickers bars are ready to enjoy!
Storing
These must be kept cool and are best stored in a sealed container in the freezer. You can enjoy them straight from the freezer though, so don’t worry about them being completely frozen solid!
They’ll keep well for at least 3 months in a sealed container or freezer-safe in the freezer.
Vegan Homemade Snickers
Ingredients
For the Nougat Base
- 1 ½ cup almond flour, 150 g
- 1 cup coconut flour, 115 g
- ⅔ cup peanut butter, 200 g
- ½ cup maple syrup, 110 g
- 1-4 tablespoons plant-based milk, if needed
For the Caramel and Peanuts
- For the Caramel and Peanuts
- 12 soft medjool dates, pitted
- ⅔ cup peanut butter, 200 g
- ⅓ cup maple syrup, 85 g
- ¼ cup plant-based milk, 55 g
- pinch of salt
- 1 cup roasted peanuts, 120 g
For the Chocolate
- 1 ½ cup chocolate chips, 255 g
- 3 teaspoons melted coconut oil, 45 g
Instructions
- In a bowl, add all the base ingredients and mix well until you get a dough that's crumbly but can be pressed together between your fingers. If the dough is too dry, add 1-4 tablespoons of plant-based milk of your choice to adjust the consistency.
- Transfer the dough to an 8-inch square baking pan lined with parchment paper.
- Firmly press the dough into the prepared pan in an even layer and place in the freezer.
- In a food processor, add the dates, peanut butter, sea salt, maple syrup and plant based milk. Process until completely smooth, scraping down the sides as needed until everything is incorporated.
- Remove the base from the freezer and spread the caramel over the base in an even layer using a spatula.
- Sprinkle the roasted peanuts on top of the caramel in an even layer and lightly press them into the caramel.
- Place in the freezer to set for at least 4 hours or overnight. Lift the bars out of the baking tray using the parchment paper and cut into 24 small bars (3 rows of 8). Place the bars back in the freezer while you prepare the chocolate coating.
- Melt the chocolate and coconut oil in a double boiler or the microwave until smooth and creamy. If using the microwave, stir every 15-12 seconds and be careful not to burn the chocolate.
- Dip the bars into the chocolate until coated on all sides then sit them on top of a cooling rack or a tray lined with parchment paper until firm.


CAn I use regular flour instead of almond?
No I don’t think that would work well, sorry.
So far, I’ve just licked the spoons. It’s certainly morish! Waiting for it to harden before cutting and chocolate layer. I was using up stuff in the pantry, so I swapped out the coconut with rolled oats, and honey instead of maple syrup. I used up 3 different, almost empty peanut butter jars and added peanut and 5 seed paste to make up the numbers. Feeling quite proud of myself, as it is still delicious. Thanks for developing this recipe that I could adapt. I did not buy in a single new ingredient.
I made these yesterday and they are so so good! Fixed my Halloween candy craving without succumbing to buying the prepackaged addictive poisonous stuff!
Thank you for trying them! So glad they were enjoyed.
THIS IS THE HOLY GRAIL. I honestly enjoyed the process of making them and I especially LOVE how a treat as good as these are made with healthy ingredients. They remind me of the snickers ice-cream bars, which makes me want to try adding in some vegan icecream to them somehow lol
Haha, I love that idea! You’ll have to let me know if you play around it with. So glad you enjoyed them and thanks so much for letting me know!