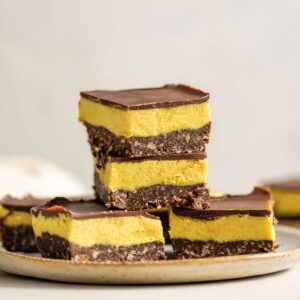
No-Bake Vegan Nanaimo Bars
on Oct 28, 2022, Updated May 06, 2026
This post may contain affiliate links.
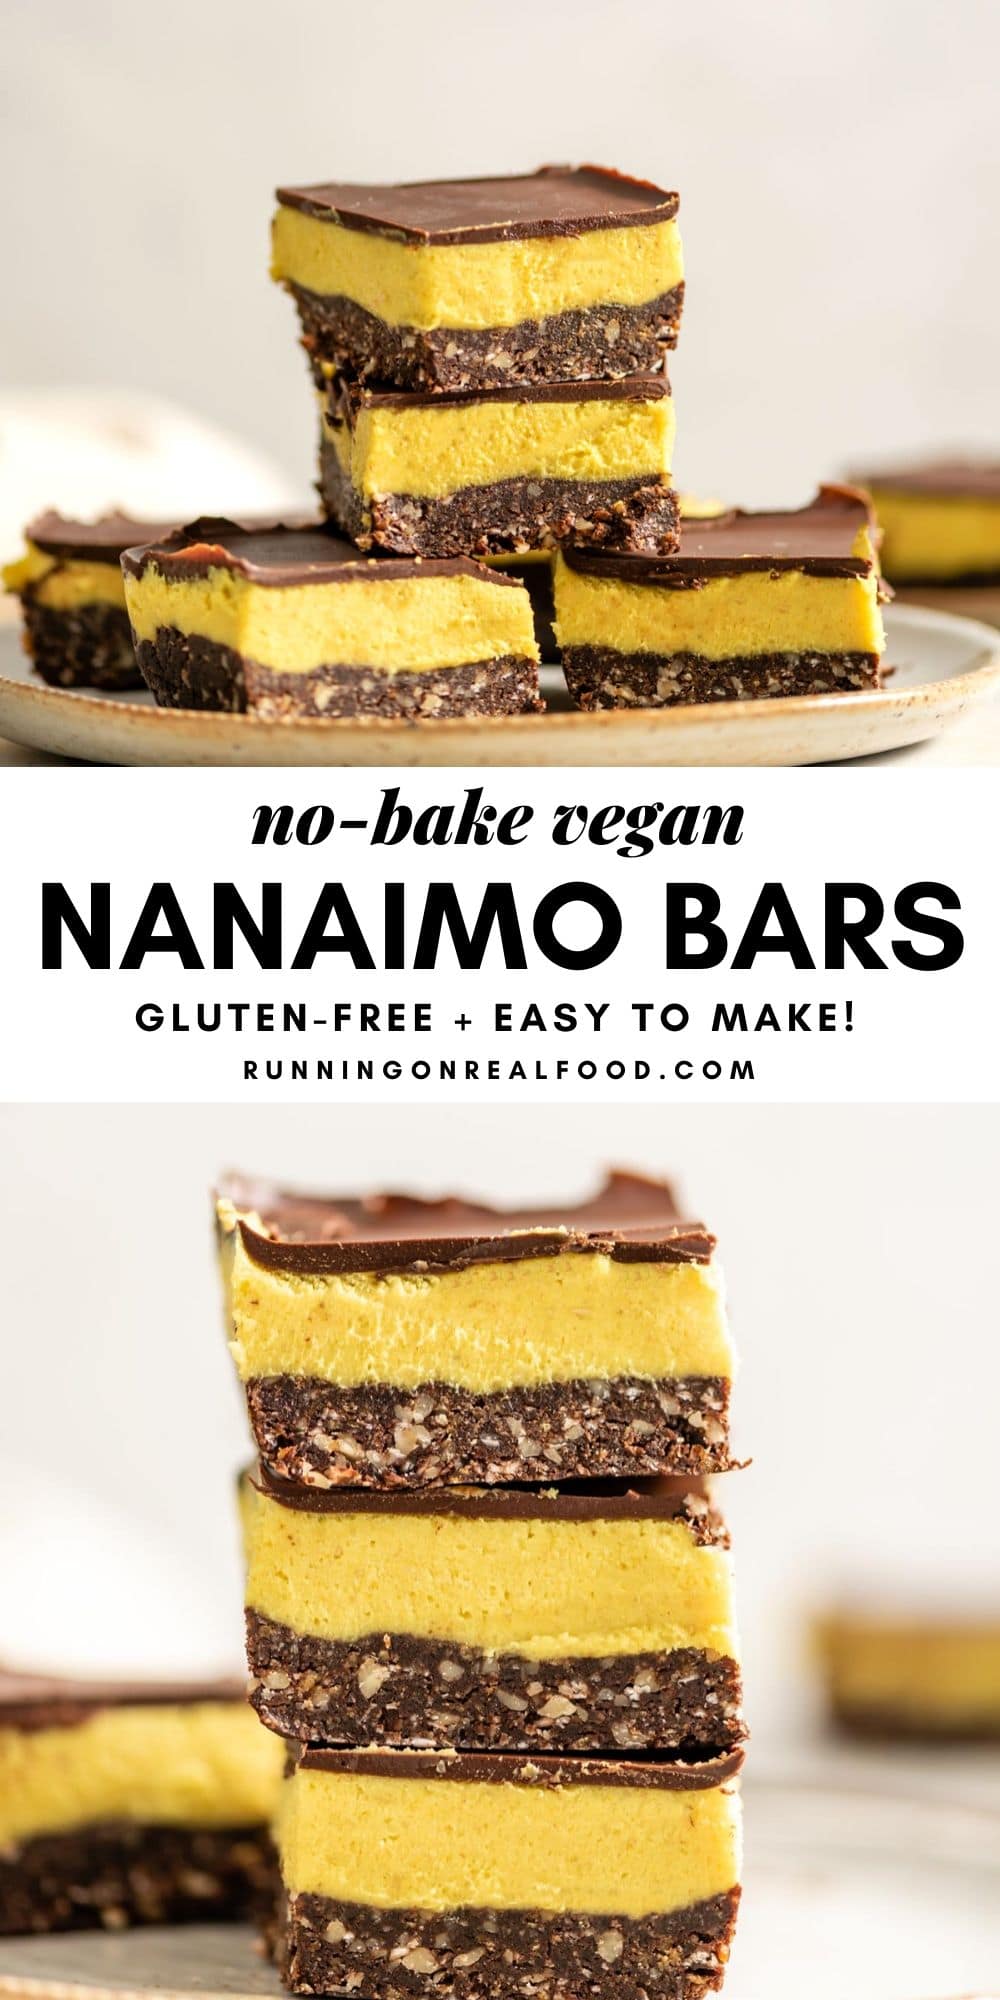
These no-bake vegan Nanaimo bars are easy to make with just a handful of wholesome ingredients and taste just like the classic Canadian Christmas dessert.
They taste just like the original but are made with just a handful of wholesome ingredients. No powdered sugar, no butter, no white sugar and no heavy cream.
These are really are easy to make too. There’s a bit of blending involved but no baking or any other tricky methods or techniques. Anyone can make them!
For no-bake Christmas treats, these homemade Vegan Turtles, Vegan Ferrero Rocher and No-Bake Vegan Rum Balls are awesome too.
For something even quicker, my chocolate nut clusters need just five minutes of prep and 2 ingredients.
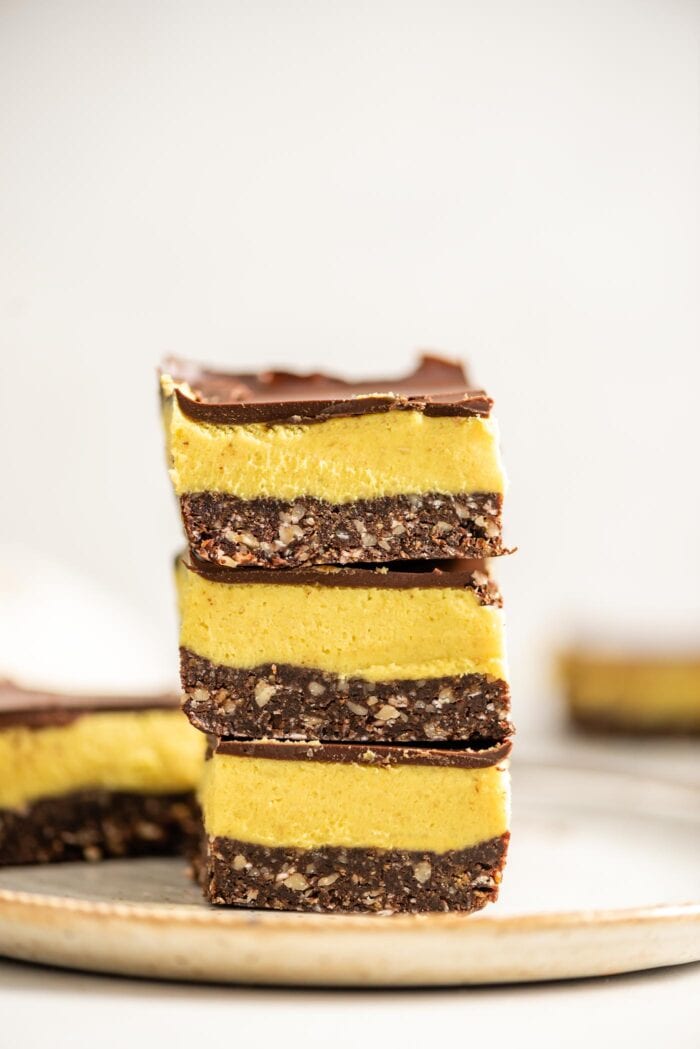
What are Nanaimo Bars?
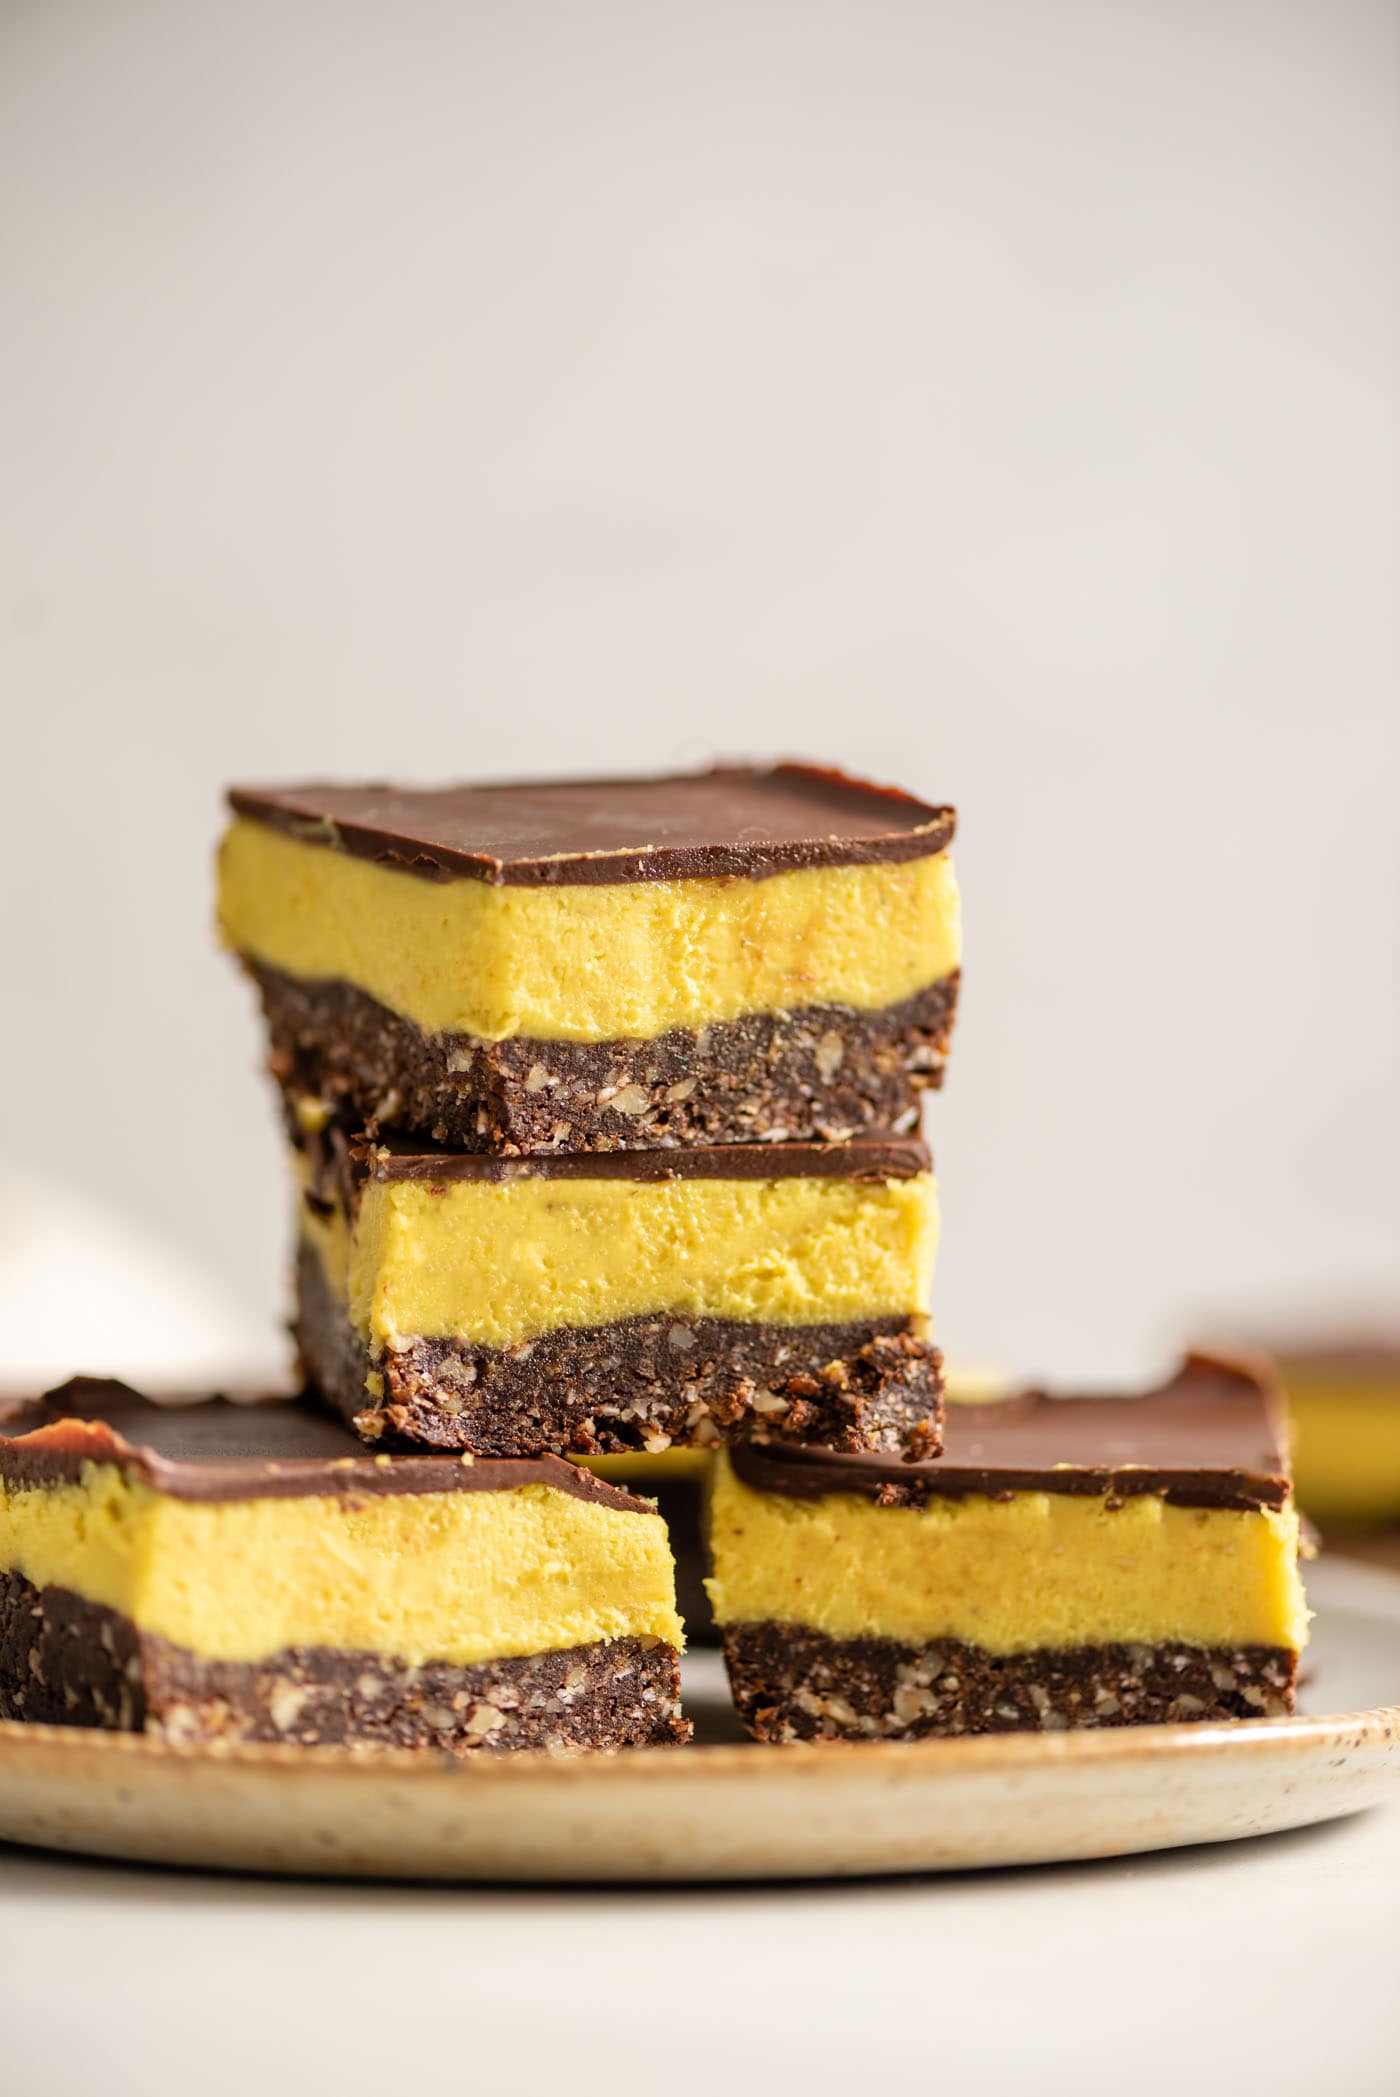
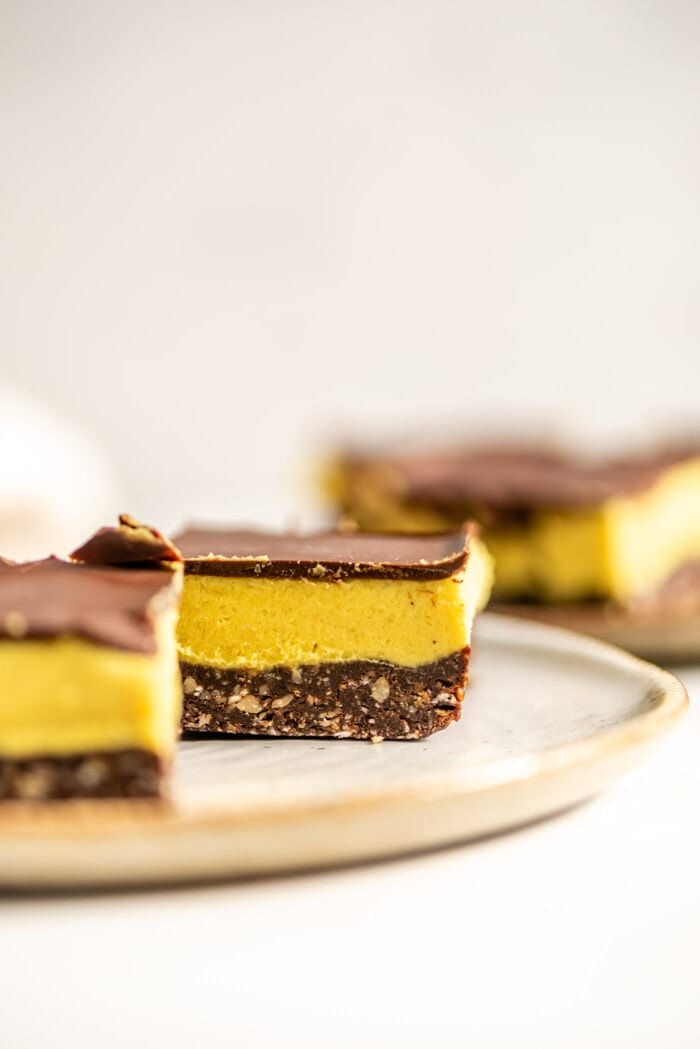
Nanaimo bars are no-bake dessert named after the Canadian city of Nanaimo, BC. They consist of 3 layers: a wafer, nut and coconut crust, a custard icing in the middle and a layer of chocolate ganache on top.
Nanaimo bars are enjoyed year-round but are most known as a Christmas dessert.
Recipe Highlights
- Vegan (dairy-free, no egg) and gluten-free.
- Freezer-friendly – make a double batch in advance!
- No baking required.
- No butter, no white sugar, no heavy cream.
- Taste just like the original!
Ingredient Notes
Let’s go over the main ingredients you’ll need to make these:
- Raw Cashews: The cashews make the creamy base for the custard filling. Look for raw cashews with no added oil or salt, they should be pale in colour. It’s recommended to soak them before use but we’ll cover that below.
- Dates: You’ll need soft, moist dates to make the crust. If you only have dry dates, they can be soaked before use. I like medjool dates, sayer dates or deglect noor dates.
- Walnuts: Use raw walnuts with no added oil or salt.
- Coconut: You’ll need medium or fine shredded (desiccated) coconut. I’d suggest fine shredded coconut.
- Cocoa Powder: Use dark cocoa powder, regular cocoa powder or raw cacao powder. Dark cocoa powder will add the richest chocolate flavour!
- Chocolate: You can use dairy-free chocolate chips such as Camino or Enjoy Life or use any dark chocolate. I’d recommend a maximum of 70% cocoa content so it’s not too bitter.
- Maple Syrup: You can substitute agave syrup. Do not substitute granulated sweetener. It needs to be liquid.
- Coconut Oil: This is needed to make the filling firm so there’s no substitute. Do not substitute another oil.
- Coconut Milk: A good quality, thick and creamy full-fat coconut milk works best. When you’re at the store, give it a shake. It should feel almost solid when you shake it so you shouldn’t hear much swishing around. If it feels watery, try another brand. Canned coconut cream is also suitable.
- Turmeric: A small amount of turmeric is used to enhance the yellow colour of the custard. Don’t worry though, you can’t taste it! The turmeric is optional though if you don’t want to use it.
Before You Start
Before you start there are a few things you need to do:
- Soak the cashews. See next section for the how-to.
- Prepare a standard-sized loaf pan lined with parchment paper. You want the edges of the parchment hanging out over the sides so you can easily lift out the finished bars.
- Assess your dates. You’ll need soft, moist dates. If your dates are overly dry or you’re unsure, soak them in hot water for 15 minutes then drain well before use.
How to Soak the Cashews
If you have a high-speed blender such as a Vitamix or Blentec, you can “quick soak” the cashews by pouring boiled water over them in a bowl and letting them soak for 15 minutes.
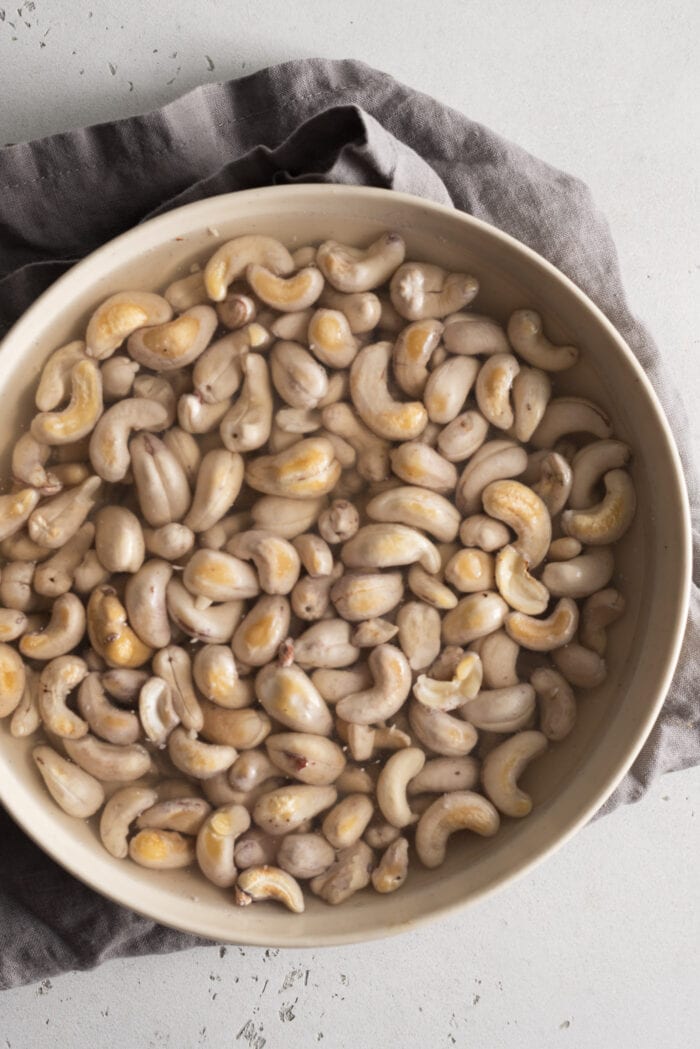
There is no harm in letting them soak for longer though, so you can also soak them in a bowl of water at room temperature for a few hours up to overnight.
If you do not have a powerful blender, cover the cashews with water in a bowl and soak for at least 4 hours but preferably 8-12 hours (overnight is perfect).
Once soaked, drain and rinse rinse the cashews and proceed with the recipe.
Step-by-Step Instructions
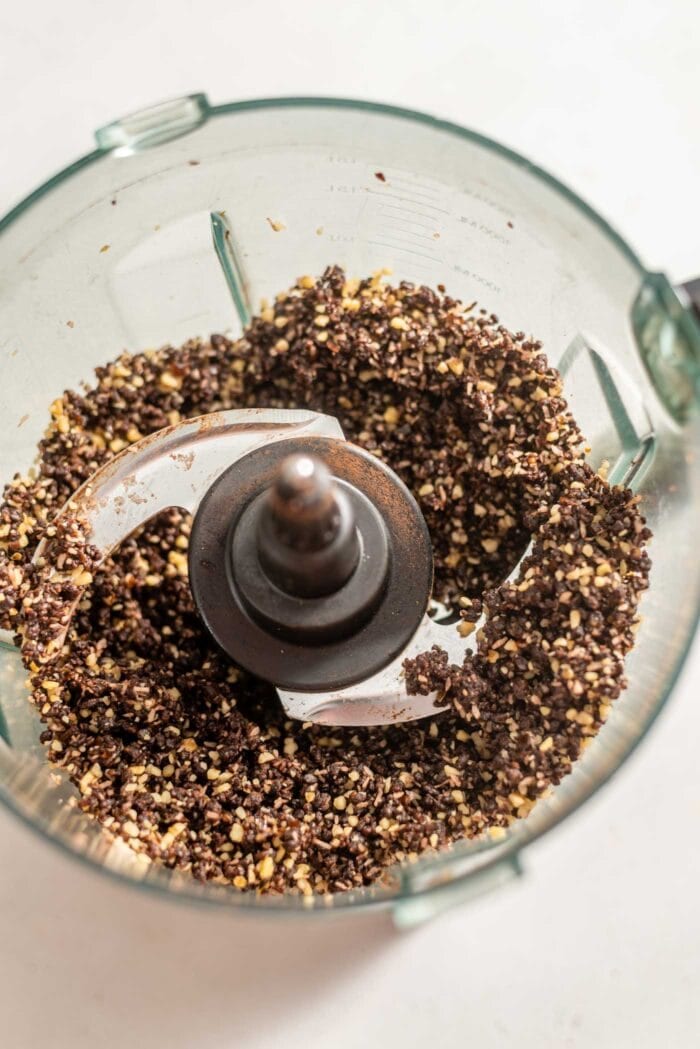
1: Make the Crust
The crust is easy to make with just 4 ingredients. You’ll need the cocoa powder, dates, coconut and walnuts. Add everything to a food processor and mix into a thick dough.
Quick Note: The dough will seem crumbly when blended but it should stick together if you press it between your fingers. If it seems to dry, add 1 tsp of warm water and blend again. Repeat if needed.
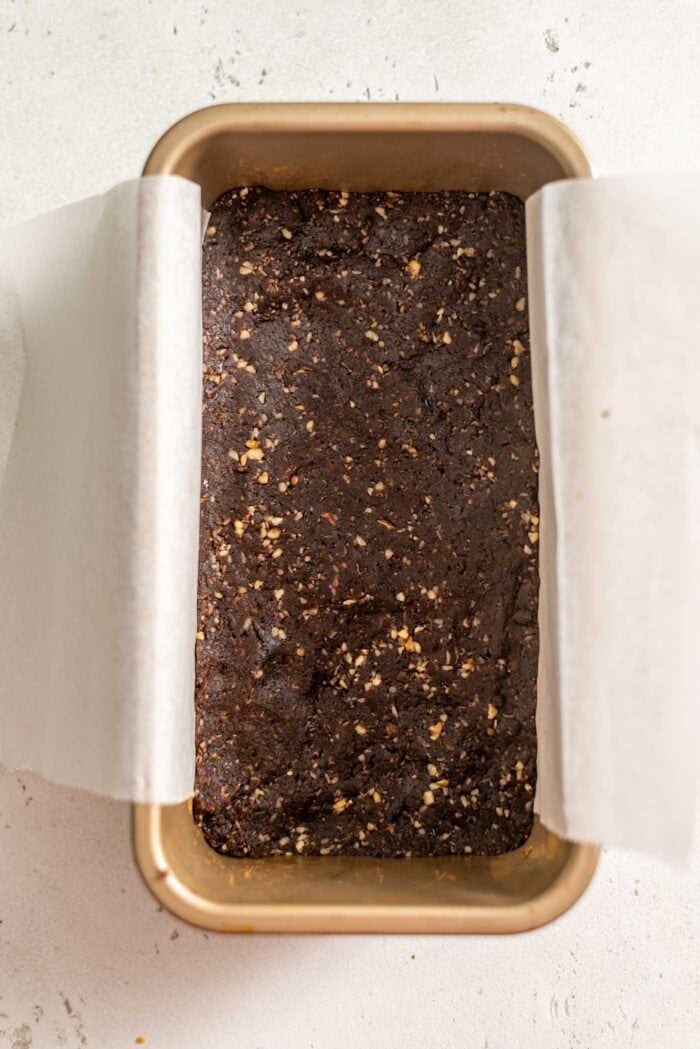
Firmly press the dough into the prepared loaf pan in an even layer to form the crust.
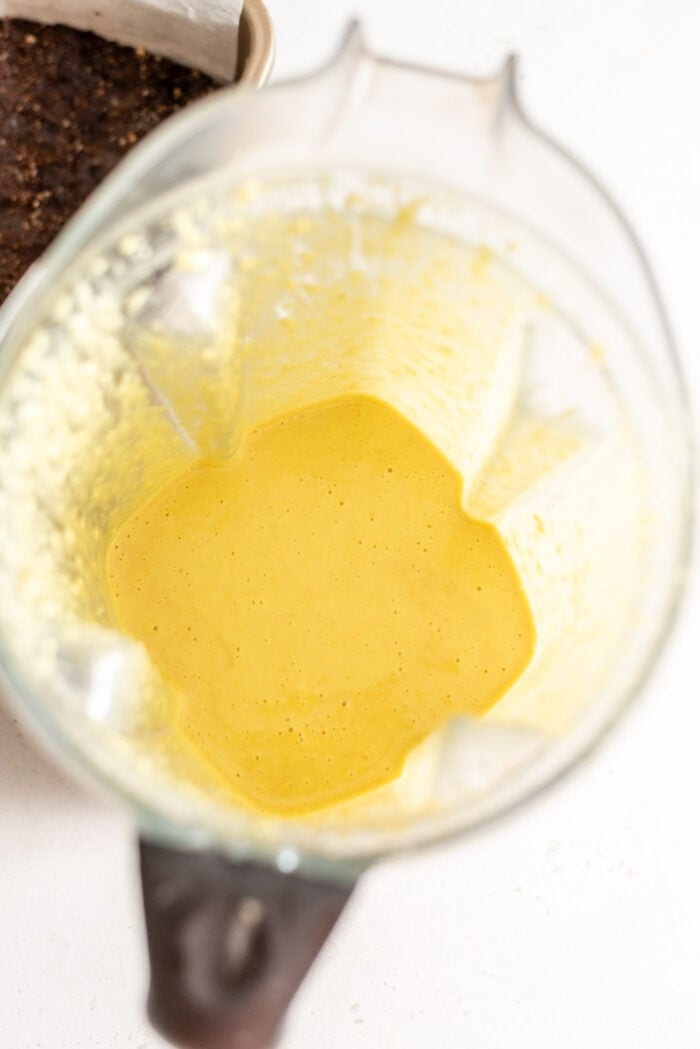
2: Make the Custard Filling
Next, let’s tackle the filling! The filling is best made in a high-speed blender like a Vitamix or Blendtec.
Add the soaked cashews, coconut milk, turmeric, maple syrup and coconut oil to the blender and process until smooth and creamy.
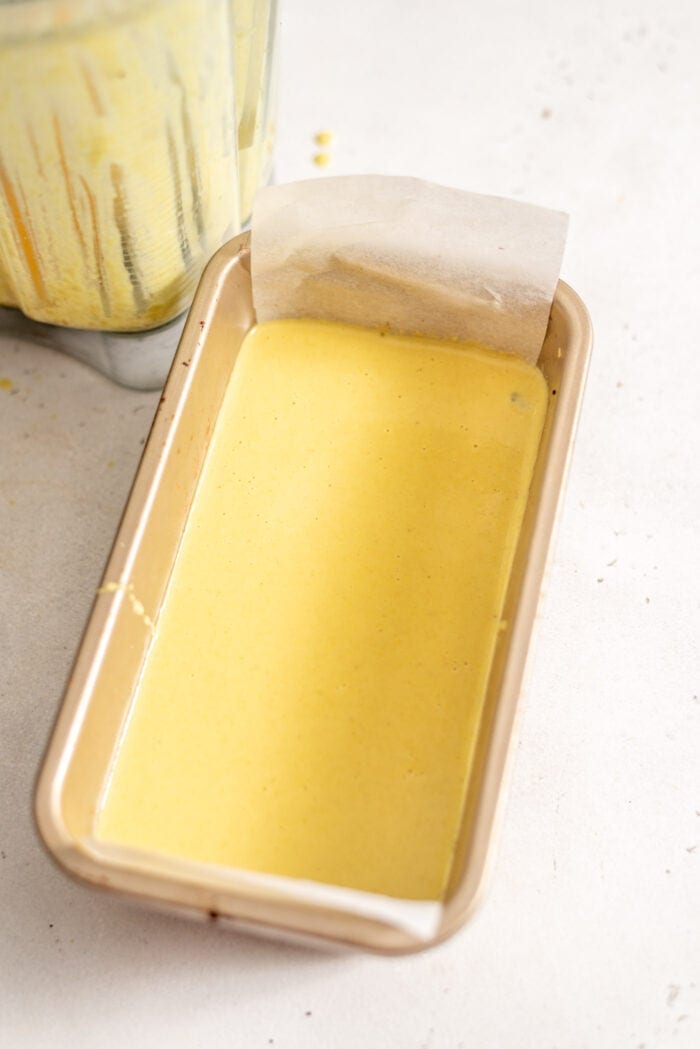
3: Add Filling to Crust Layer
After you’ve blended the filling, pour it over the prepared crust in the loaf pan and place the whole pan into the freezer for a couple hours to set. As soon as it’s firm, it’s ready for the chocolate topping.
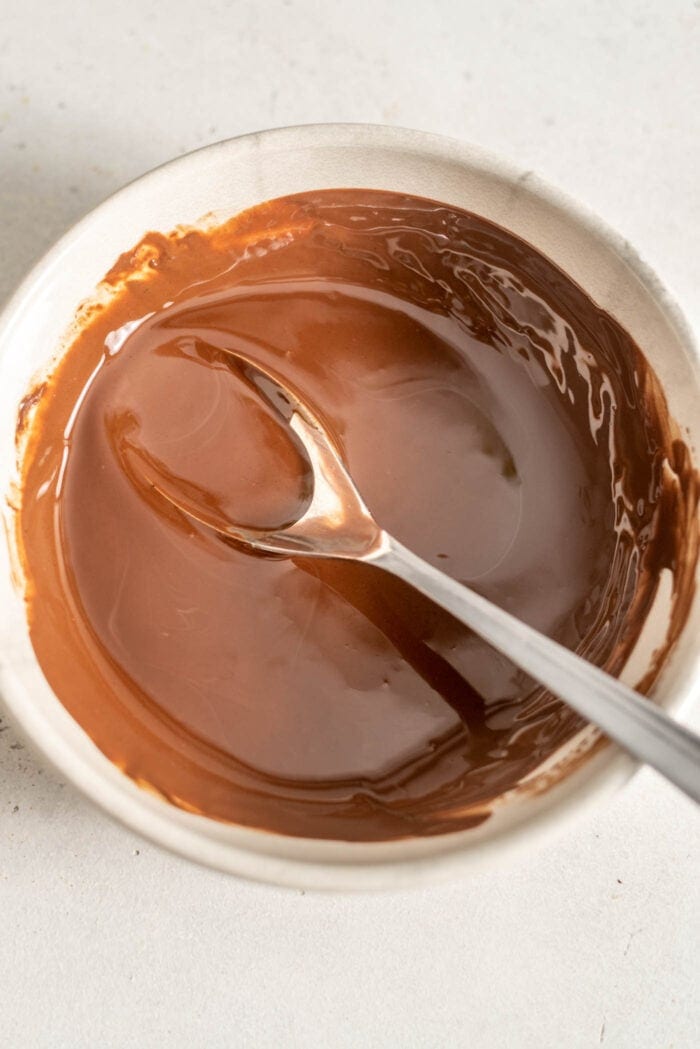
4: Make the Chocolate Ganache
Last step! The chocolate ganache. This part is easy. Just melt some chocolate and vegan butter and pour it over the firmed custard filling.
How to Melt the Chocolate: You can either melt the chocolate in the microwave or melt it stovetop, ideally using a double boiler. To melt it in the microwave, start with 20 seconds then stir every 15 seconds.
Once there are just a few chunks or chocolate chips left, stir until they’ve melted and it’s smooth and creamy.
5: Add Ganache & Freeze
Pour the melted chocolate mixture over the custard layer, smooth with a small spatula and place the whole pan in the fridge or freezer until the chocolate has hardened.
It will firm faster in the freezer so pop the whole thing in there if you’re just dying to try one. The chocolate doesn’t take too long to set.

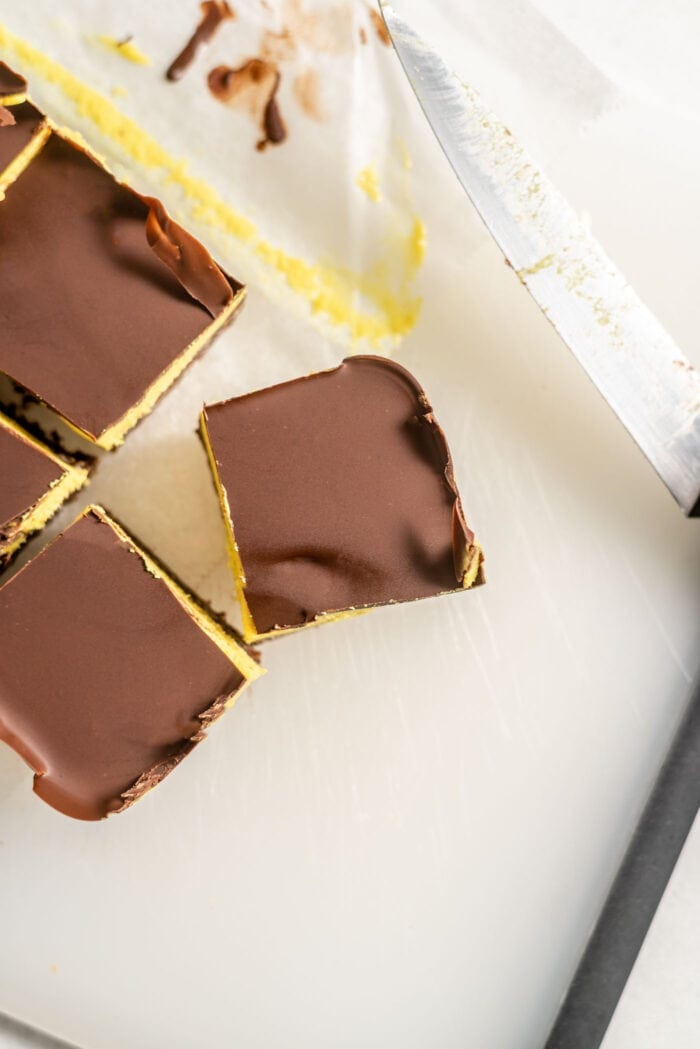
6: Slice and Enjoy!
Once the chocolate has hardened, carefully lift the bar out of the pan using the parchment paper and place them on a cutting board.
If there are edges that aren’t lined with parchment, run a knife under hot water and then run it along the edge of the pan to loosen the bars.

To prevent cracking the chocolate, let the bars sit at room temperature for 5-10 minutes before slicing.
Run a knife under hot water then score the bars, creating lines where you wish to cut. I’d recommend slicing into 8 portions. Once scored, gently slice all the way through.
Notes and Tips
- Good quality coconut milk is important. Shake the can at the store. If it feels water and liquidy, try another brand. Look for one that feels thick and nearly solid when you shake it. You can also use canned coconut cream.
- I did my best to get the proportions right but the custard and crust layers are probably a bit thicker than a traditional Nanaimo bars. For thinner bars, you can use a larger pan.
- I don’t mind them thicker but I would suggest slicing them into 16 mini bars instead of 8 large squares because they’re quite decadent and a little goes a long way!
- If your dates seem overly dry or you’re unsure, soak them (pitted) in hot water for 15 minutes then drain well before using in the recipe. If you’re using medjool or sayer dates you should be fine without soaking and you can always add a bit of warm water to the crust if needed.
Frequently Asked Questions
Yes. To make these without a high-speed blender, just be sure to soak the cashews for at least 8 hours.
You can also use a food processor to make the custard filling but I find you get a smoother result using a blender and a smooth, creamy custard is key!
The purpose of the vegan butter in the ganache is to make it a little softer and more ganache-like when it firms up. It also prevents the chocolate from cracking when you slice the bars. You can leave it out but just keep that in mind!
If you don’t want to use butter, almond butter or cashew butter also works.
Yes. You can double the recipe and make the bars in a 8-inch square baking pan.
Use butter, vegetable oil or almond butter in the chocolate, don’t cut them directly from the freezer, instead let them thaw for 5-10 minutes, and use a sharp, thin knife that’s been heated under hot water.
When ready to slice, score them by tracing lines where you plan to cut them, then gently cut all the way through with the hot knife.
No. You can omit the turmeric if you like. It simply adds colour.
Storing Instructions
- The bars must be kept chilled.
- They can be stored in a sealed container in the fridge for 1-2 weeks but I’d suggest keeping them frozen.
- Store in a sealed container or freeze bag for up to 3 months. Keep frozen until 5-10 minutes before serving then sit at room temperature or in the fridge until ready to serve. I love them straight from the freezer!
- They will get very soft and melty if they’re left at room temperature for too long, especially in a warm environment.
More Christmas Recipes
Here are some more fun treats to add to your Christmas list:
- Easy Vegan Turtles: Just 3-ingredients and super fun to make!
- Vegan Rum Balls: No-bake rum balls perfect for Christmas.
- Gluten-Free Vegan Thumbprints: Super yummy Christmas cookie with a twist.
- Vegan Eggnog: Goes amazing with Nanaimo Bars.
- Coconut Macaroons: No-bake and so easy and delicious.
- Vegan Chocolate Pie: Super easy no-bake pie made with…tofu!
- Vegan 7 Layer Cookies Bars: Highly addictive. Watch out!
No-Bake Vegan Nanaimo Bars
Ingredients
For the Chocolate Coconut Crust
- 1 cup packed, soft pitted dates, 220 g
- 1/4 cup cocoa powder, 25 g
- 1/2 cup unsweetened fine shredded coconut, 50 g
- 1/2 cup chopped walnuts or walnut pieces, 60 g
For the Custard Filling
- 1 cup raw cashews, 140 g
- 1/4 cup + 3 tbsp thick and creamy full-fat coconut milk, 105 g
- 3 tbsp coconut oil, 45 g, measured solid
- 1/4 cup maple syrup, 85 g
- 1/4 tsp turmeric
- 1 tsp pure vanilla extract
For the Chocolate Ganache
- 3/4 cup dairy-free chocolate chips or finely chopped dark chocolate, 120 g
- 2 tbsp vegan butter, 30 g, optional
Instructions
- If you’re using a high-speed blender, soak the cashews for 15 minutes (longer is ok) in boiled water before proceeding with the recipe. If you do not have a high-speed blender, soak the cashews in room temperature water for at least 8 hours up to overnight.
- When you're ready to make the recipe, line a standard-sized loaf pan with parchment paper so that there are two flaps sticking out either side.
- To make the chocolate crust, add the ingredients to a food processor and mix into a crumbly dough. The dough will seem a bit crumbly but should stick together if you press it with your fingers. Use your hands to firmly press the dough into the prepared loaf pan to form one even layer.
- To make the custard filling, drain the cashews and add them to a high-speed blender with the coconut oil, coconut milk (see notes), turmeric, vanilla and maple syrup. Start blending on low then slowly increase the speed until it's completely smooth and creamy. Pour the mixture into the loaf pan over the chocolate crust. Place the entire pan in the freezer for 1-2 hours to set. Once it's firm, you can add the chocolate ganache.
- To make the chocolate, add the chocolate and vegan butter to a small bowl and melt in the microwave, stirring every 15-20 seconds. When it's mostly melted but still a bit lumpy, gently stir until it's smooth and creamy. If you prefer, melt the chocolate stovetop using a double boiler.
- Gently spread the chocolate over the set custard filling until smooth.
- Set the pan in the fridge for 20-25 minutes until the chocolate has hardened.
- Gently run a knife along the ends of the pan where there is no parchment paper then use the flaps of parchment to lift the entire bar out of the pan. Place on a cutting board and slice into 8 large squares or 16 small bars. They are quite rich and decadent so I like to do 16 smaller mini-bars.
Notes
Nutrition
Originally published December 10, 2019.


This recipe is absolutely phenomenal! I lived in canada for 12 years and Nanaimo bars are definitely a sweet memory of my time there, this is my first xmas away and I actually have been making this recipe for a couple of years and I’m not sure if I ever left a comment on here. But I made this today for my friends here in Brazil and it was a massive hit!
Thank you so much!
Very good, even the kids liked it! I have to remember to cut the portions before the chocolate gets hard. I made it last year and decided to make it again for Christmas this year.
I Bow to the Queen of the vegan Nanaimo bar . Absolutely delicious and will be a treat to this Canadian gal . Thank you so much for sharing this fabulous recipe .
Haha, thank you so much! So glad you loved them.
Scrumptious! I made this for the first time and they’re delicious. Custard set fast, sweetness was perfect. I should have pre cut the chocolate top before refrigerating as it was fiddly to cut after. Also, I’m going to try adding 1 cup of rice cereal to the base next time for crunchiness. Otherwise these are a tasty and healthy nanaimo bar!
Can you use coconut cream in this instead of coconut milk?
I think that should be fine although I haven’t tried it! Let me know if you do.
These are so amazing! I could eat the whole batch in one sitting 😛
Haha…they really are so delicious!! Thanks for the review, so glad you enjoyed them!
This recipe is a winner. We love eating them straight out of the freezer! I originally made them as a Christmas treat but I know I’ll be making them year round.