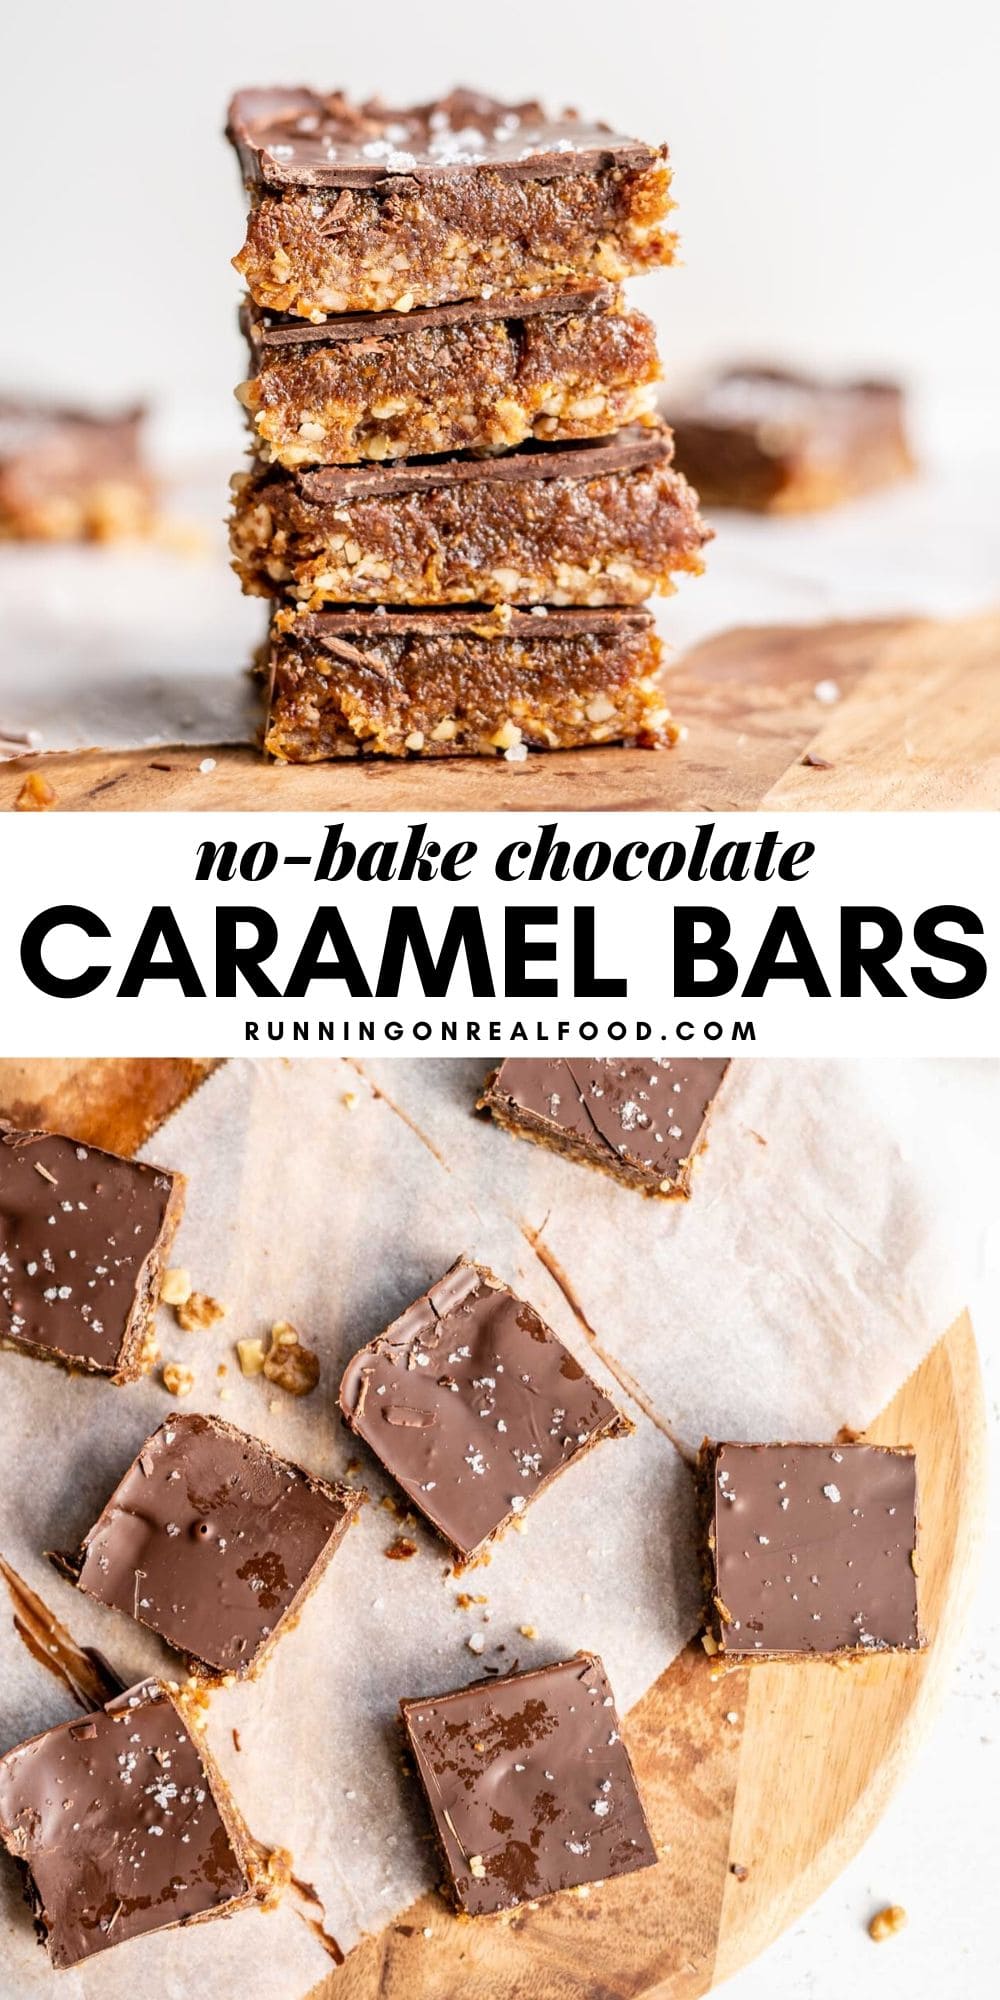
No-Bake Chocolate Caramel Bars
on May 09, 2023, Updated Aug 13, 2024
This post may contain affiliate links.
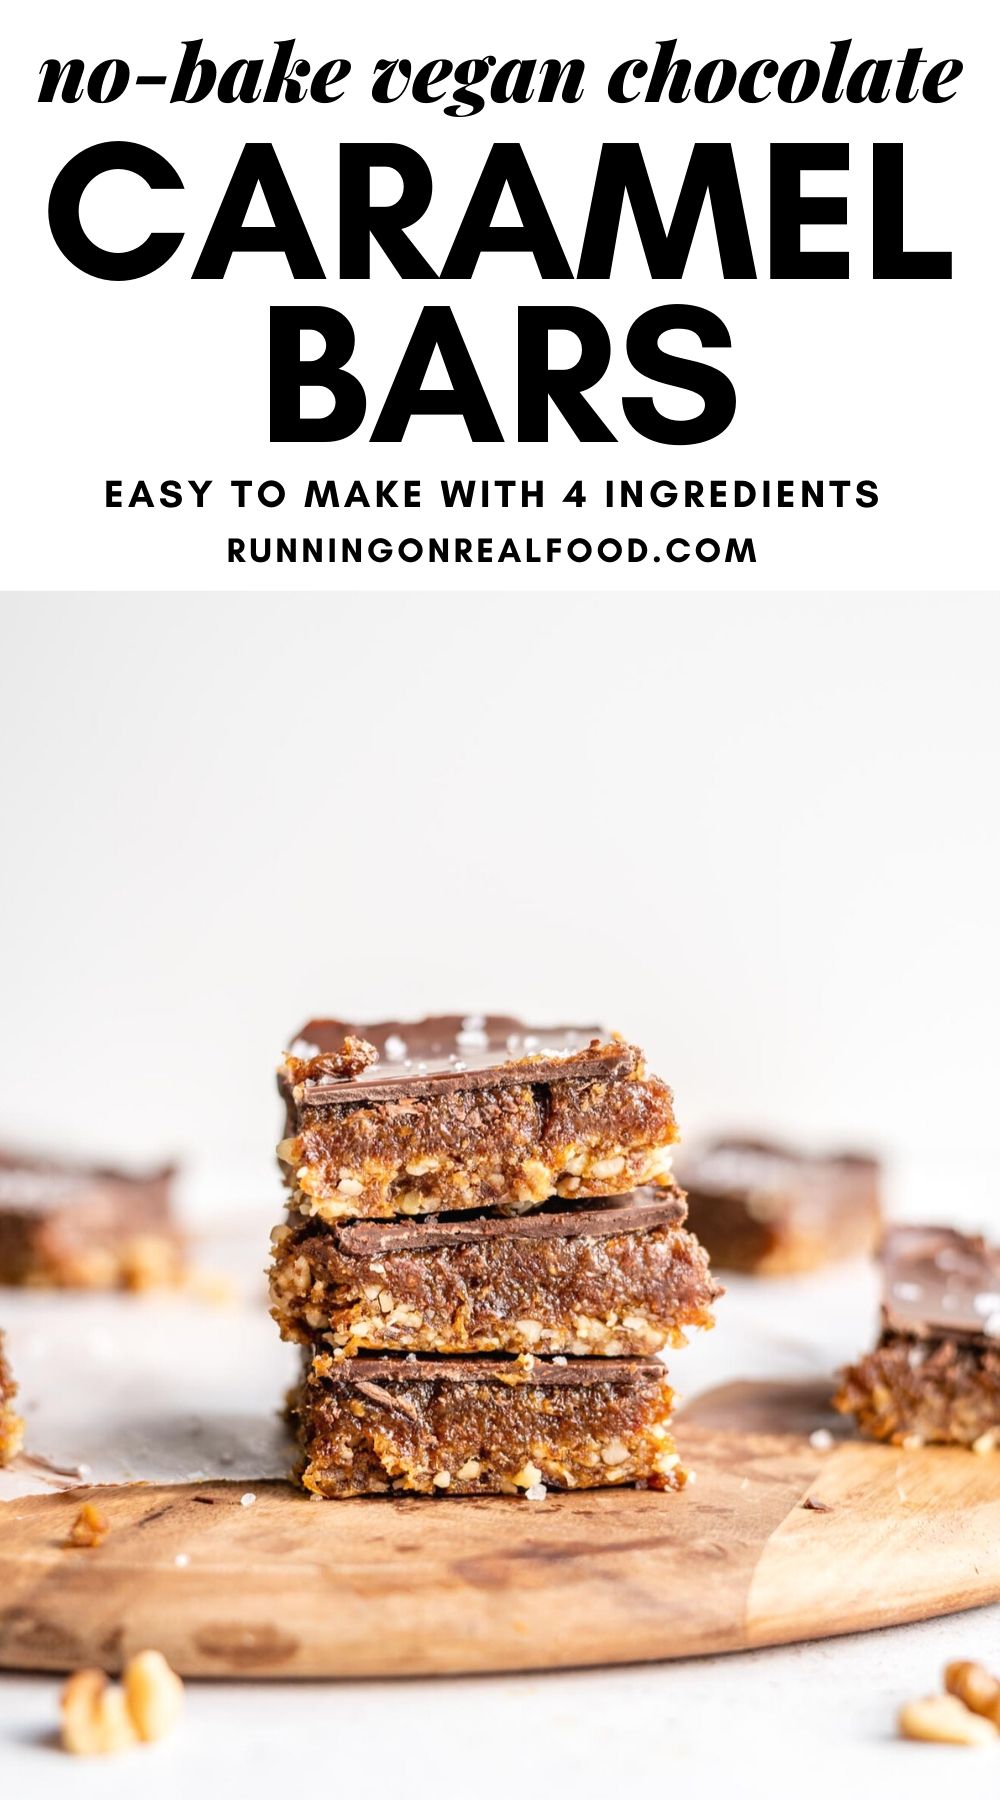
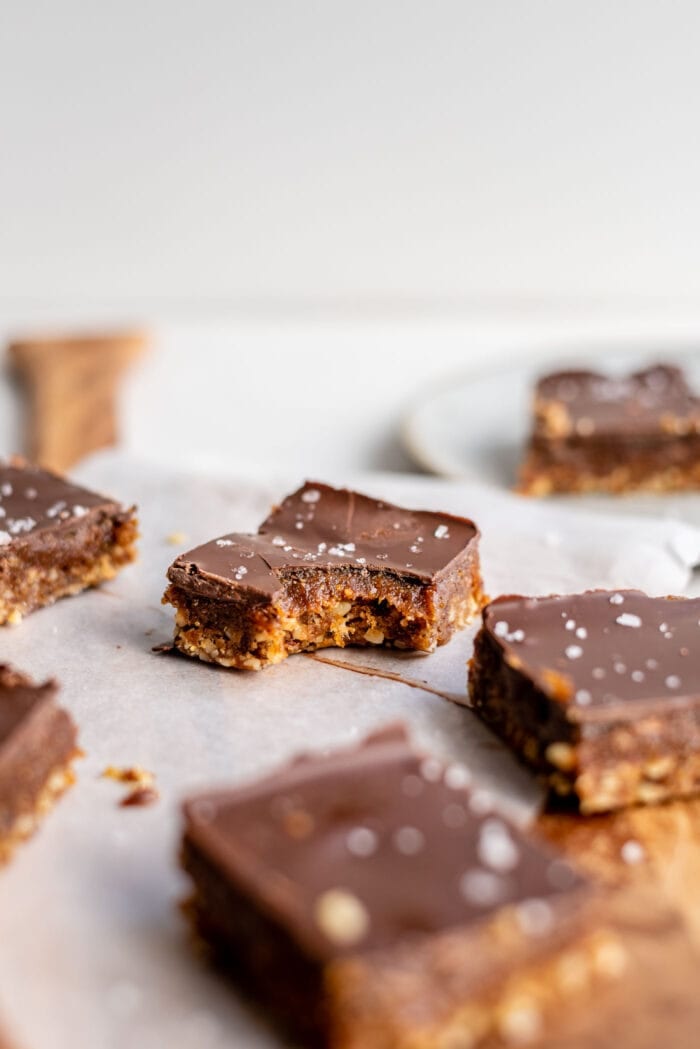
These no-bake chocolate caramel bars are easy to make, taste incredible and call for just 4 simple ingredients!
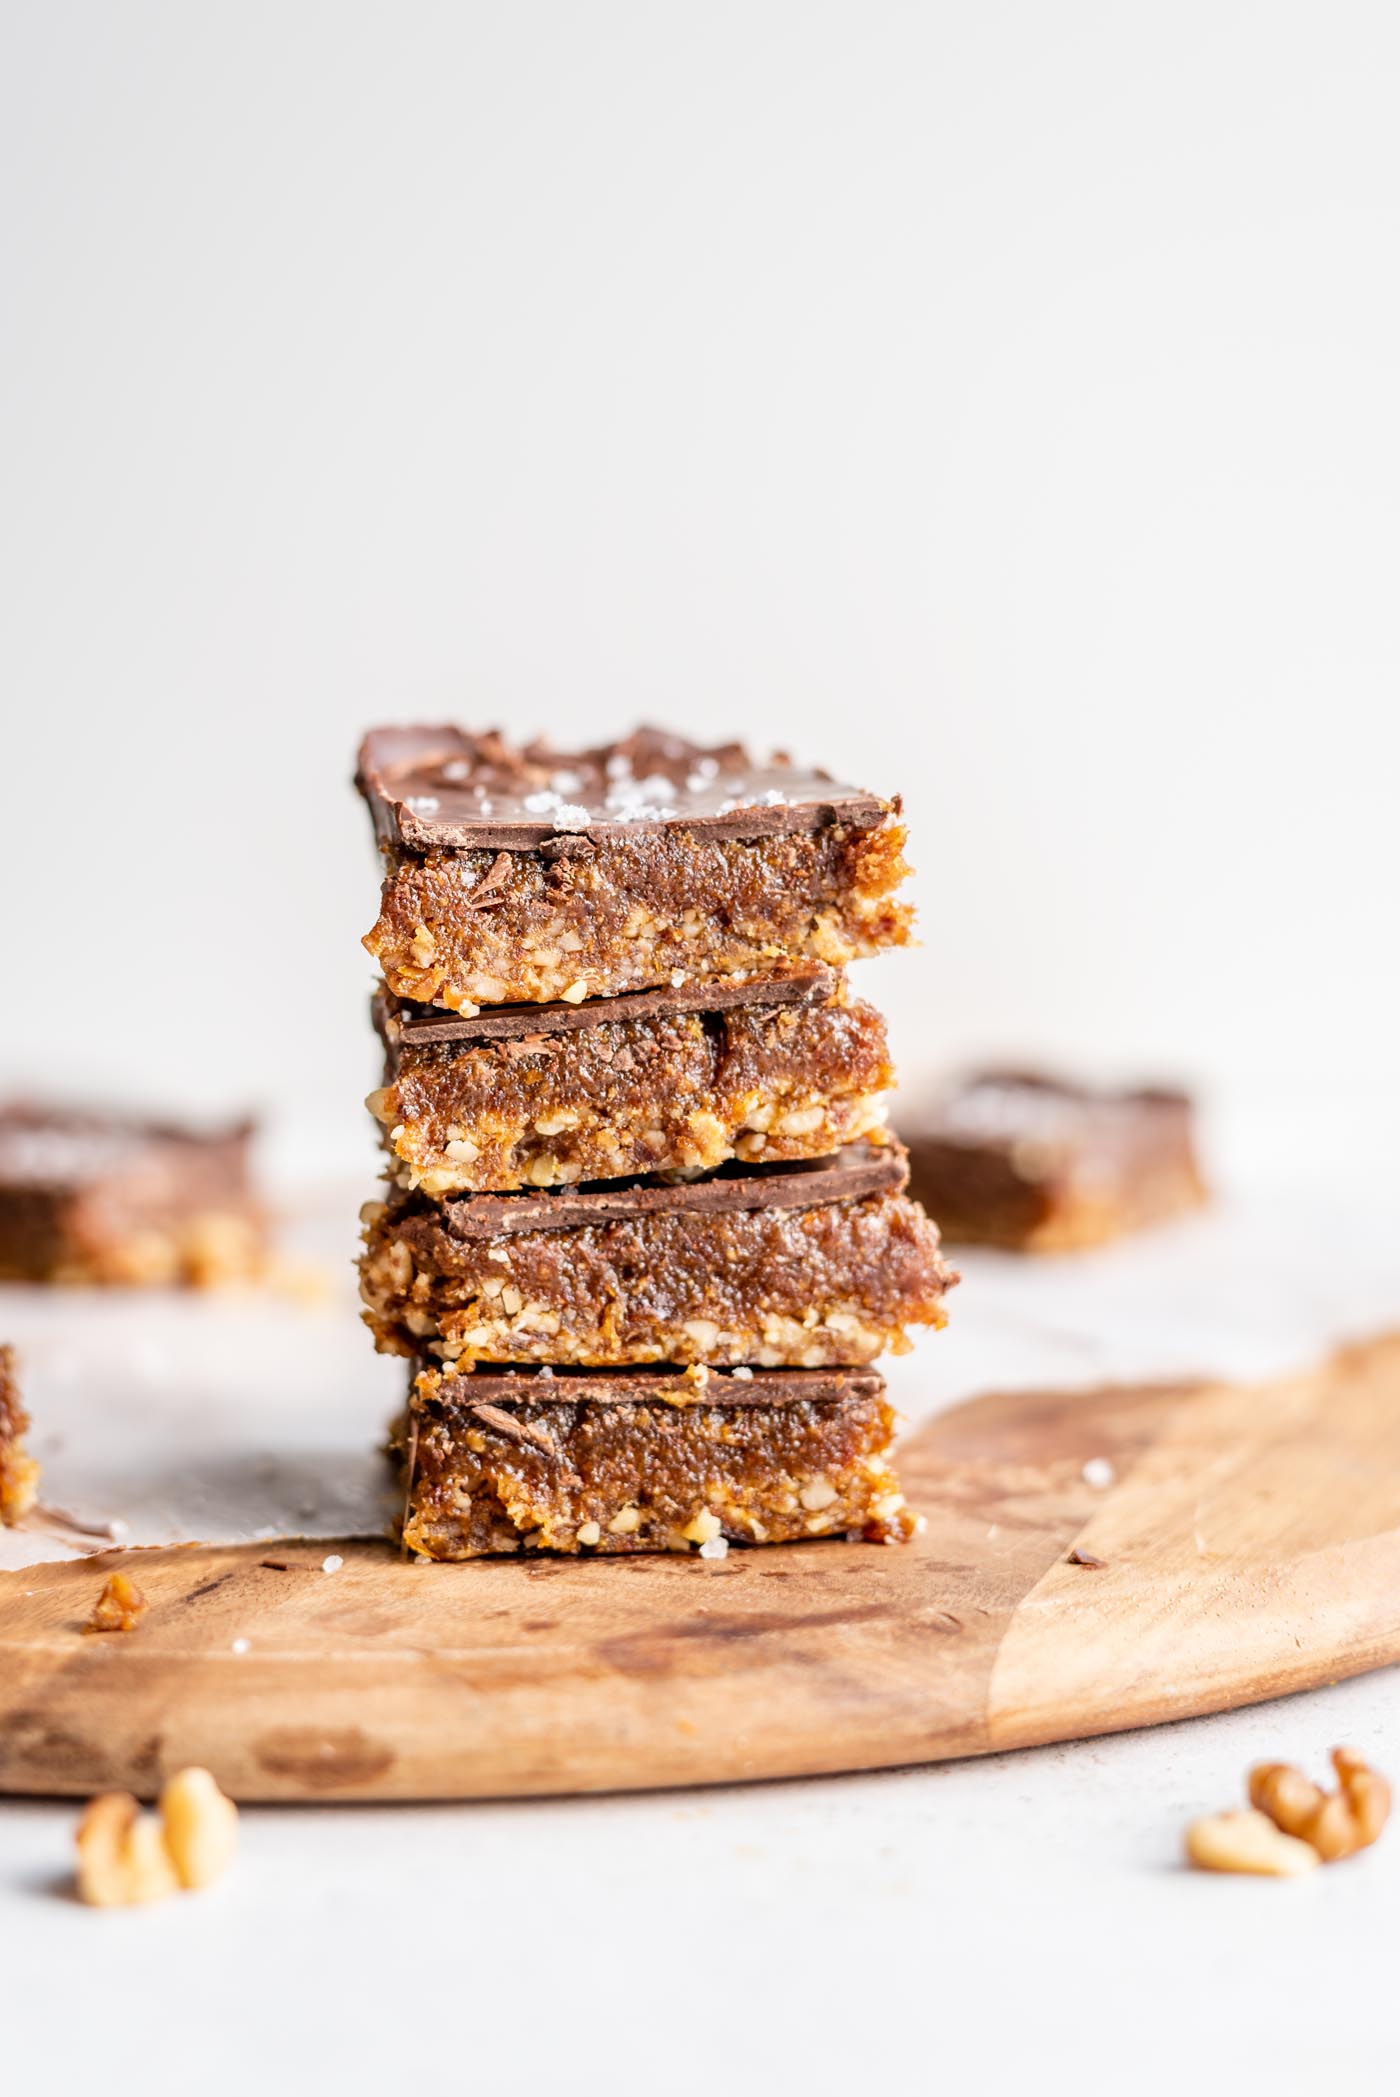
They feature a date and walnut crust and sweet and salty date caramel topped off with a layer of rich chocolate. They will definitely have you going back for seconds!
They’re easy to prepare, sure to impress, and the best part, you only need 4 ingredients to make them.
These chocolate caramel tarts, chocolate ganache tart, chocolate fudge bars and no-bake peanut butter bars use similar ingredients if you have extra!
Ingredient Notes
The complete ingredient list with measurements is located in the recipe card at the end of the post.
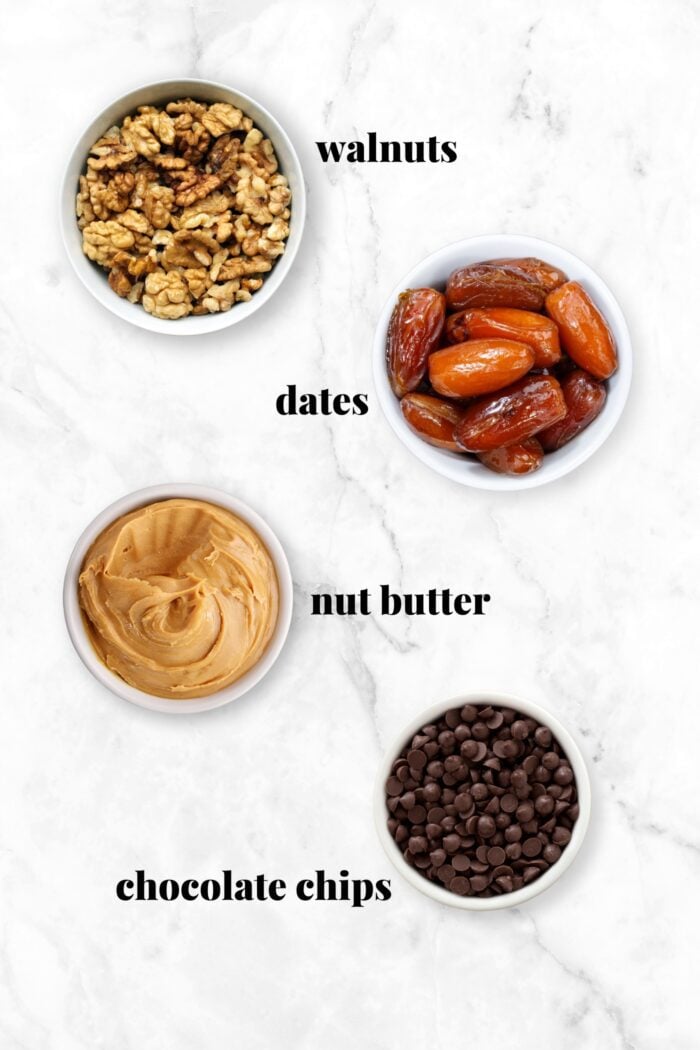
- Dates. Soft and moist dates are needed for the bottom later but the dates for the middle layer will be soaked first, so you can use pretty much any kind. I like medjool, deglect noor and sayer dates best.
- Walnuts. Look for raw walnuts without added oil or salt. You can substitute almonds or pecans or use a mixture of nuts.
- Nut butter. You can use almond butter, peanut butter or even tahini for the date caramel layer. Look for a natural nut butter with 1 or 2 ingredients for example, peanuts or almonds plus sea salt.
- Chocolate. You can use dairy-free chocolate chips or chopped dark chocolate for the chocolate layer. I like Enjoy Life or Camino chocolate chips.
Variations
- Sprinkle chopped nuts like almonds, pecans or crushed pistachios over the caramel for a layer of crunch.
- Add up to 1/2 cup shredded coconut to the crust or caramel layers.
- For coffee lovers, add 1-2 tsp espresso powder to the crust or caramel layers to give the bars a subtle coffee flavour and enhance the chocolate flavour.
- Sprinkle flaky sea salt over the chocolate layer for contrast and elevate the overall taste.
- Try half dates and half juicy dried cranberries in the crust layer for a fruity twist.
Step-by-Step Instructions
Before you start: Soak the dates for the caramel layer in a bowl of hot water for 20 minutes. When they’re done soaking, drain well.
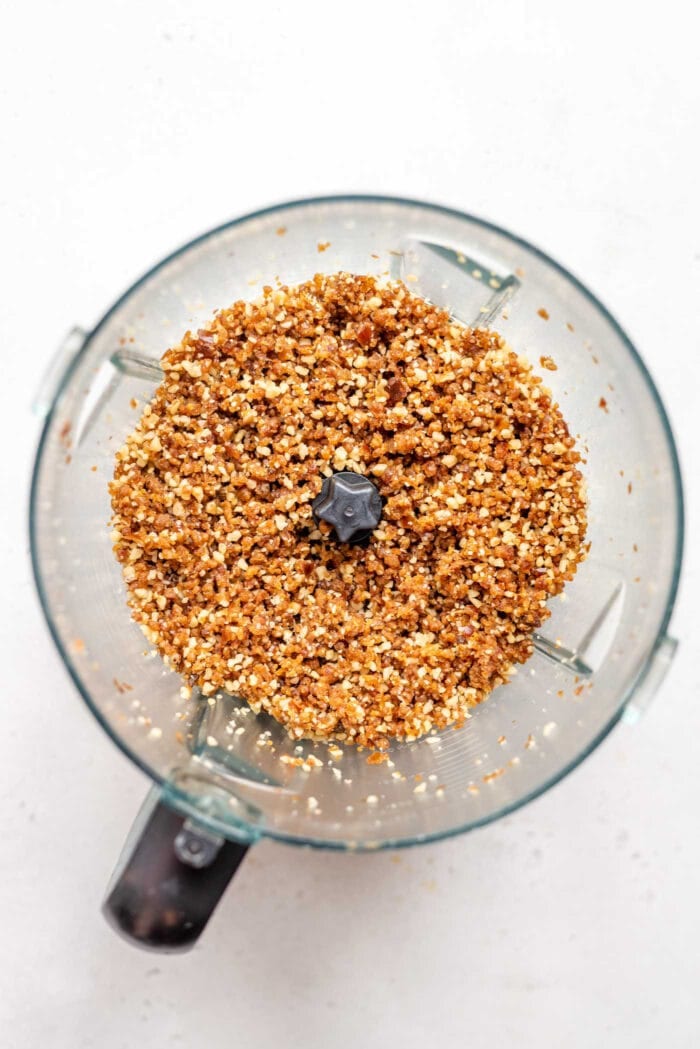
Step 1. Make the Crust
To make the bottom layer, add the dates and walnuts to a food processor and mix into a crumbly dough.
You should be able to press the “dough” into a little ball with your fingers. If it seems too crumbly, add 1-2 tsp warm water and process again.
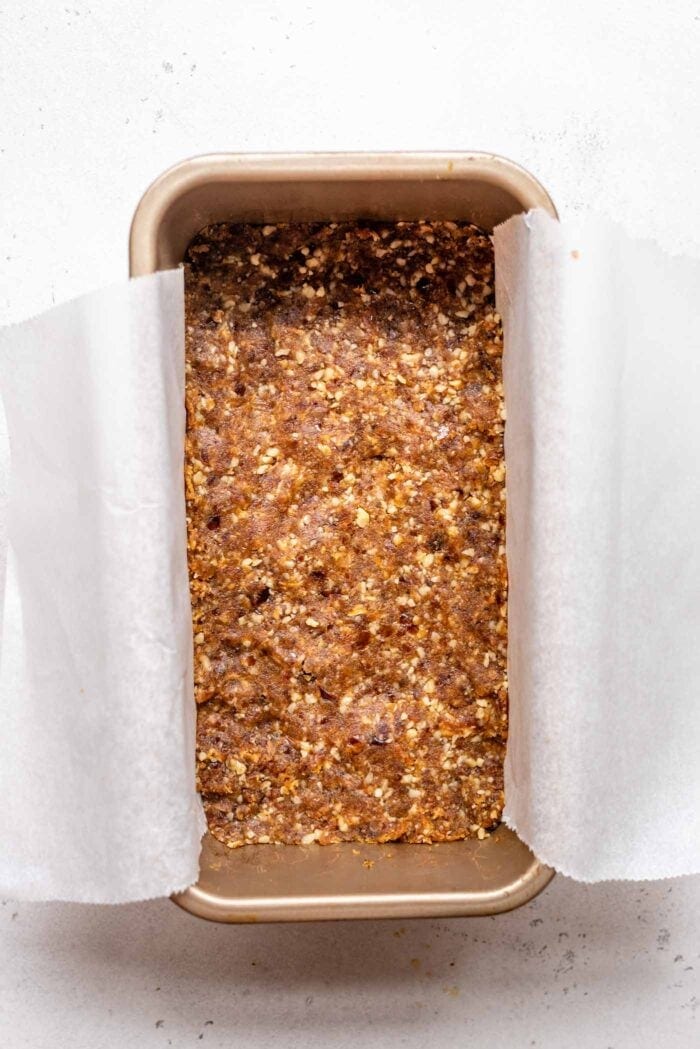
Use your hands to firmly press the the dough into a parchment paper-lined loaf pan. Take a few moments to really press it in firmly, making sure you work it into each corner.
It’s helpful to have the parchment paper stick out over the edges so you can easily lift the finished bars from the pan.
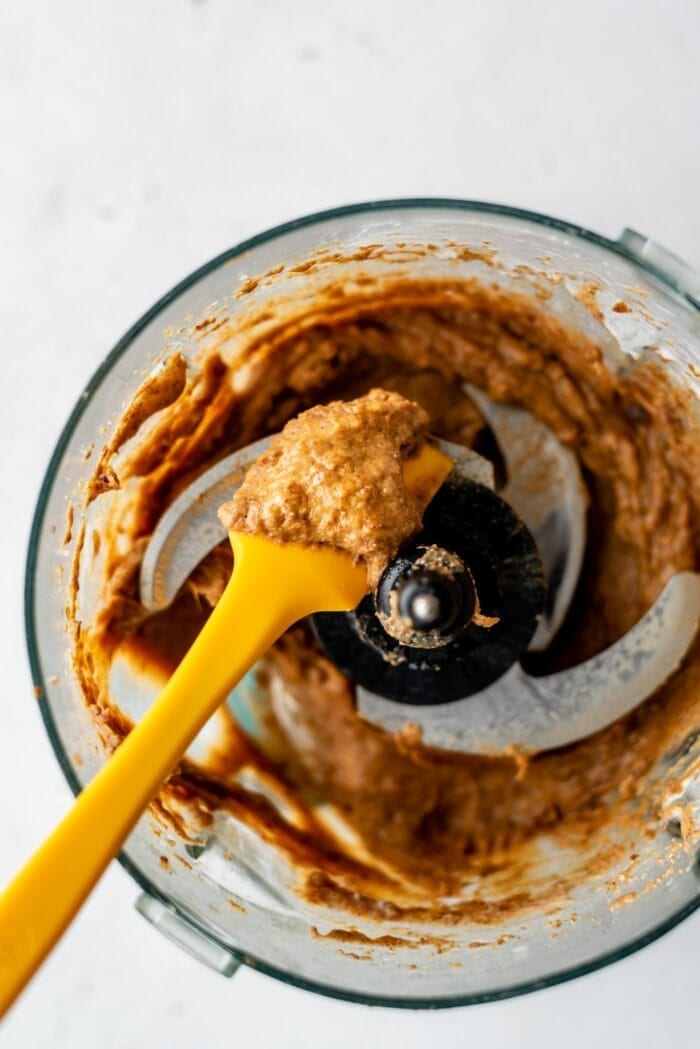
Step 2. Make the Date Caramel
Next, the date caramel…YUM!
Before you start this layer, give the food processor a quick wipe to remove any leftover bits of walnuts. There’s no need to clean it out completely though.
Add the soaked and drained dates (it’s okay if they’re a little wet), almond butter and sea salt and process to combine until smooth and creamy.
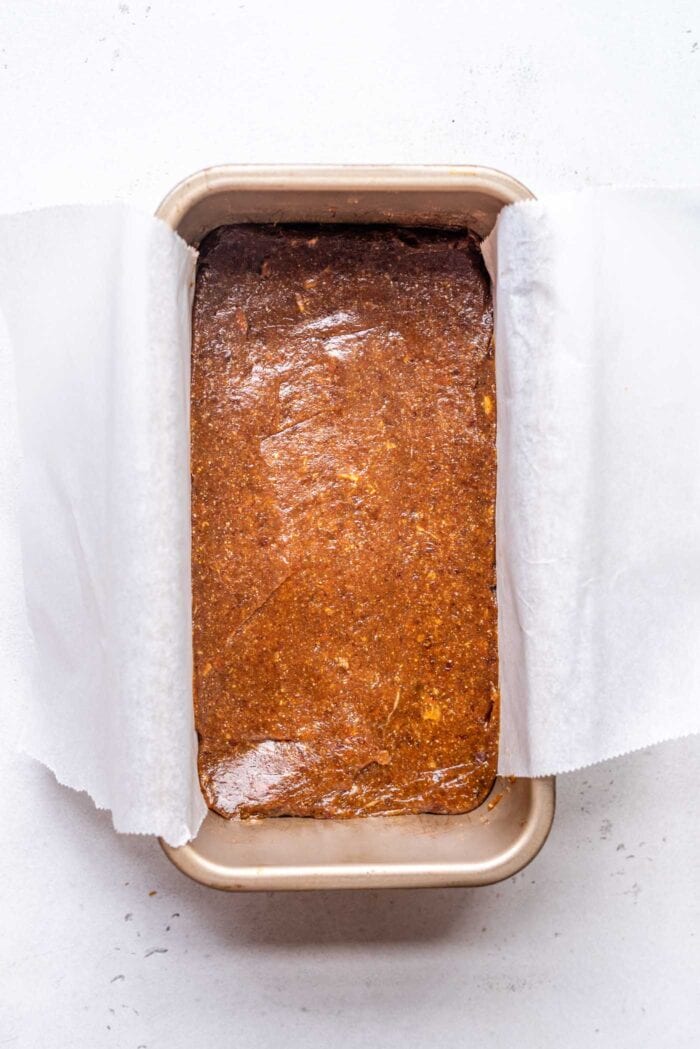
Spread the mixture evenly over the walnut date layer using the back of a spoon or small spatula.
Step 3. Make the Chocolate Topping
Finally, the chocolate topping! Melt chocolate chips or chopped dark chocolate in a microwave or stovetop using a double boiler.
If you’re using the microwave, melt for 30-seconds initially, stir, then continue in 15-second intervals. Once it’s nearly all melted, stir to mix in any remaining bits of chocolate.
Optional: Add 2 tsp of oil or butter to the melted chocolate to make it smoother, easier to spread and prevent cracking when you slice the bars.

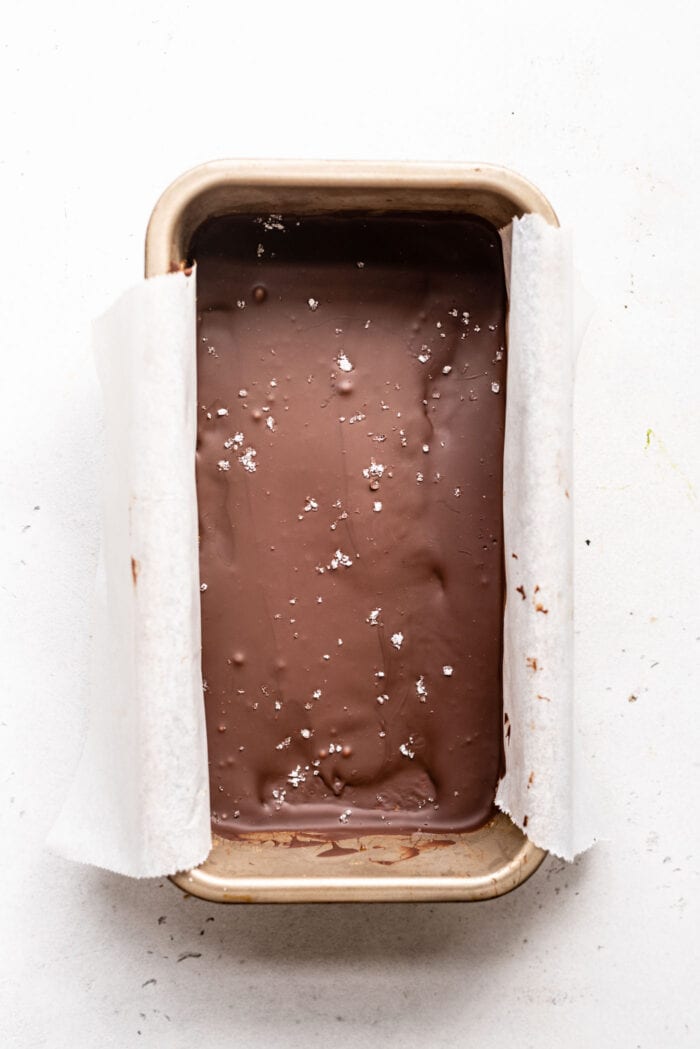
Pour the melted chocolate into the pan and spread evenly over the caramel layer.
It can help to gently shake the pan back and forth and drop on the counter from 1-2 inches to help evenly distribute and smooth the chocolate.
I recommend sprinkling the chocolate with some flaky sea salt. This really brings out the flavour of the date caramel and chocolate. Place the whole pan in the freezer to set the chocolate.
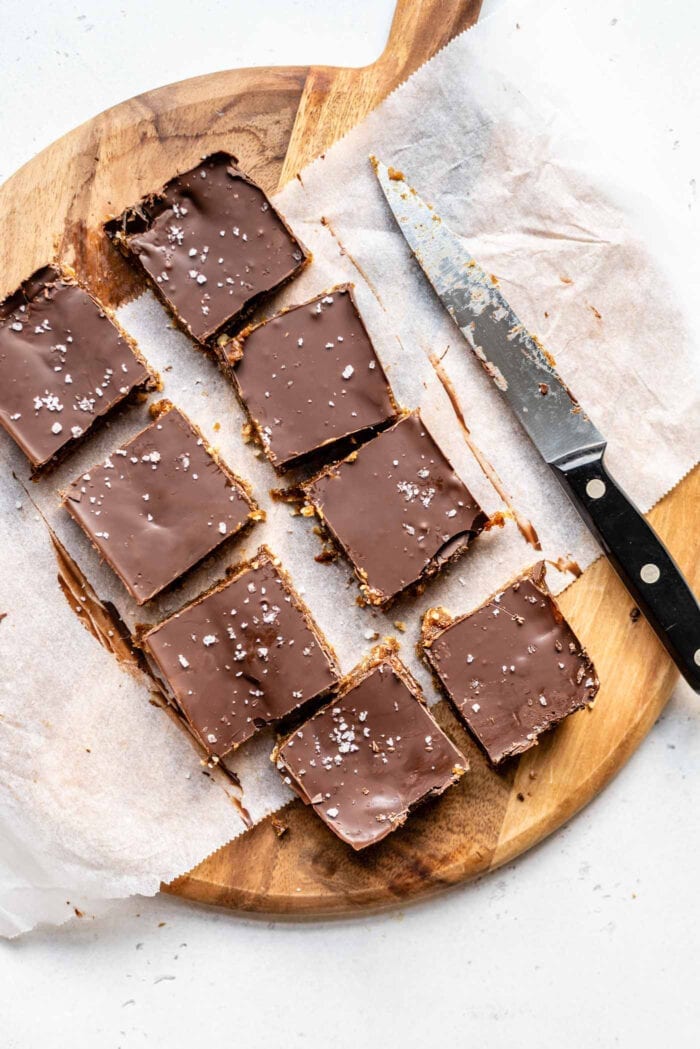
Step 3. Slice and enjoy!
Once the chocolate has hardened, they’re almost ready to enjoy! Follow the steps below to prevent the chocolate from cracking when you slice the bars:
- After pulling from the freezer, let the bars sit at room temperature for 15 minutes to allow the chocolate to soften a little.
- Run a sharp knife under hot water for 20 seconds then wipe off excess water.
- Score the bars by lightly running the knife over the bars where you want to cut them. Go back over the score lines a few times until you’ve almost cut right through the chocolate layer.
- Re-heat the knife, dry and then follow the score lines to gently slice into 8 large bars or 16 small slices.
Recipe FAQs
Absolutely! While the recipe suggests walnuts, feel free to experiment with your favorite nuts like almonds, pecans, or even a mix of different nuts.
Certainly! If you have dietary restrictions or preferences, you can swap the almond or peanut butter with other nut or seed butters like cashew butter, sunflower seed butter, or tahini.
Just keep in mind that the flavor may vary slightly and the crust layer still contains nuts.
Storing Instructions
- Room Temperature: In cooler temperatures, they can be stored in an airtight container at room temperature for a few days. Note that if it’s warm, the chocolate will melt and caramel will get overly soft and gooey. I recommend storing them in the fridge or freezer until serving.
- Refrigeration: Place the bars in an airtight container and store for up to 2 weeks.
- Freezing: These bars are freezer-friendly and it’s recommend to store them in the freezer. Store in an airtight container for up to 3 months. There’s no need to thaw them as they don’t freeze solid, so you can enjoy them directly from the freezer.
What to Make Next
Love no-bake desserts? Here are some more reader favourites you’ll have to try:
Pin this now to find it later
Pin It
No-Bake Chocolate Caramel Bars
Ingredients
For the Crust
- 3/4 cup chopped walnuts or walnut pieces, 90 g
- 3/4 cup packed, soft and moist pitted dates, 180 g
For the Caramel
- 1/2 cup packed, pitted dates, 120 g
- 1/4 cup almond or peanut butter, 60
- 1/4 tsp sea salt
For the Chocolate
- 1/2 cup dairy-free chocolate chips or chopped dark chocolate, 90 g
- 2 tsp melted vegan butter or coconut oil, optional*
Instructions
- Place the dates for the caramel layer in a bowl and cover with hot water. Soak for 20 minutes then drain well.
- Line a standard-sized loaf pan with parchment paper.
- Add the walnuts and dates to a food processor and mix for 30-60 seconds until it forms a crumbly but sticky dough. Firmly press the dough into the lined loaf pan until you have a firm, even layer. It helps to wet your fingers to prevent them from sticking to the dough.
- Add the soaked dates to the food processor with the almond butter and sea salt. Process into a thick, creamy texture then evenly spread it over the bottom layer in the loaf pan using the back of a spoon or small spatula.
- Melt the chocolate in the microwave in 15-20 seconds increments or using a double boiler. Stir until completely smooth. Using a spatula, evenly spread the melted chocolate over the caramel layer. Shake it back and forth gently or drop it on the counter top from an inch or two to help smooth and distribute the chocolate in an even layer. Sprinkle with a flaky sea salt if desired.
- Place the loaf pan in the freezer until the chocolate has hardened.
- Once the chocolate is hard, pull the bars from the freezer and let them set sit a room temperature for about 10 minutes. Lift out of the pan and onto a cutting board. Run a sharp knife under hot water for 20 seconds, then wipe excess water off and use it to score the chocolate, running the knife over the score lines a few times until you've almost cut right through the chocolate layer. This will help prevent it from cracking when you slice it. Heat the knife under hot water again, dry and then follow the score lines to gently slice the bar into 8 squares or 16 small bars.
Notes
Nutrition
Originally published January 28, 2020.


These bars are delicious! I always have a batch in my freezer. It’s a nice treat when I feel like something sweet.
Glad you like them!! They’re perfect for stashing in the freezer.
These sound so good! My son has a peanut and tree nut allergy, could I sub sunflower seeds or ? for the walnuts?
I haven’t tested it so I can’t guarantee it but that should work ok, yes. Enjoy!
Delicious!! Made this morning and we will see how long they last in the freezer…hard to resist! I may up the walnut to date ratio for the first layer next time just to get a little more crunchy, but would make again just as is! Awesome recipe – thanks so much!!
So very tasty! Disappeared so quickly. I added a little bit of desiccated coconut to the base because I love the taste! Worked well!
Also didn’t have any cracking of the chocolate. Waited ten min after freezing 🙂
can’t wait to make them again!
Great! I’m glad the chocolate worked out ok. Sounds great with coconut! I just posted a new caramel recipe with a chocolate coconut crust…so yummy! Thanks for trying my recipe and leaving a review, it’s very much appreciated!
YUM! Whole family loved it. My daughters said “is this a HEALTHY DESSERT” with many eyes rolling. I said “taste it and you tell me.” They thought it was delicious!
Absolutely GORGEOUS, Deryn! Love the walnut crust base 🙂 Walnuts are my fave!
Thanks! Let me know if you try them.