Vegan Chocolate Tahini Energy Bars with Hemp Seeds
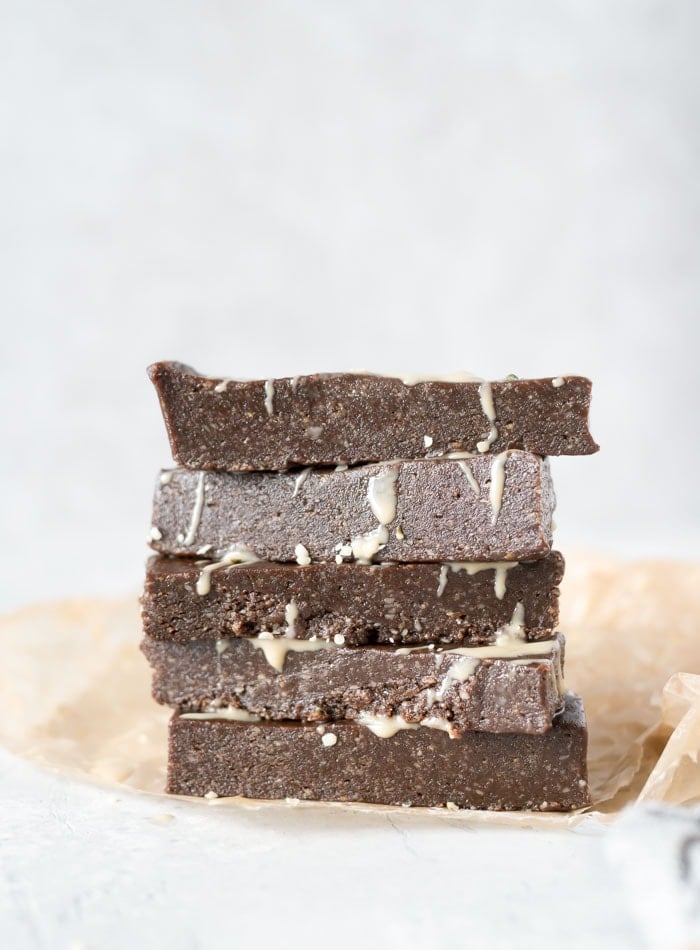
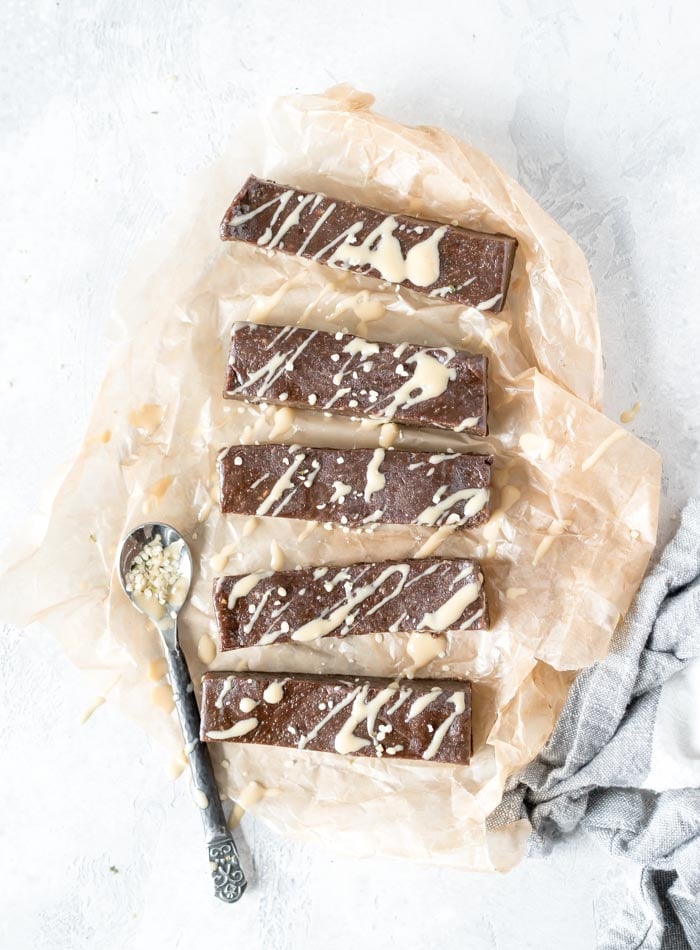
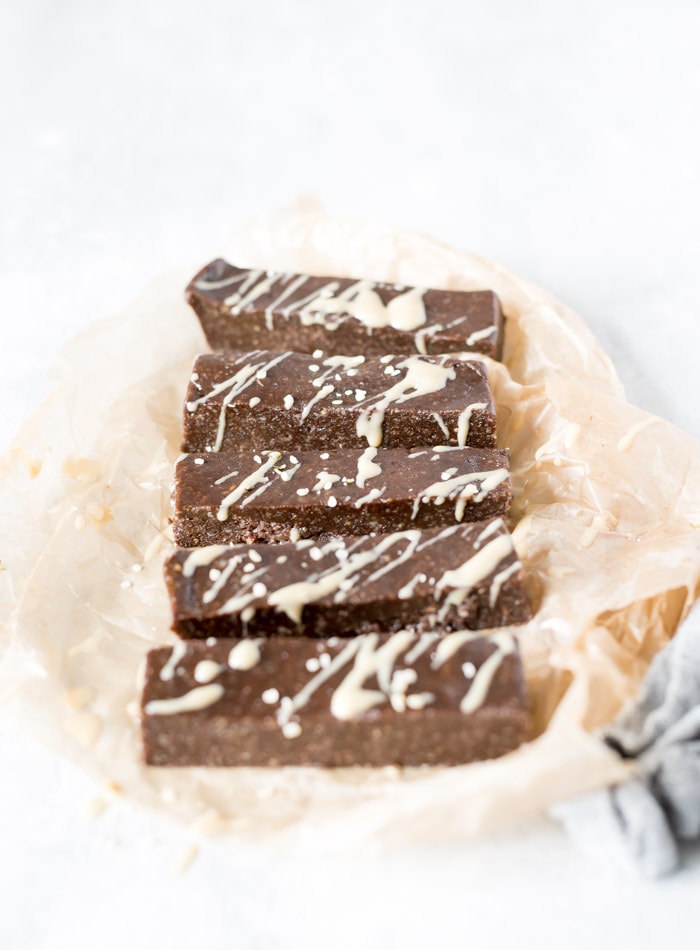
These nut-free, gluten-free, vegan chocolate tahini energy bars are made with just a handful of simple, whole food ingredients and they don’t require any baking. You’ll need tahini, dates, cacao powder, hemp seeds and plant-based protein powder. These wholesome ingredients combine into the most delicious homemade energy bars that are a breeze to make and will have you looking forward to snack time day after day. With such a rich, fudge-like texture, it’s hard to believe these bars made with just a few healthy ingredients!
Why I love Tahini
If you’ve been following Running on Real Food for a while, you know what tahini is one of my favourite ingredients. I love it in both sweet and savoury recipes and I’m never without it my kitchen. If you’ve never had tahini before, it’s simple a paste made from sesame seeds, much like peanut butter or almond butter. I love it because it’s high in iron and calcium and has the most amazing, creamy consistency and delicious flavour.
Best Tahini To Buy
Tahini varies brand to brand but a good tahini should be smooth, drippy and should slightly sweet without a bitter aftertaste. I like Arz Fine Foods, Soom Tahini and Alkanater. I don’t love the Nuts To You Organic Tahini, I find it to be too dry with a bitter taste. There are plenty of other brands but these are the most often available here in Canada. I’m sure in the US there is a larger selection so if you have a favourite, leave a comment below as a heads up to other readers.
Make Your Own Tahini
You can also easily make tahini at home with sesame seeds and a good blender. You’ll also need a bit of olive oil to get the right consistency. To make it, simply blend 1-2 cups of hulled sesame seeds in a high-powered blender until starting to get creamy, then slowly blend in 2-4 tablespoons of olive oil until you reach a thick but creamy consistency. Store it in the fridge for up to 2 months.
Health Benefits of Tahini
Yes, tahini tastes amazing but what I really love about it is it’s iron and calcium content, making it a wonderful food for plant-based eaters. It’s also a good source of vitamin E, potassium and magnesium and has a higher protein content than most nuts. I love my nut butters, don’t get my wrong but tahini makes a regular appearance both on toast and in recipes and of course, my favourite, lemon tahini sauce.
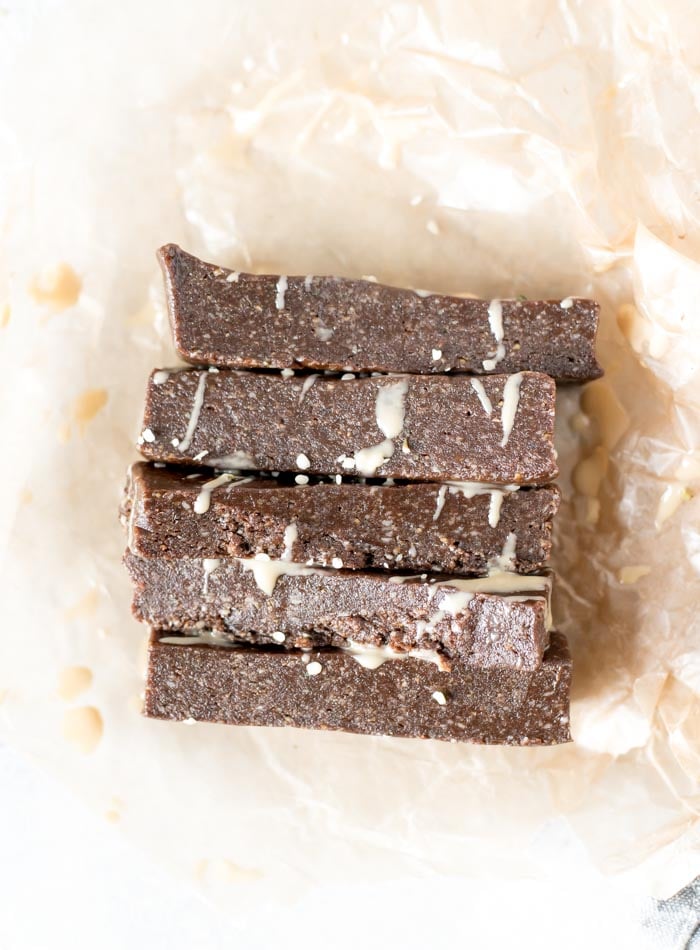
Vegan Chocolate Tahini Energy Bars
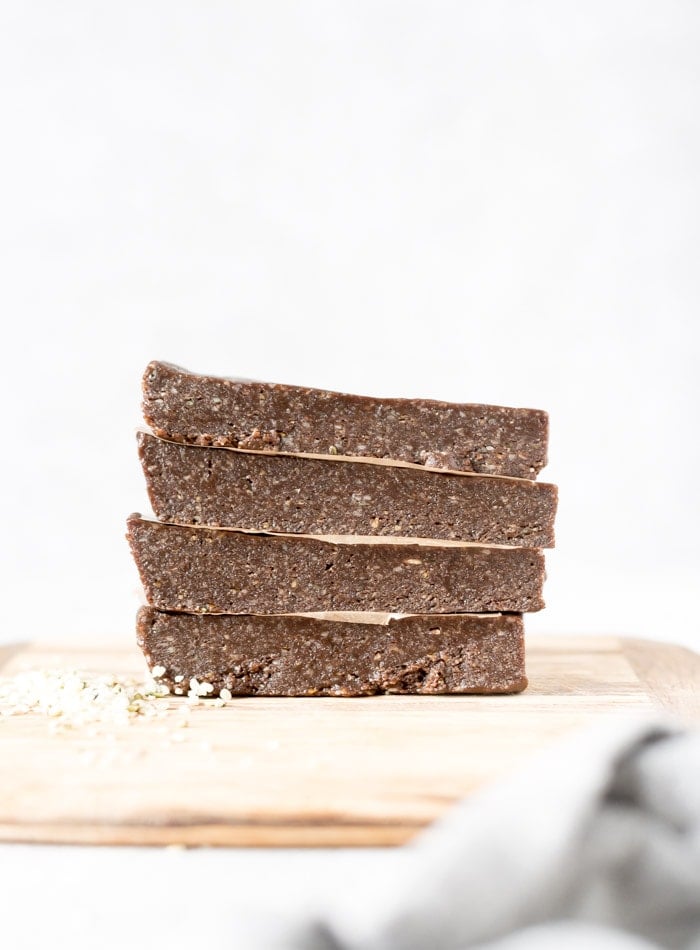
These bars are definitely closer to dessert than energy bar. The texture is very rich and fudge-like so they tastes much more decadent than they are.
They’re easy to make in a food processor. You’ll need:
- Tahini for flavour, nutrition and holding it all together.
- Soft, fresh dates for natural sweetness, fibre and the base of the recipe.
- Cacao powder for chocolate flavour and nutrition (you can use processed cocoa powder if needed).
- Plant-based protein powder for the added protein. I used Vega Performance Protein.
- Hemp seeds for healthy fats, vitamins, minerals and protein.
- Sea salt for that perfect sweet and salty flavour.
I also added a little cinnamon and pure vanilla extract but they’re both optional.
About the “Dough”
Once you’ve made the dough, things are going to get a little messy. I apologize but I promise it will be worth it! The dough is sticky and you may need to use wetted hands to press it into the pan. Use slightly wetted hands to spread and press the dough into the pan until you have a smooth surface. Once they set in the freezer they’ll firm up and won’t be messy or sticky when ready to eat.
Storing These Bars
These bars need to be stored in the freezer as they’ll melt at room temperature. They should be okay in the fridge but I always keep them in the freezer. They don’t freeze solid and they’re amazing straight from the freezer. So. dang. fudgy.
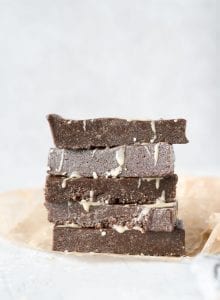
Vegan Chocolate Tahini Energy Bars
- Prep Time: 10 mins
- Total Time: 10 minutes
- Yield: 14 bars
- Category: Dessert
- Method: No-Bake
- Cuisine: Vegan, Gluten-Free
Description
Rich, chocolately, fudgy tahini bars with hemp seeds! You will love these simple but decadent bars.
Ingredients
- 2 cups lightly packed, soft pitted dates (350 g, see notes)
- 1/2 cup tahini (120 g)
- 1/2 cup chocolate or vanilla vegan protein powder of choice (50 g)
- 1/4 cup cacao powder (24 g)
- 1 cup hemp seeds (160 g)
- 3/4 tsp sea salt
- 2 1/2 tbsp almond milk or water
Instructions
- Add everything to a food processor and mix until it forms a thick dough. It will take a little bit but it should form into one big dough ball, once it’s does, it’s ready to go.
- Press the dough (you may need to use wet hands, it can be sticky) into a parchment paper, wax paper or saran wrap-lined square baking pan. Take a few moments to press it down into the corners and work it all together. It will be a little sticky and messy.
- Place in the freezer for 4 hours up to overnight to set.
- Lift the bars out of the pan and cut into 14 bars.
- Store the bars in the freezer for up to 3 months. I love them straight from the freezer for the best fudgy consistency. They won’t freeze solid and they’re so good this way!
Notes
It’s important to use soft dates in no-bake recipes like this. I would recommend medjool, sayer, honey or deglect noor but as long as they’re moist and fresh, any kind should work. Medjool dates have the best flavour and texture in my opinion but I often use sayer dates. If you only have hard, dry dates, soak them in hot water for 15 minutes and thoroughly drain before using.
For best results, use a kitchen scale and weigh your ingredients according to my measurements.
Nutrition
- Serving Size: 1 bar
- Calories: 231
- Fat: 10 g
- Carbohydrates: 24 g
- Fiber: 4 g
- Protein: 11 g






Why do all vegan recipes have dates (I hate, hubby is allergic), coconut (I hate, daughter is allergic), psyllium
(I’m sensitized), or other ingredients I can’t use and they say there are no substitutes for? It’s frustrating to want to try these foods but find they contain ingredients that I or my family cannot have.
I have many recipes that don’t use these ingredients. In most of date recipes, you can use soaked raisins or other dried fruit but they do impart more flavour than dates do and typically you can’t taste the dates once they’re blended with other ingredients. Of course, there is no way around an allergy so sorry about that. I only have 1 recipe out of 700 that uses psyllium though! Coconut is very handy for it’s properties at cold temperatures – the fat is used to harden no-bake treats like these so when I’ve used it, there usually isn’t a substitution. That being said, you can always reach out for substitution ideas and I will try to help in any way I can!
Anything you can substitute for the protein powder?
I can’t recommend anything else for this recipe as it’s quite a large amount and adds sweetness and texture. You could maybe try cocoa powder or a mix of cocoa powder and almond flour or something, but I’m not sure how that would turn out. I’d recommend trying one of my other energy bars that doesn’t use protein powder if you don’t want to use it. 🙂 Thanks!
Lovely and chocolaty. I didn’t have help seeds so substituted with lsa and flaxseed and chia seeds. Pressed into pan with a layer of wax paper on top so no sticky mess.. great recipie.
Glad you enjoyed them!
Something like this is good to eat if you must have something in your stomach before you do your semi-fasted morning exercise . There’s days when my stomach terribly growls and I end up giving in and eating something before I workout or even do an hour of treadmill cardio.
Oh wow, I haven’t thought to pair tahini with chocolate before! The protein and fiber content on these bars looks great as well. I’ll be trying this one!
Tahini in sweet recipes is EVERYTHING. It’s my favourite! Let me know if you try them!