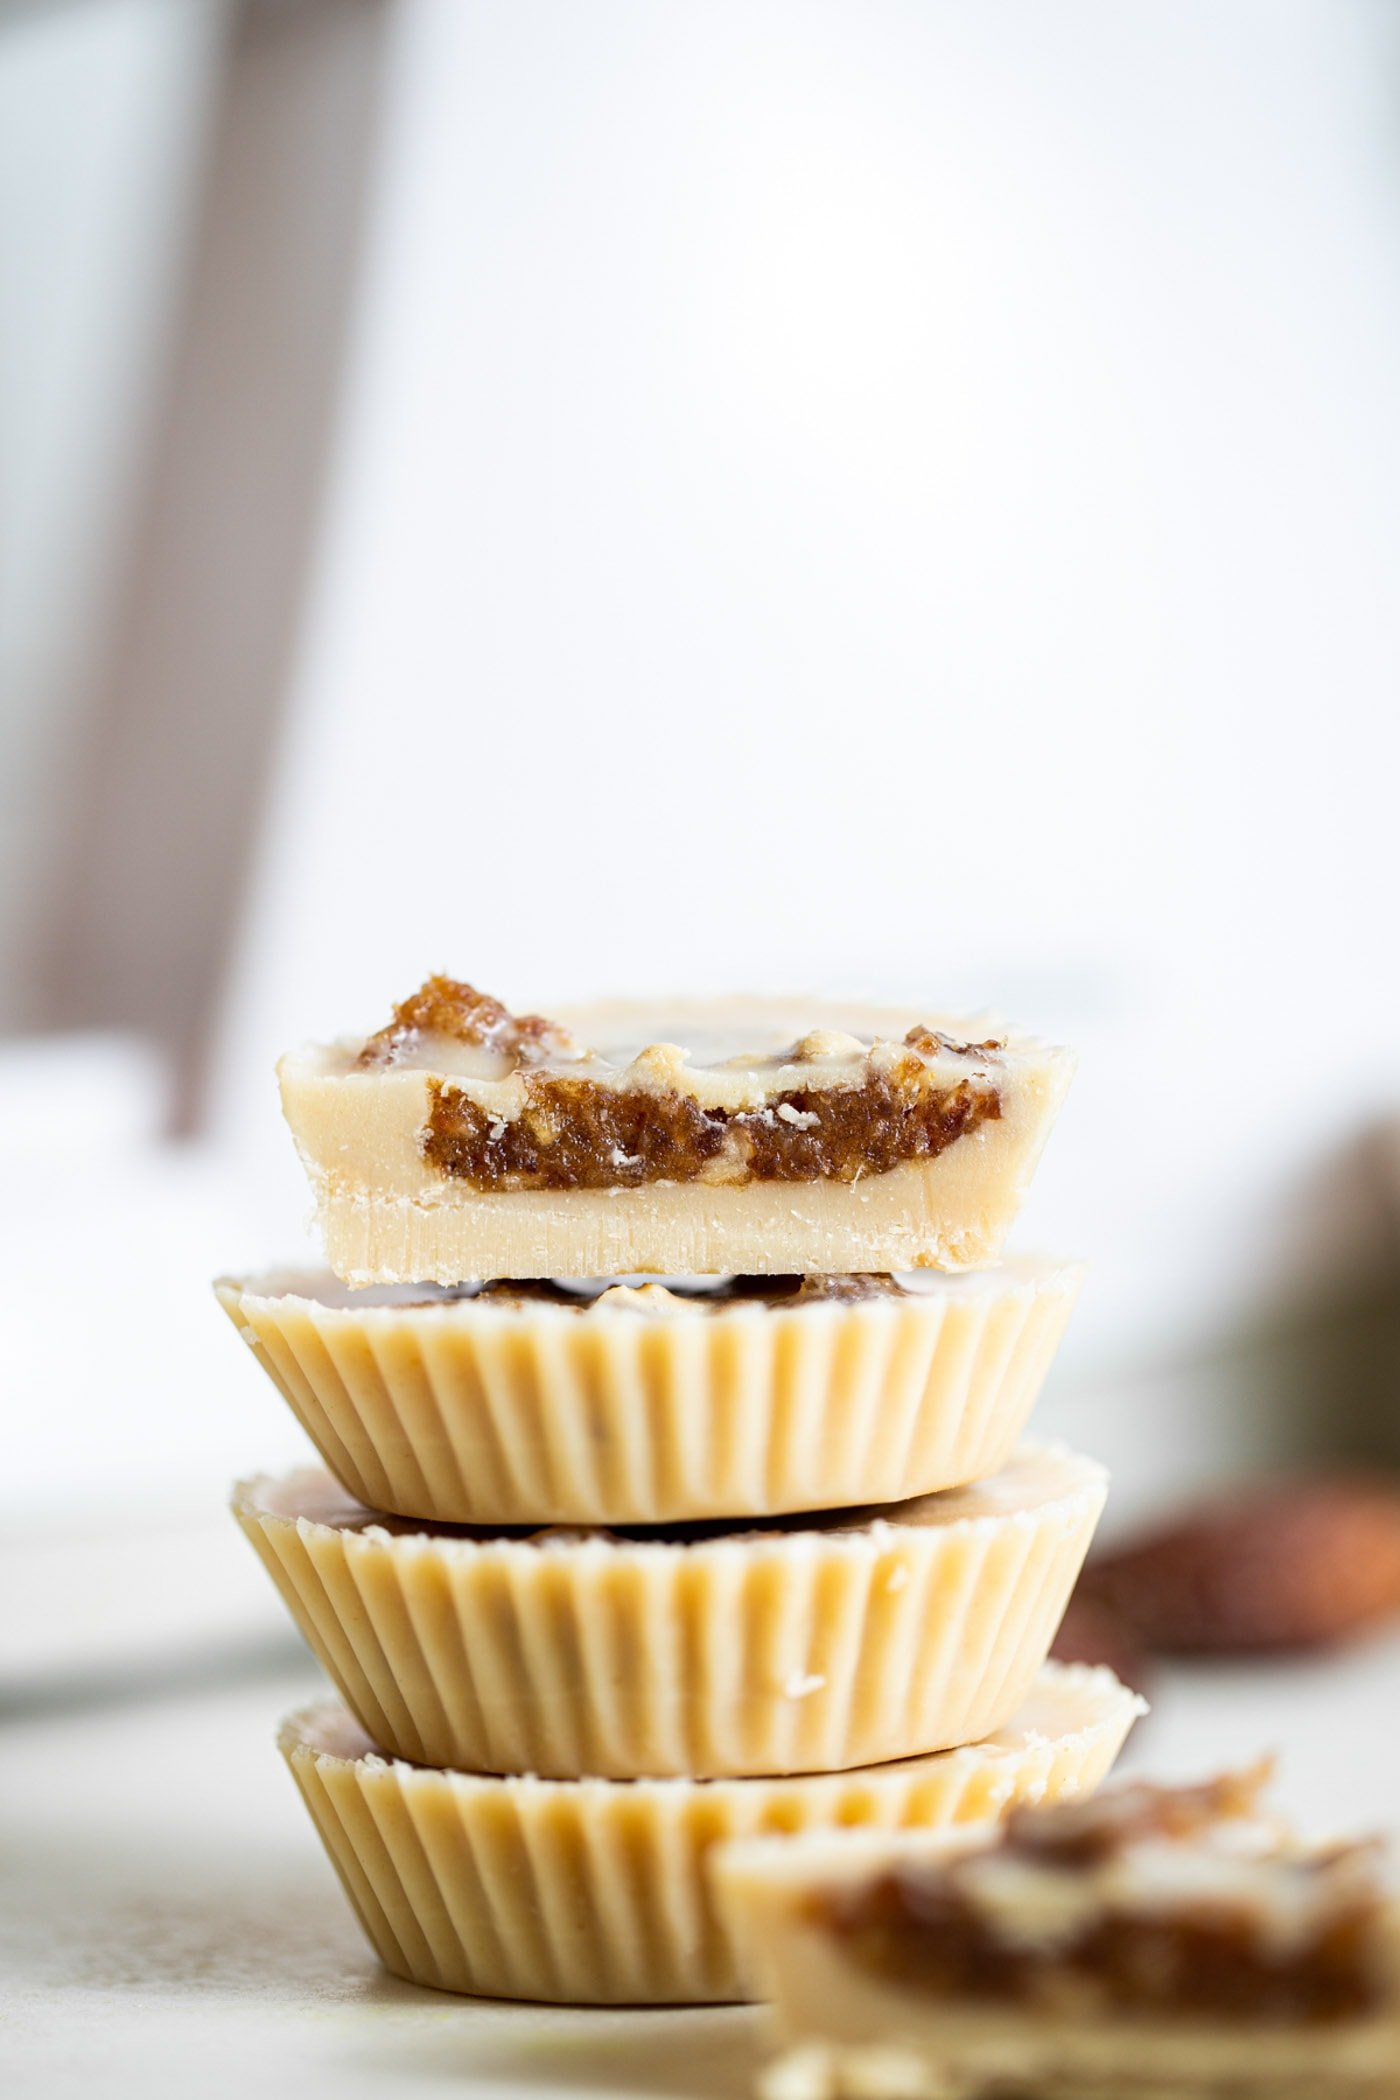
Salted Caramel Tahini Cups
on Jan 25, 2020, Updated Sep 20, 2024
This post may contain affiliate links.
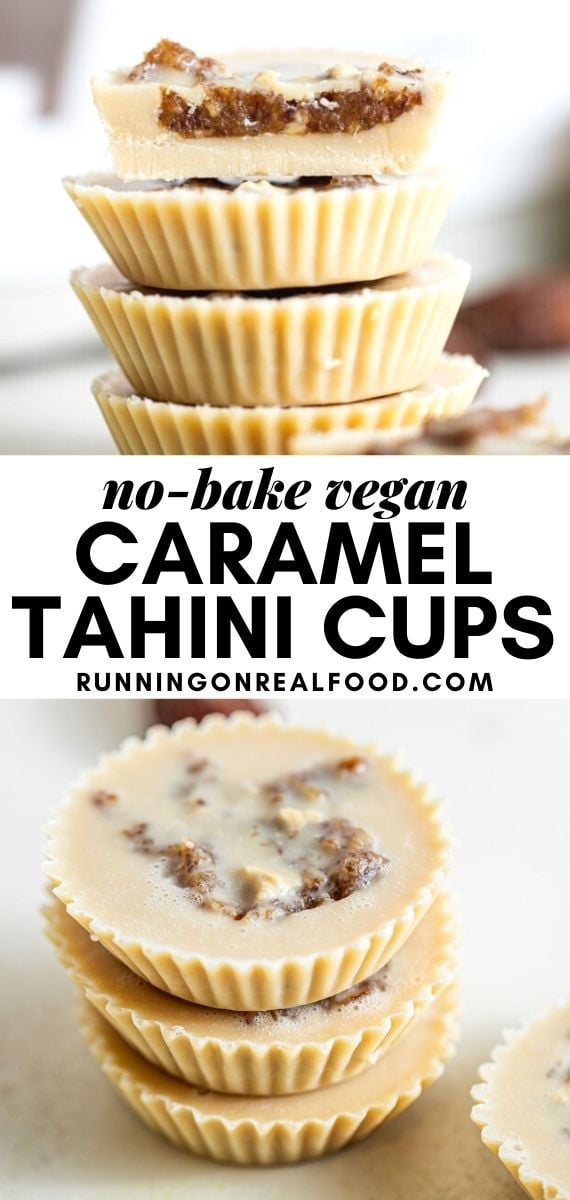
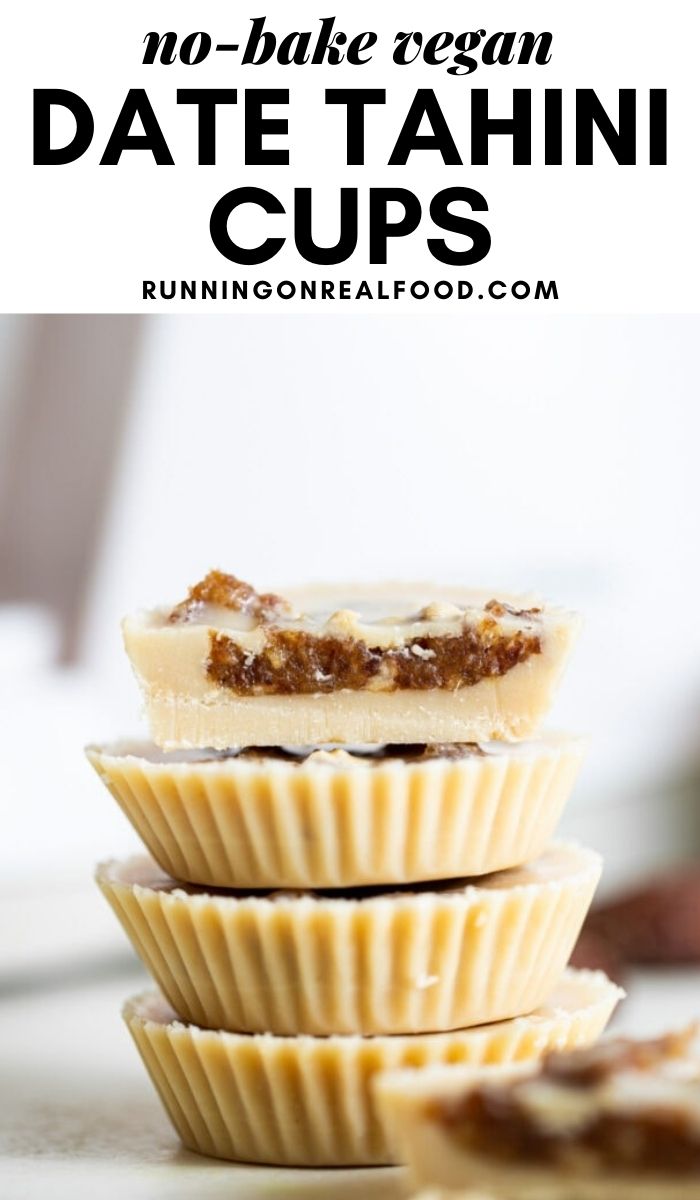
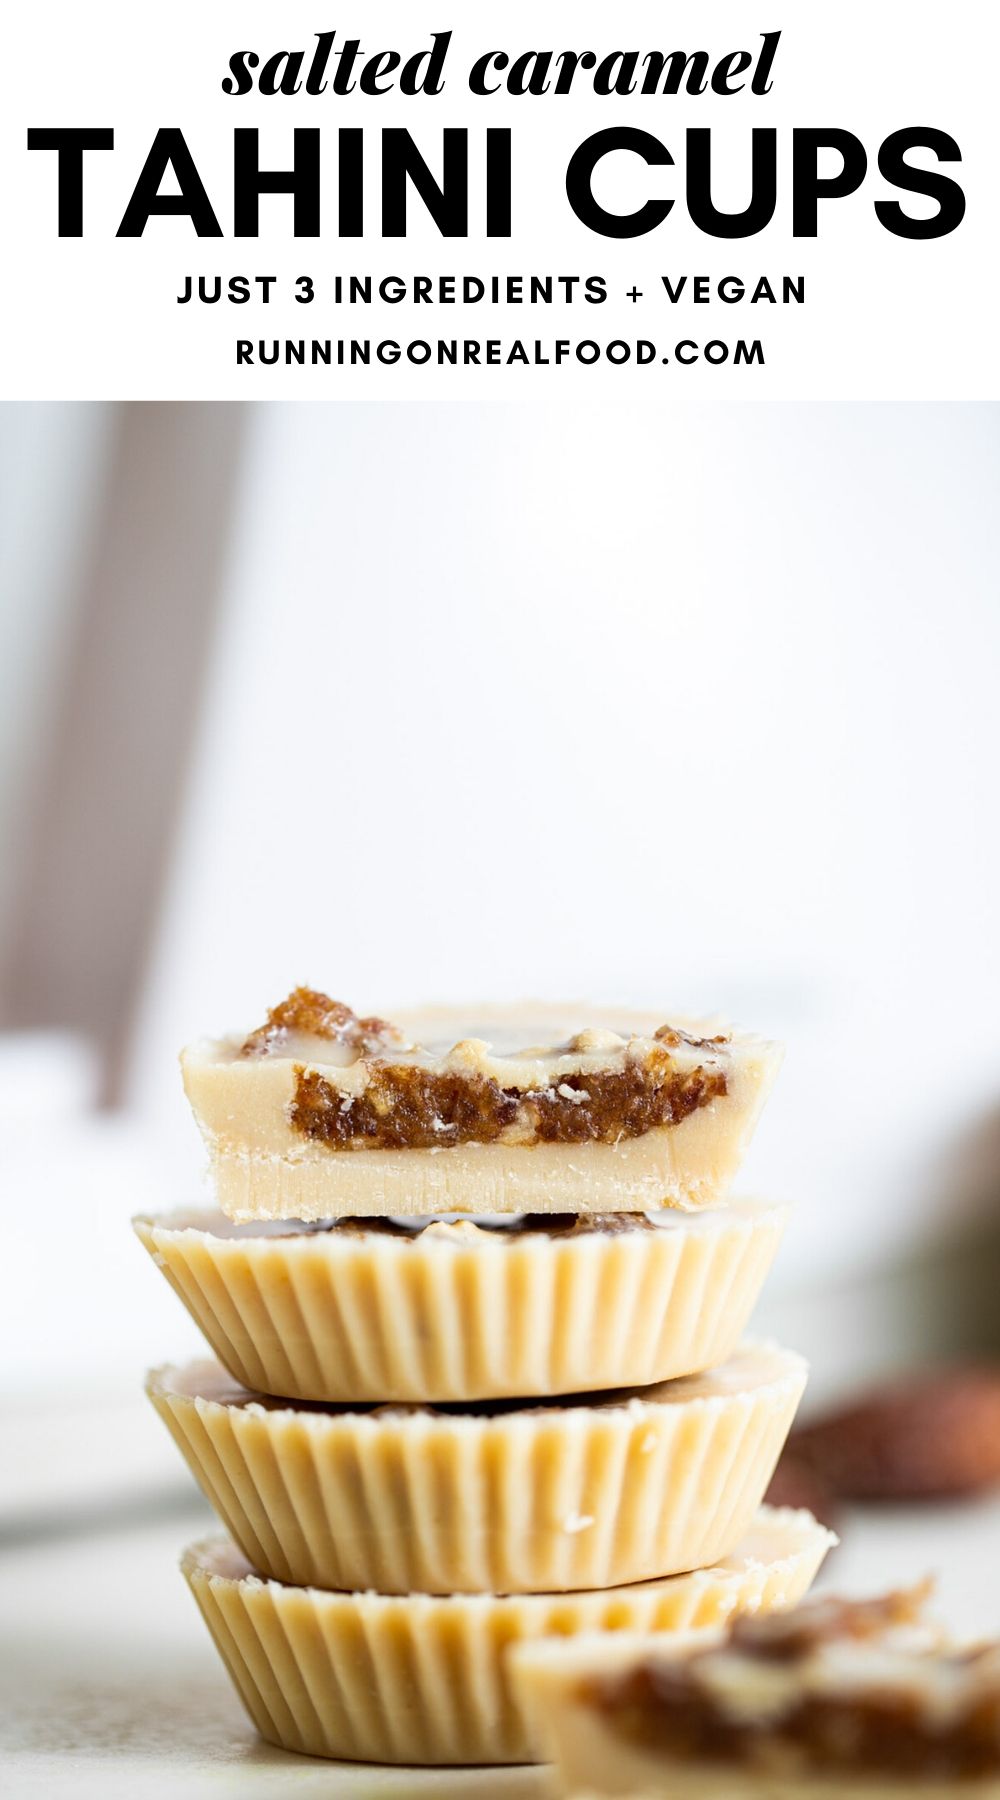
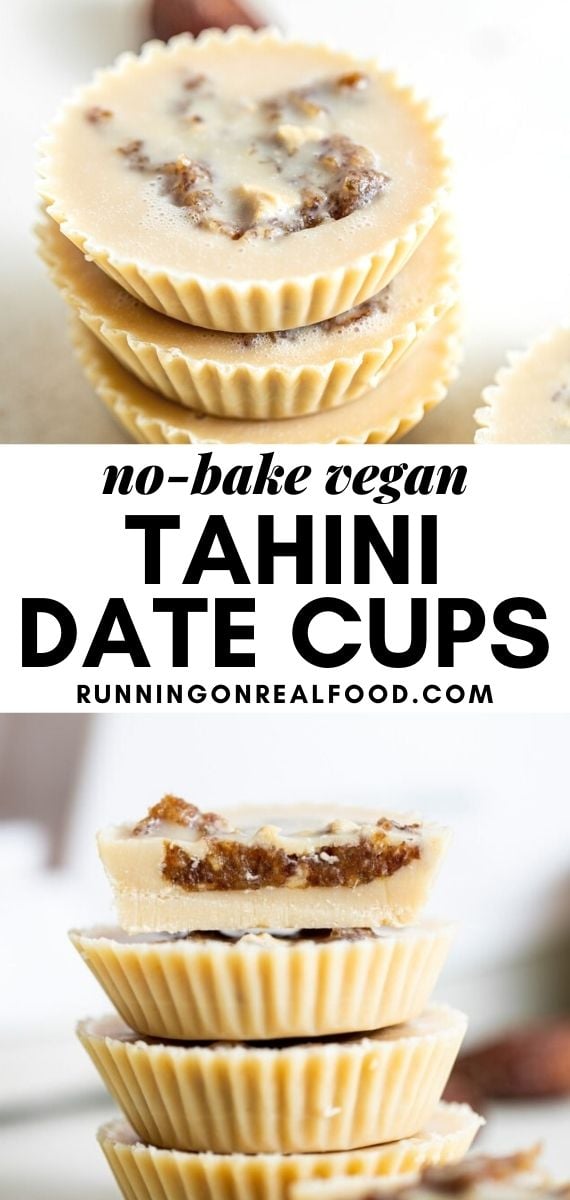
These vegan salted caramel tahini cups are incredibly decadent considering all you need to make them is tahini, coconut oil and dates.
About the Recipe
- Quick and Easy: You’ll need just 3 ingredients and about 15 minutes hands-on time.
- Vegan, gluten-free, nut-free, no added sugar,
- Delicious: Decadent, rich and addictive, these simple whole food treats are always a hit!
For a variation on these, try these Vegan Chocolate Peanut Butter Cups, Chocolate Peanut Butter Banana Cups or Vegan Chocolate Caramel Cups.
Ingredient Notes
- Tahini: Use a creamy, smooth and drippy tahini with just sesame seeds listed as the ingredients, it should not be overly bitter and should have a slightly sweet, nutty flavour, I like Arz Fine Foods and Soom brands best.
- Dates: Any kind of dates work as we will soak them in hot water for 15 minutes then drain well before use.
- Coconut Oil: This cannot be substituted in this recipe as it’s what makes the cups harden.
This list is not complete. Please see the recipe card at the end of the post for the complete ingredient list with measurements and detailed instructions.
Step-by-Step Instructions
Before you start: Get the dates soaking in a bowl of hot water and prepare muffin liners or silicone baking cups. You can either place the liners on a baking tray or use a muffin tin to keep them in place. Just be sure you can fit the tray in your freezer.
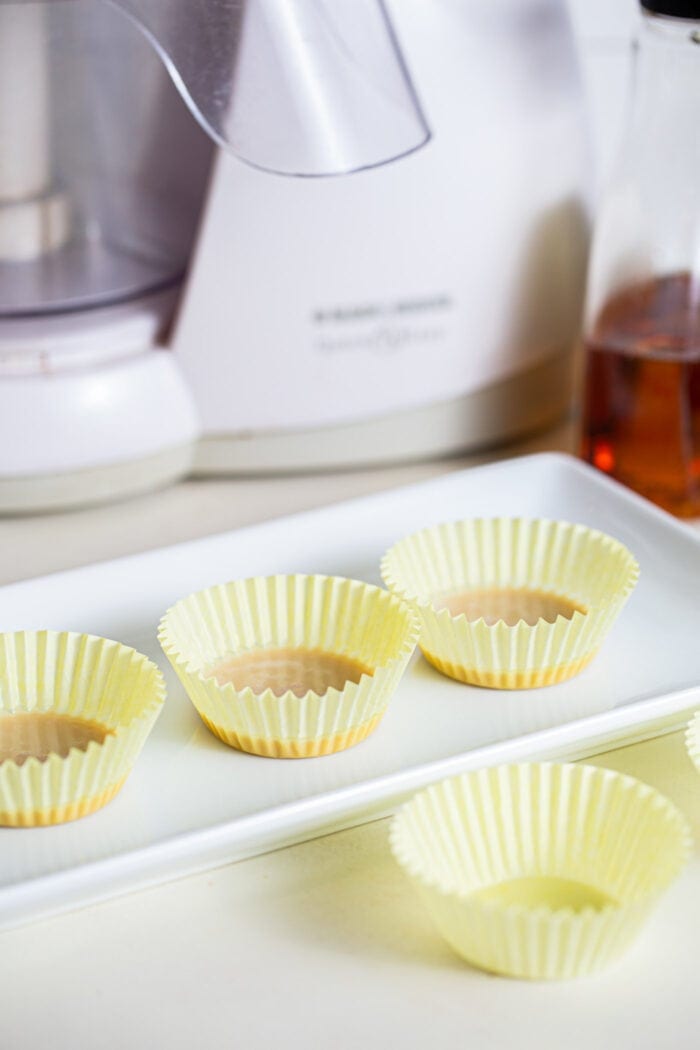
Step 1. Mix the tahini and coconut oil until smooth in a bowl then add about 1 tbsp to each of 9 liners.
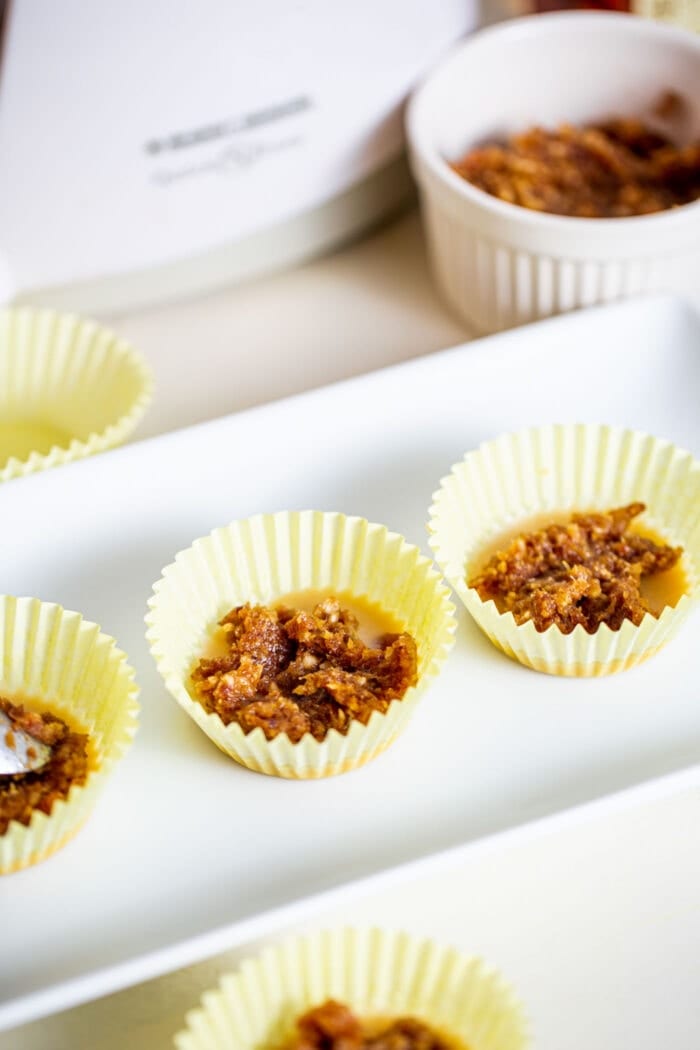
Step 2. Blend the soaked and drained dates with a pinch of sea salt then divide between the cups.
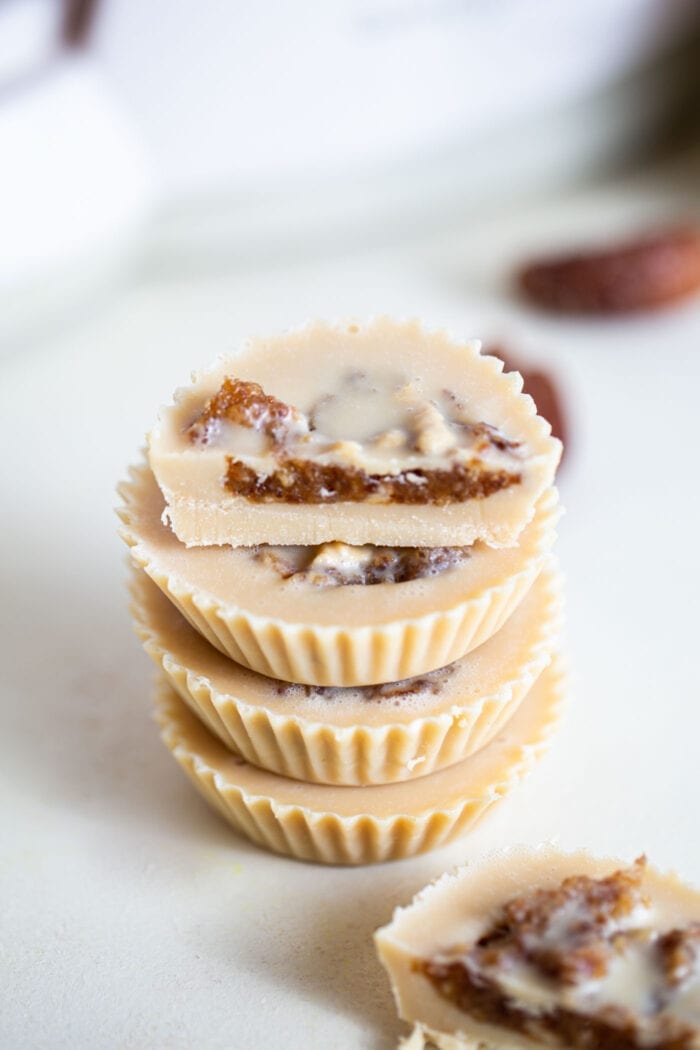
Step 3. Pour the rest of the tahini mixture over top and freeze until hardened. Once they’ve hardened, they’re ready to enjoy!
More Tahini Desserts
- Tahini Date Balls
- Chocolate Tahini Brownies
- Easy Vegan Tahini Sesame Cookies
- Vegan Tahini Date Cookies

Salted Caramel Tahini Cups
Ingredients
- 1/3 cup melted coconut oil, 65 g
- 1/2 cup smooth drippy tahini, 120 g
- 1 cup packed pitted dates, 220 g
- 1/4 tsp sea salt
Instructions
- Soak the pitted dates in hot water for 15 minutes then drain well and set aside.
- White they dates are soaking, gently mix the melted coconut oil, tahini and maple syrup (if using) together in a bowl until smooth and creamy.
- Prepare 9 muffin liners or silicone baking cups and add 1 tbsp of the mixture into each one. Place them in the freezer to harden. They should take about 10 minutes to harden completely.
- In a food processor, blend the soaked dates with the sea salt until smooth and creamy like a thick paste. You may need to stop a few times to scrape down the sides.
- Pull the hardened cups from the freezer and divide the date mixture by spoonfuls into each one. Evenly spoon the remaining tahini mixture onto each one. Spreading around a little so they’re somewhat flat.
- Place back in the freezer until hardened, about 20-30 minutes.
- Store in the freezer in a sealed container for up to 2 months and enjoy anytime.
Video
Notes
Nutrition
Originally published on January 29, 2015.


These were delightful and I am so grateful to you for the idea!! I give them 5 stars and I did use the maple syrup-
Thanks!
You’re so welcome! Glad to hear you enjoyed them. Thanks for the review.
So good and simple 🙂
These are delicious and so easy to make. I used the smallest liners and I made 24 of these treats. There were a big hit on the sweet table at a meeting. i managed to keep a few for home. Since I made so many, that reduced the calorie count. Thanks!!
That’s awesome! Glad they were enjoyed.
Great recipe! Do you use raw tahini or the roasted tahini?
I used raw tahini but either works.
I love this recipe – I think I use a runnier tahini, which means I need to double the recipe to make it work, but it’s an awesome recipe – I made a halloween treat version where I stuck one piece of dark chocolate in the top like a gravestone, then carved out “RIP” in front of it. Healthy halloween treats for the win!
Those sound adorable! So happy to hear you enjoy the recipe.
Ive had this on my wish list for a while but I figured how good could they be with such simple ingredients? Boy was I in for a surprise!! These are absolutely amazing! They are literally out of this world. Thank you for sharing this mouthwatering recipe!!!
You’re welcome! So glad you loved them.