Vegan Quinoa Beet Burger
on Nov 10, 2020, Updated Aug 28, 2024
This post may contain affiliate links.
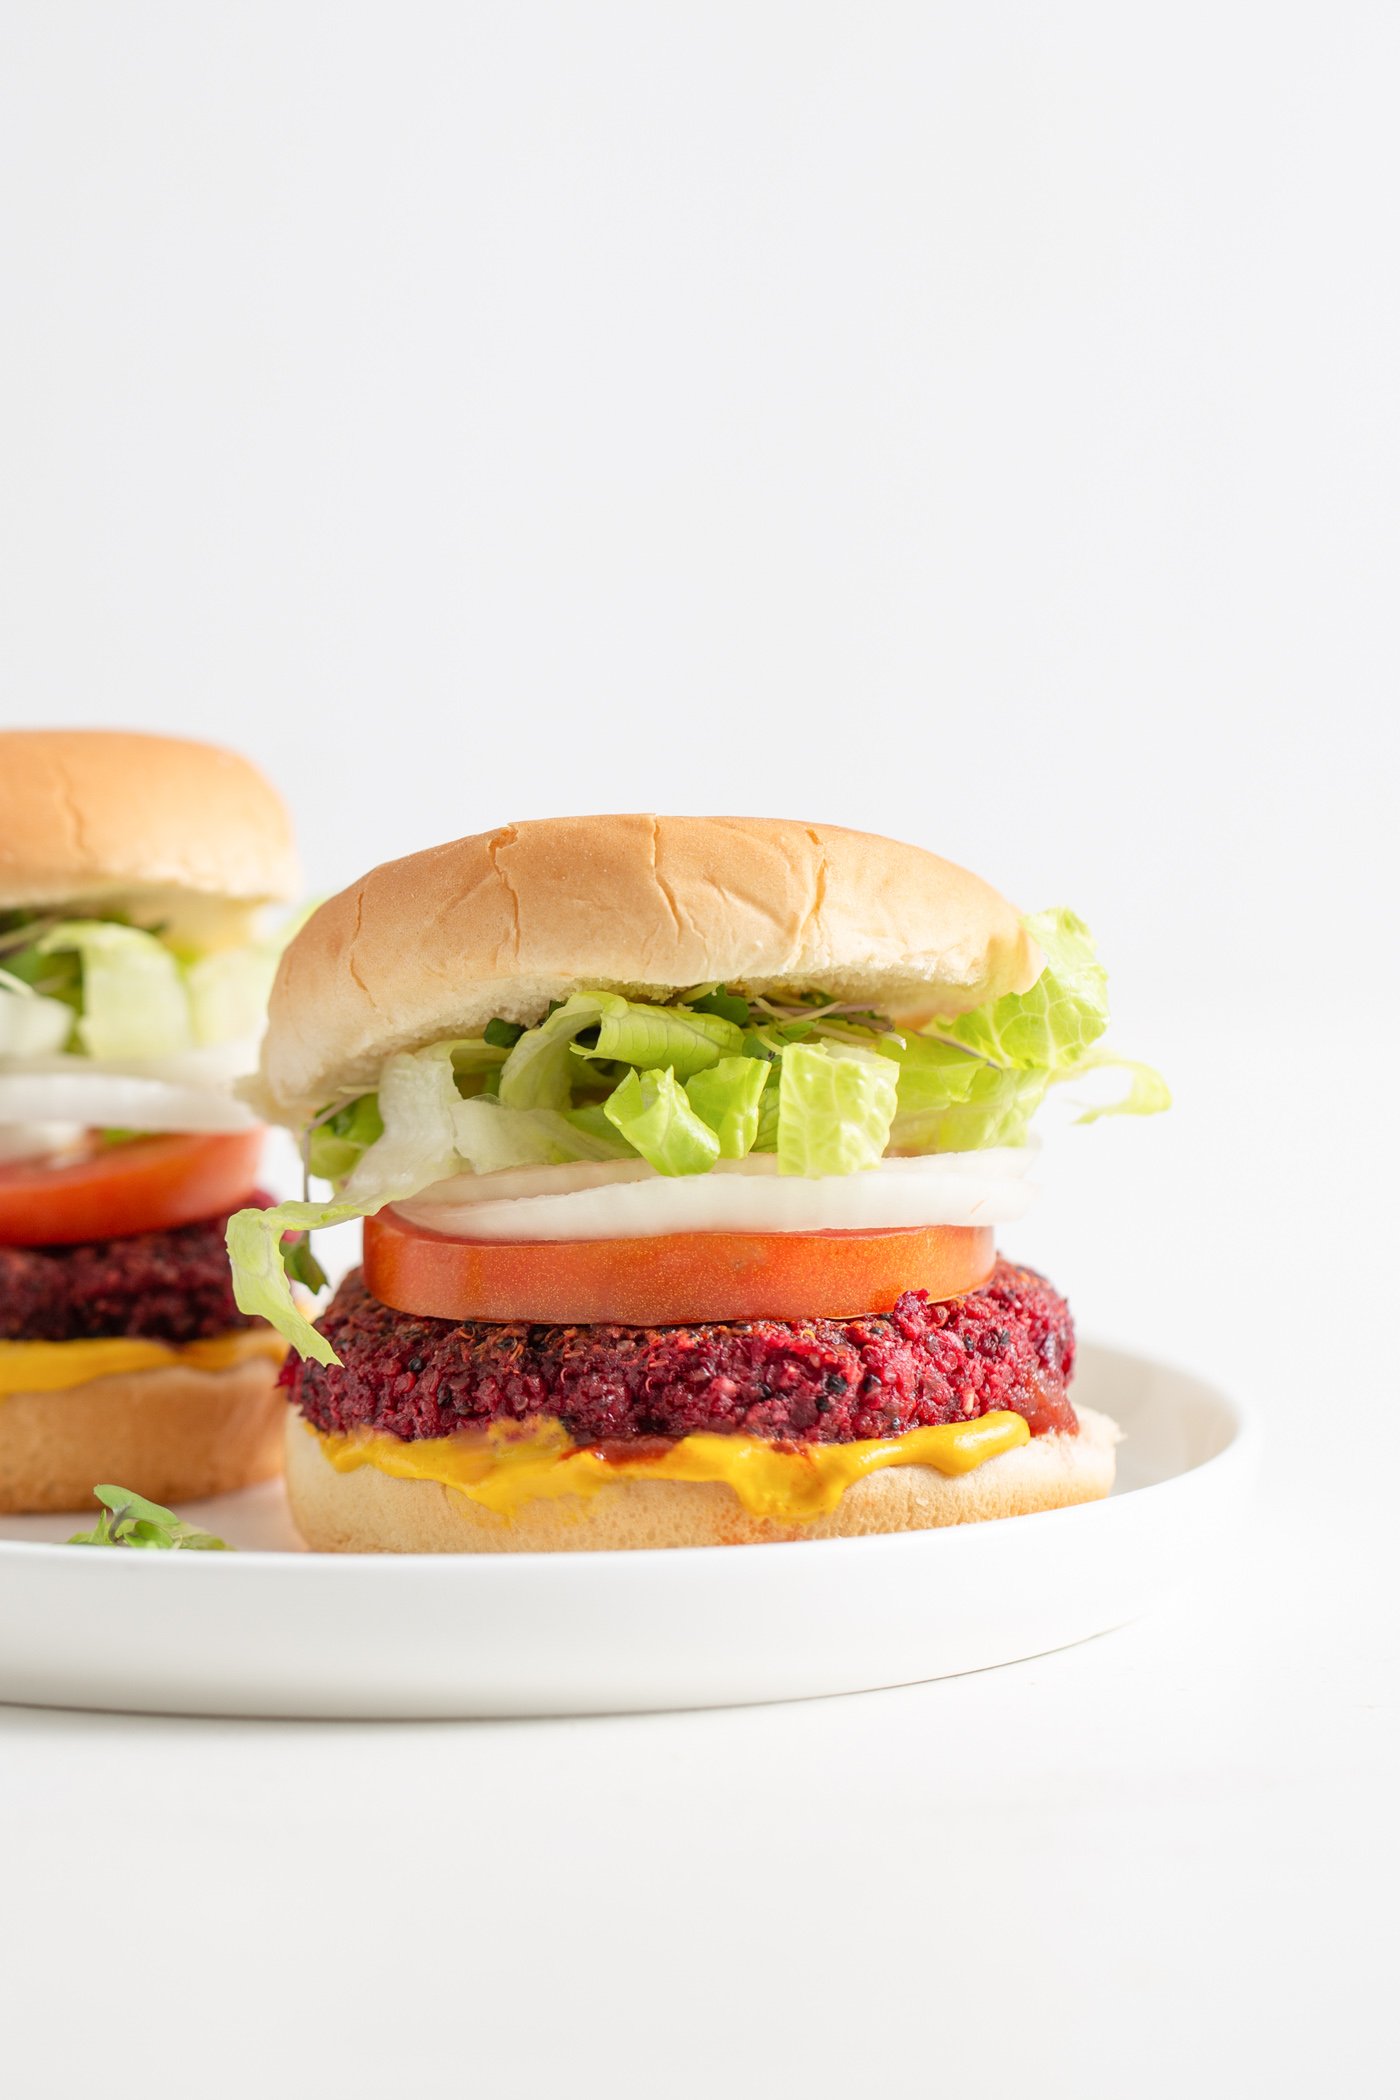
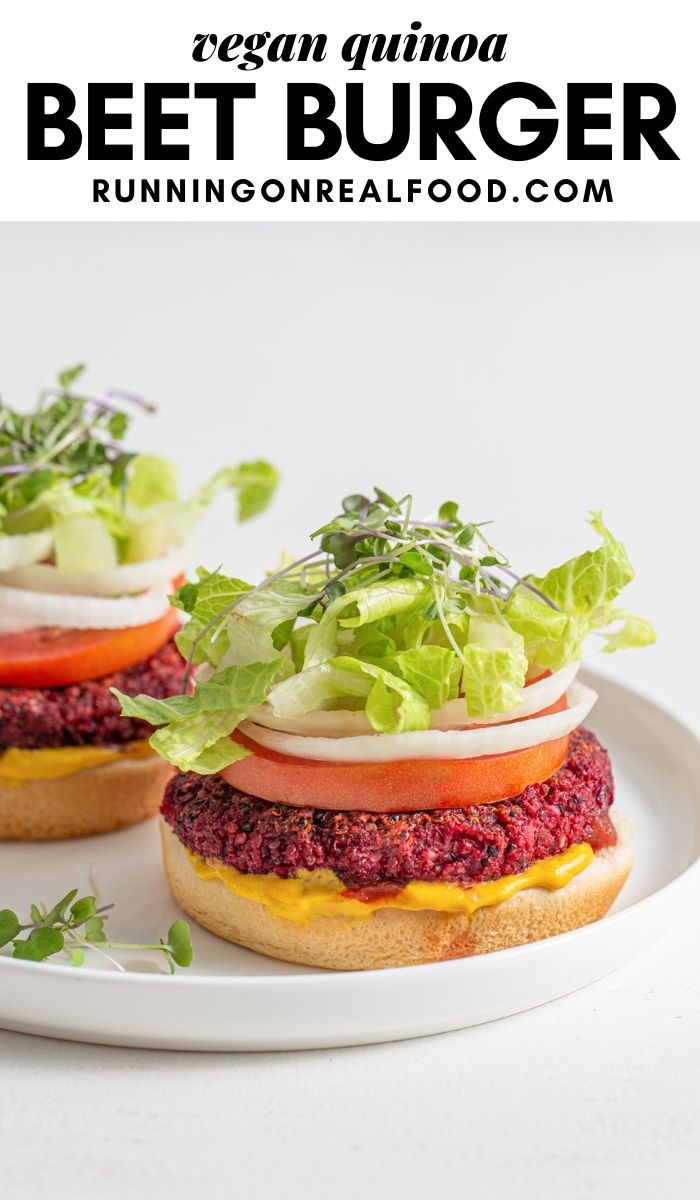
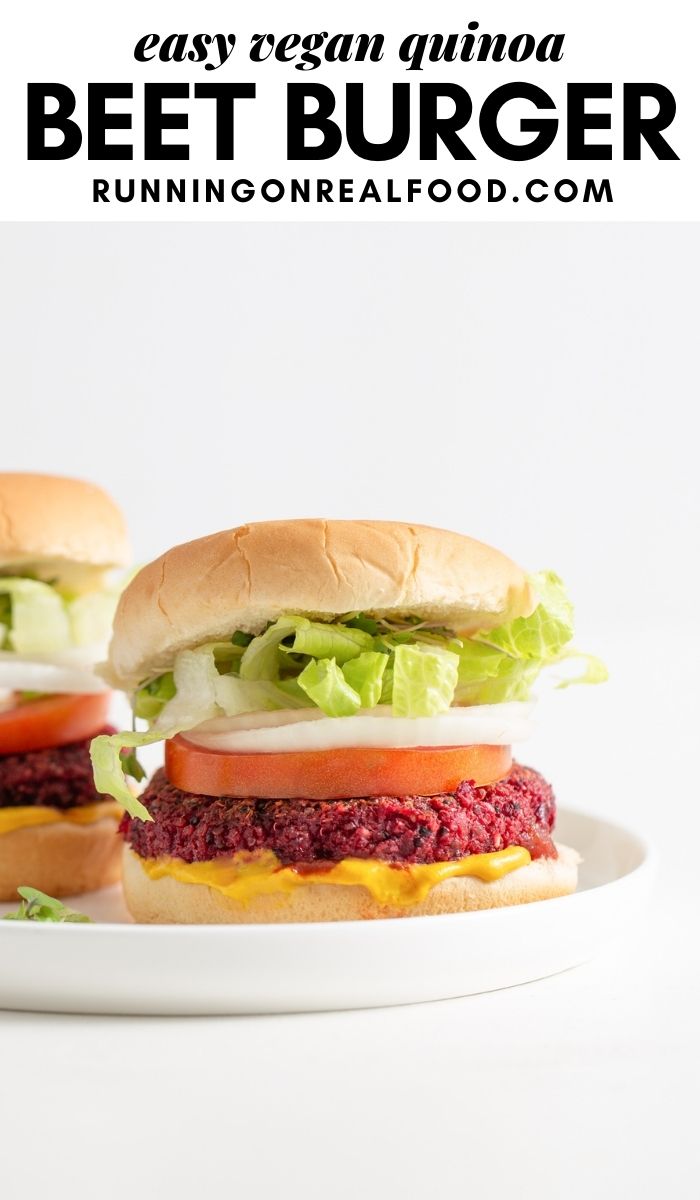
This easy vegan quinoa beet burger recipe holds together well through cooking and has a wonderful flavour and texture.
About the Recipe
These vegan beet burgers are crispy on the outside, soft on the inside and have a delicious flavour you’ll love for burgers, wraps, salads and snacks.
They’re also hearty and satisfying making them a great option for a meatless burger. A few more details about the recipe:
- Vegetarian, vegan, gluten-free, nut-free, oil-free and soy-free.
- Easy to make with a few simple steps.
- Amazing flavour and texture.
- Hold together well through cooking and eating!
- Great on buns or added to salads and bowls.
- Low in fat and about 100 calories each.
If you enjoy making homemade veggie burgers, you’ll have to try this Vegan Mushroom Veggie Burger, Vegan Sweet Potato Black Bean Burgers and Spicy Chickpea Veggie Burgers next!
Ingredients
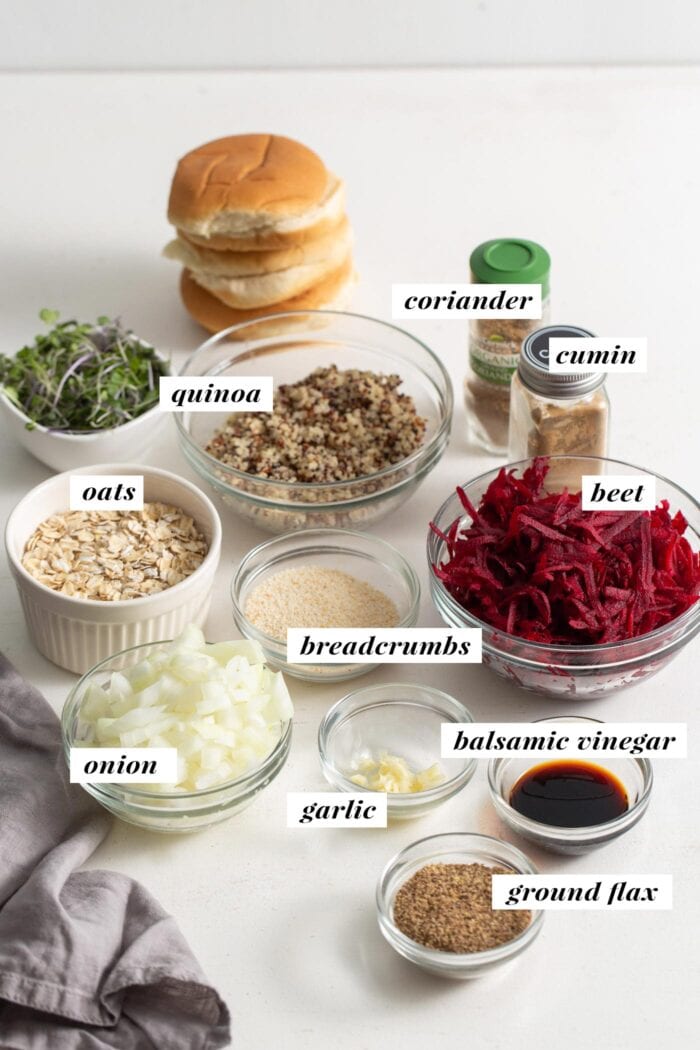
- Onion: White onion or yellow onion is best. Shallot would also work.
- Quinoa: You can use white, red or tri-colour quinoa. You’ll need cooked quinoa for the recipe, which can be made in advance to save time.
- Flax: Be sure to use ground flax, not whole flax seeds. This is a key ingredient for binding the burgers.
- Oats: You can use quick oats, rolled oats or old-fashioned oats.
- Breadcrumbs: You can use any variety of finely ground breadcrumbs. To make the burgers gluten-free, make sure you use gluten-free breadcrumbs.
- Balsamic Vinegar: This can be substituted with red wine vinegar or white wine vinegar.
- Spices: You’ll need cumin, coriander and salt for seasoning though you can experiment with different flavourings. Try Mexican-inspired spices like paprika and chili powder, or Indian-inspired with curry powder, turmeric, etc.
This list is not complete. Please see the recipe card at the end of the post for the complete ingredient list with measurements and detailed instructions.
Step-by-Step Instructions
Before You Start: Chop the onion and garlic. Grate the beet using a box or handheld grater. Cook quinoa according to package instructions if you don’t have cooked quinoa prepared.
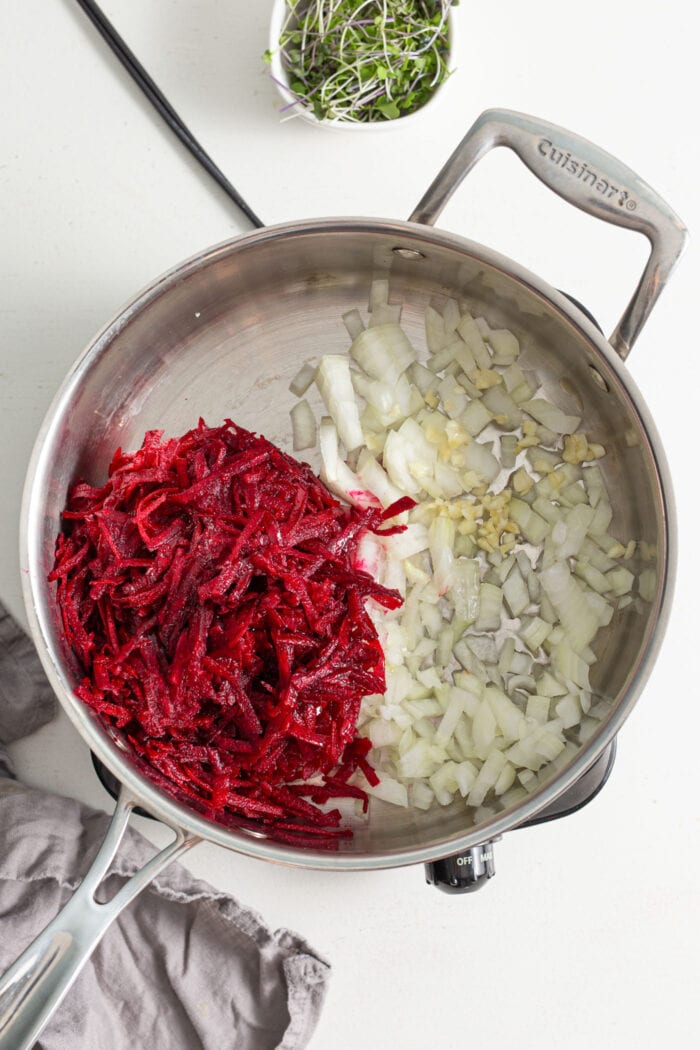
Step 1. Add the onion, garlic and grated beet to a pan and cook for 7-10 minutes until softened and fragrant.
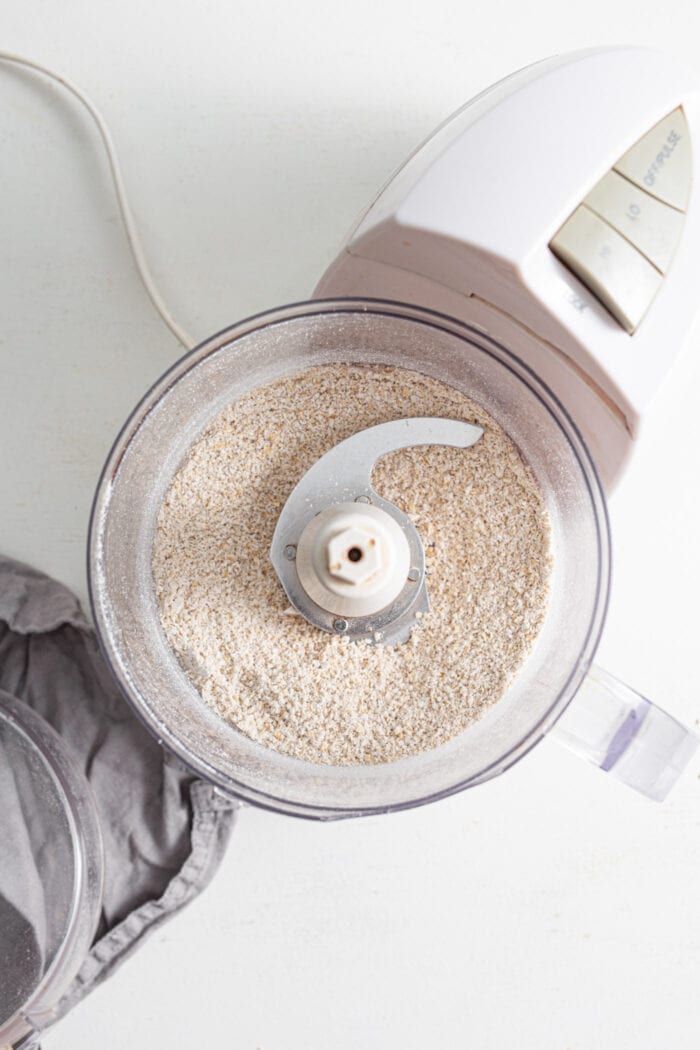
Step 2. While the veggies are cooking, add the oats to a food processor and blend them into grainy flour. It doesn’t have to be super fine but they should be broken down into coarse flour.
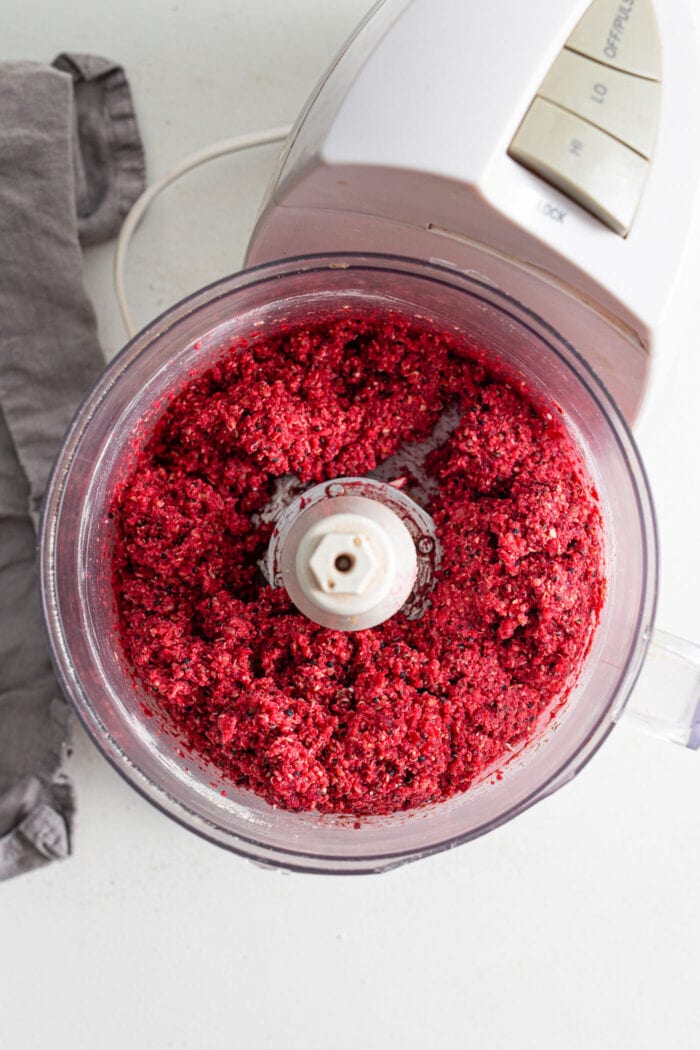
Step 3. Add the rest of the ingredients, including the cooked veggies from the pan, to the food processor with the oat flour and process to combine.
The mixture should be well-combined and somewhat smooth but not totally processed, a few chunky bits and bites are ok! We want the burgers to have some texture to them so be careful not to over-process.
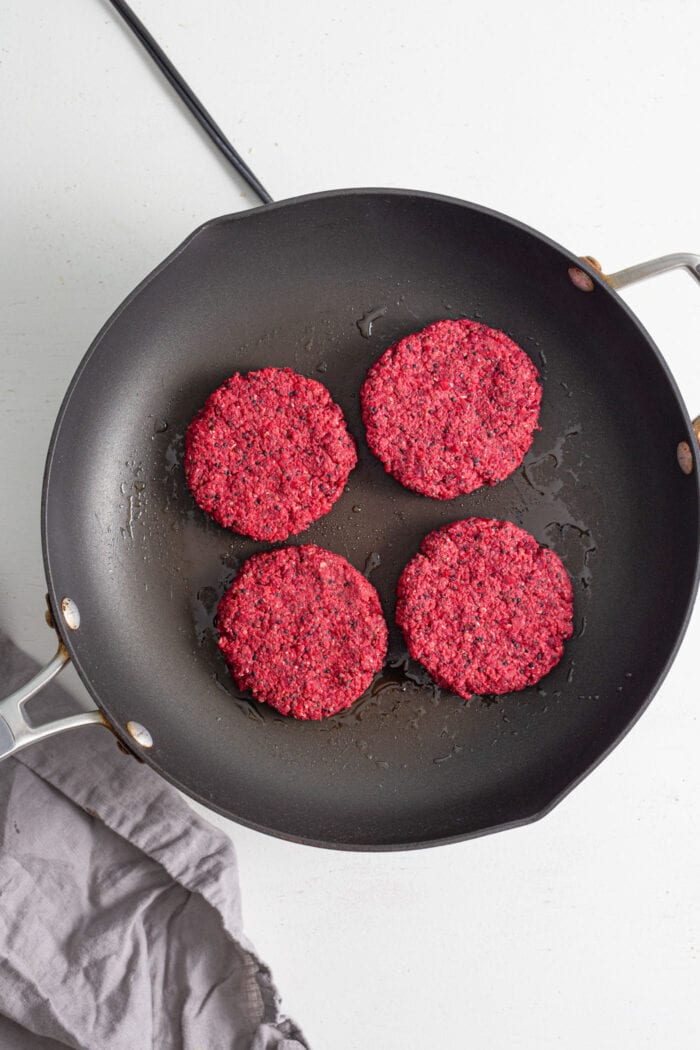
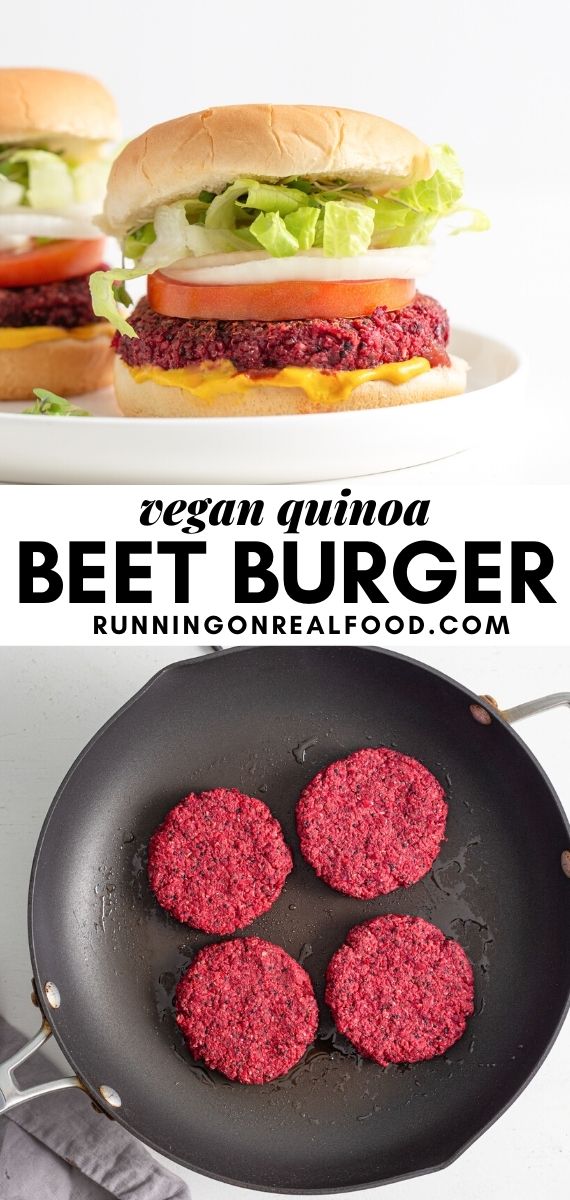
Step 4. Use your hands to shape the mixture into 8 patties.
Heat a non-stick skillet over medium heat and add a light coating of non-stick cooking spray (you may not need any cooking oil or spray if you have a good non-stick pan).
Cook the patties for 5-10 minutes per side until browned and crisped on the outside. I cooked the patties for about 5 minutes per side then continued flipping them every 30 seconds or so for a total of 15 minutes until they were nice and browned. Make sure the pan isn’t too hot so they don’t burn
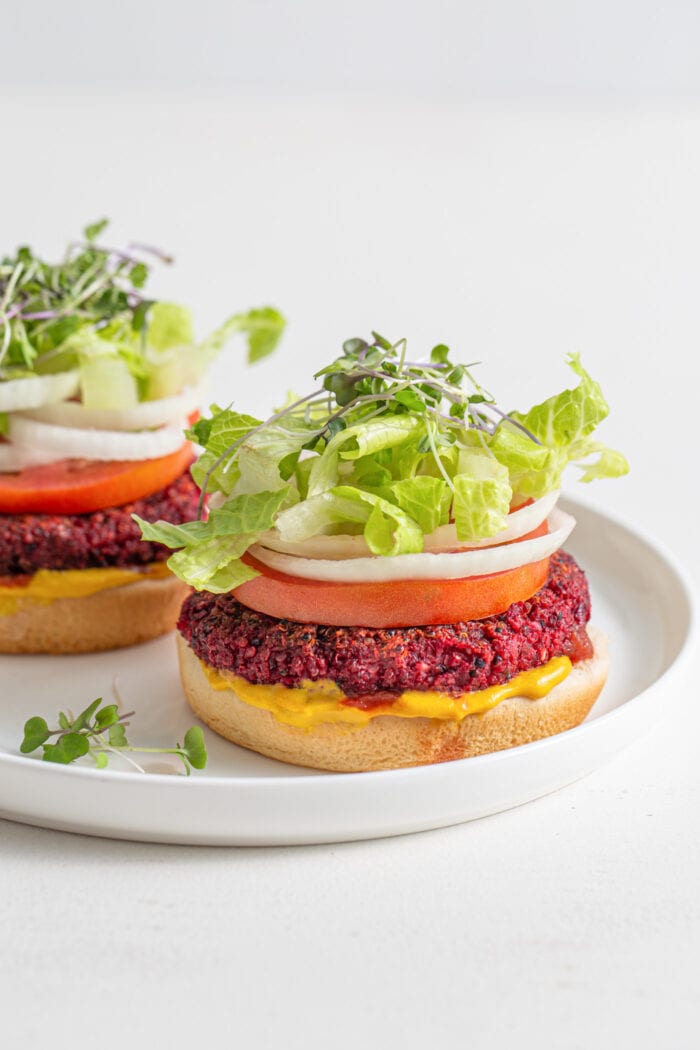
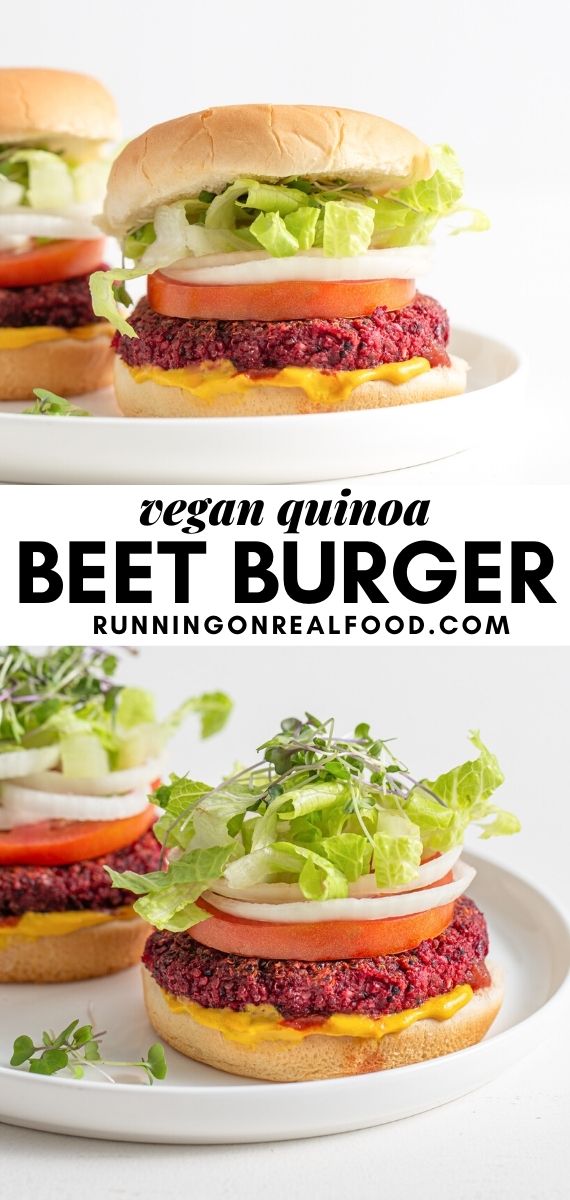
Enjoy your yummy burgers on a bun with favourites like lettuce, onion, cheese and tomato!
FAQs
Yes, brown rice works in this recipe as an alternative to quinoa.
Yes. Preheat to oven to 375 F and rub or spray the top of the patties with a light coating of olive oil. This isn’t required but it prevents the burgers from drying out in the oven.
Bake them for 15 minutes, then flip and bake another 10-15 minutes.
Storing
- Raw: Raw patties can be prepped and stored in the fridge for 1-2 days before cooking.
- Fridge: Let cool then store cooked patties in a sealed container for up to 5 days.
- Freezer: Let cool then store cooked patties in a sealed container or freezer-safe bag for up to 3 months. I’d suggest placing a square of wax or parchment paper between the patties so they don’t stick together.
- Reheating: Let thaw overnight in the fridge if frozen then reheat in the microwave, stovetop or oven until heated to your preference. Ok to enjoy cold too, they’re great added to salads and bowls!
Did you try this recipe? I’d love to hear about it! Scroll down to comment section below to leave your star rating and review.
⭐⭐⭐⭐⭐
Quinoa Beet Burger
Ingredients
- 1 white onion, diced (approx. 1.5 cups, 200 g)
- 3 cloves garlic, minced
- 3 small beets, peeled and grated (approx. 3 cups, 360 g)
- 1 cup cooked quinoa, 150 g
- 2 tbsp ground flax, 12 g
- 1 cup oats, 100 g
- 1/4 cup fine breadcrumbs, 25 g, use gluten-free if needed
- 1 tbsp balsamic vinegar
- 1 tsp cumin
- 1 tsp coriander
- 1 tsp sea salt
Instructions
- If you don't have cooked quinoa on hand, start preparing that now. Cook according to package instructions or bring 1 cup of water to a boil, add 1/2 cup quinoa, cover and reduce to a light simmer and cook for 15 minutes. Remove from heat, let sit for 5 minutes then fluff with a fork.
- Add the diced onion, garlic and grated beet to a pan and cook for 7-8 minutes until softened.
- While they're cooking, add the oats to a food processor and process into flour. It's okay if it's a little grainy, it doesn't have to be super fine.
- Add the rest of the burger ingredients to the food processor, including the cooked beet mixture and mix until well combined. It should be quite smooth but not totally processed, a few chunky bits and bites are ok.
- Use your hands to shape the mixture into 8 patties.
- Heat a non-stick pan over medium heat and add some non-stick cooking spray. Add the patties and cook for about 5-10 minutes per side. I kept flipping them over for about 15 minutes until they were nice and crisped on the outside. Just make sure the pan isn't too hot so you don't burn them.
- Enjoy hot on a toasted bun with your favourite toppings like lettuce, onion, cheese and tomato.
Video
Notes
- Storing: Raw patties can be prepped and stored in the fridge for 1-2 days before cooking. To store cooked patties, let cool then store cooked patties in a sealed container for up to 5 days in the fridge or 3 months in the freezer. If freezing, I’d suggest placing a square of wax or parchment paper between patties so they don’t stick together.
- Reheating: Let thaw overnight in the fridge if frozen then reheat in the microwave, stovetop or oven until heated to your preference. Ok to enjoy cold too, they’re great added to salads and bowls!



I am allergic to flax. Will leaving that out be an issue?
Hi there. The flax does help bind the burgers and I haven’t tried them without flax. You could try an egg, vegan egg replacer, a chia egg or maybe some whipped aquafaba (liquid from canned chickpeas). I haven’t tested these myself though!
This feels like a stupid question, but I have all the ingredients but the only sort of beets we can find are the canned slices. Would those work? Not sure if they’re “pickled” but they are preserved.
Hi, Sunny. Hmm, I’m not sure, to be honest. My only concern is that they would be too wet and mushy, which you could balance by adding a bit more breadcrumbs to get the right consistency. The mixture should be moist but easy to shape into patties. So, maybe but I can’t guarantee it because I haven’t tested it myself, sorry! Let me know if you try it.
Delicious… added a few more ingredients for better flavor, i.e., shallots, worcestershire, chili sriracha, garlic powder and really popped. However, I had trouble forming into a round burger and I burnt them but the crust was good too. Any suggestions would be greatly appreciated, cause I’m planning to make again for sure. P.S.: I made ½ of the recipe to make sure I would like. Thank you…
Glad you enjoyed them! Maybe there was too much moisture from the Worcestershire and chili sriracha and/or some excess moisture from the cooked quinoa? You could try adding a bit of extra breadcrumbs and ground flax to help bind them together better and just try to measure as accurately as you can (a scale is best!). Sorry they didn’t form into burgers, I haven’t had that issue with this recipe so it’s hard to say without knowing exactly what went in them.
Fantastic “burgers”! I worried that they might be too sweet but they were savory and delicious.