Instant Pot Brown Rice Pudding
on Jan 31, 2022, Updated Jun 10, 2026
This post may contain affiliate links.
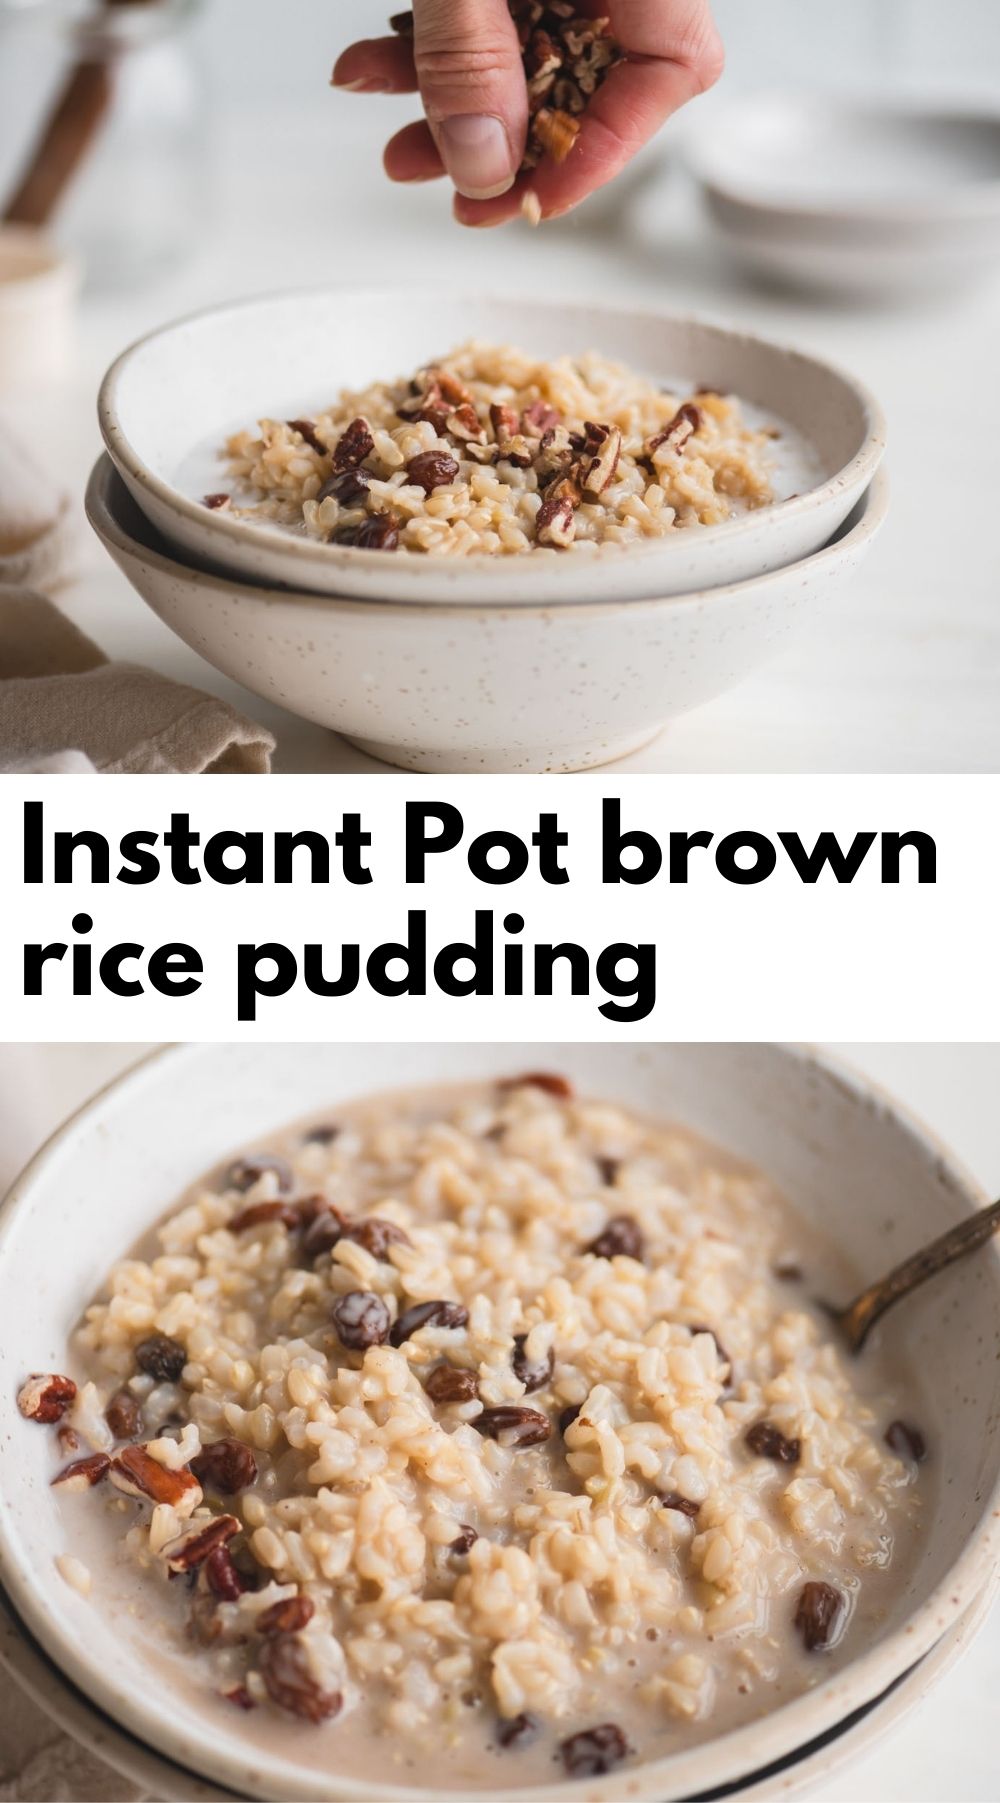
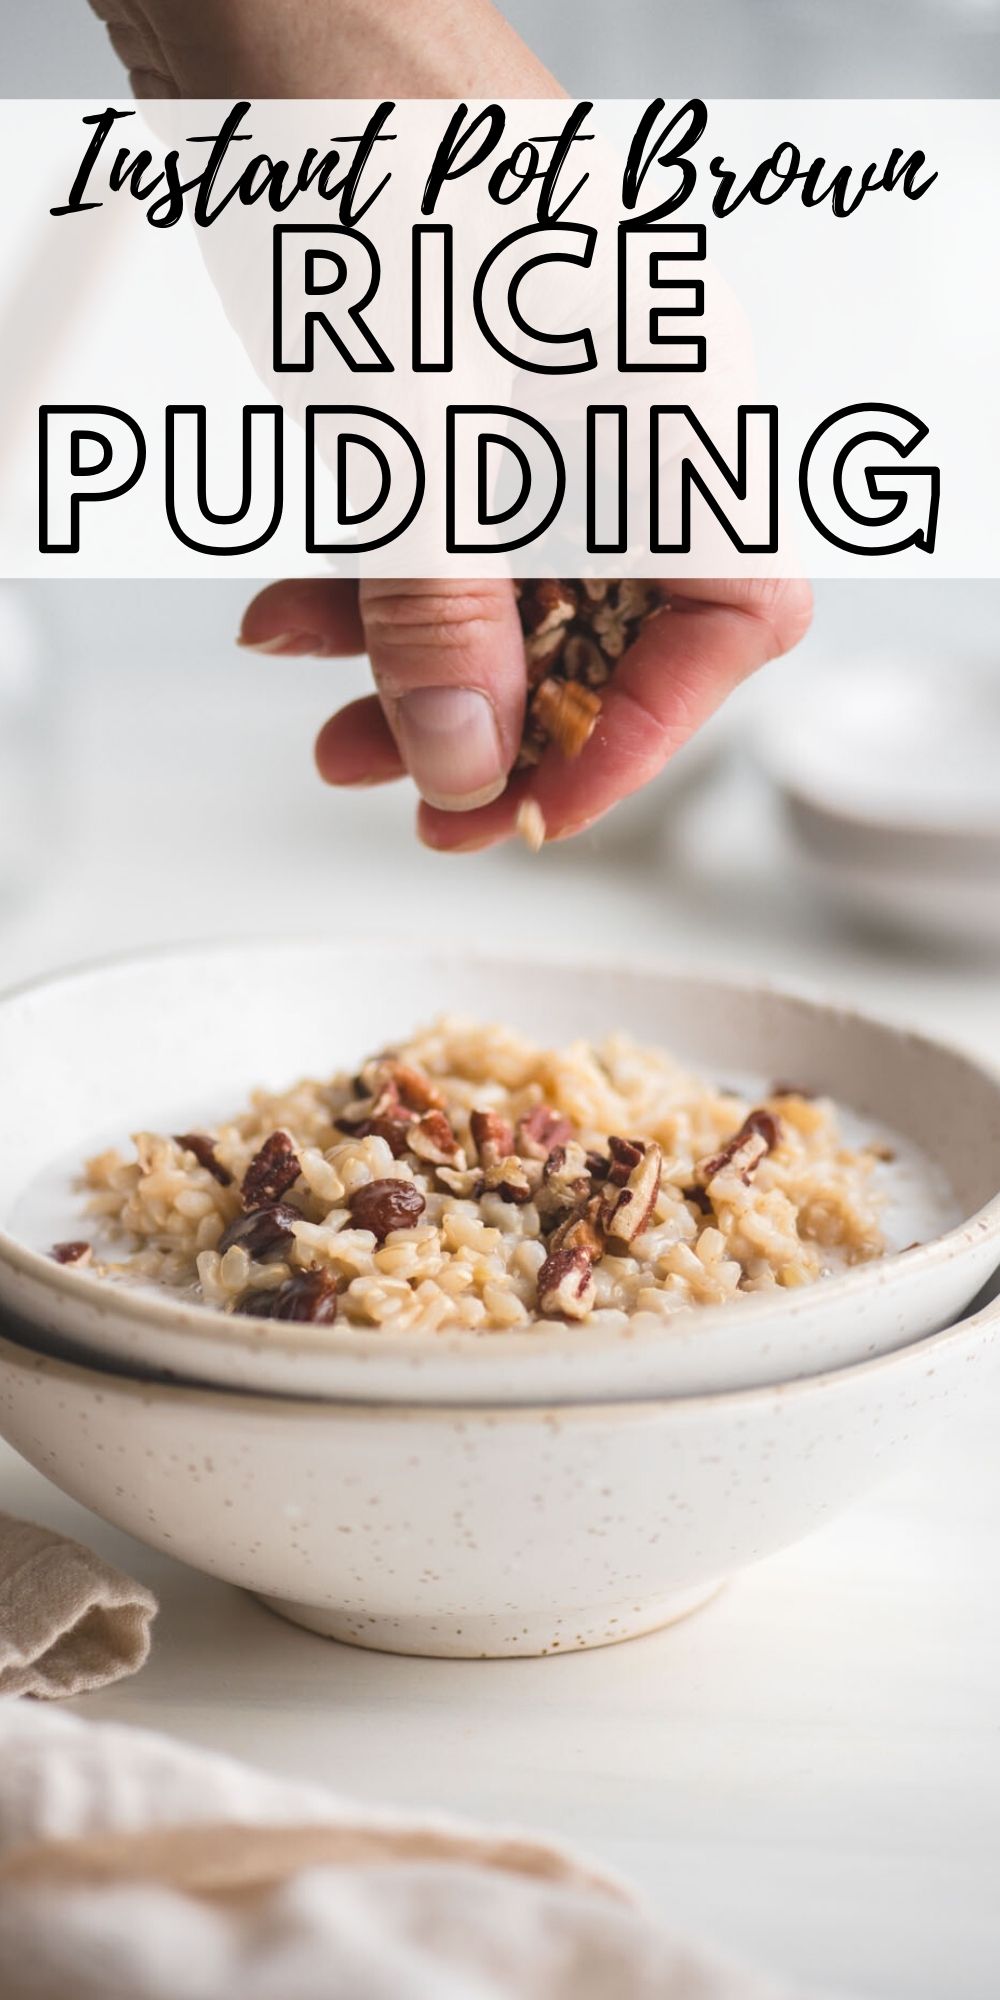
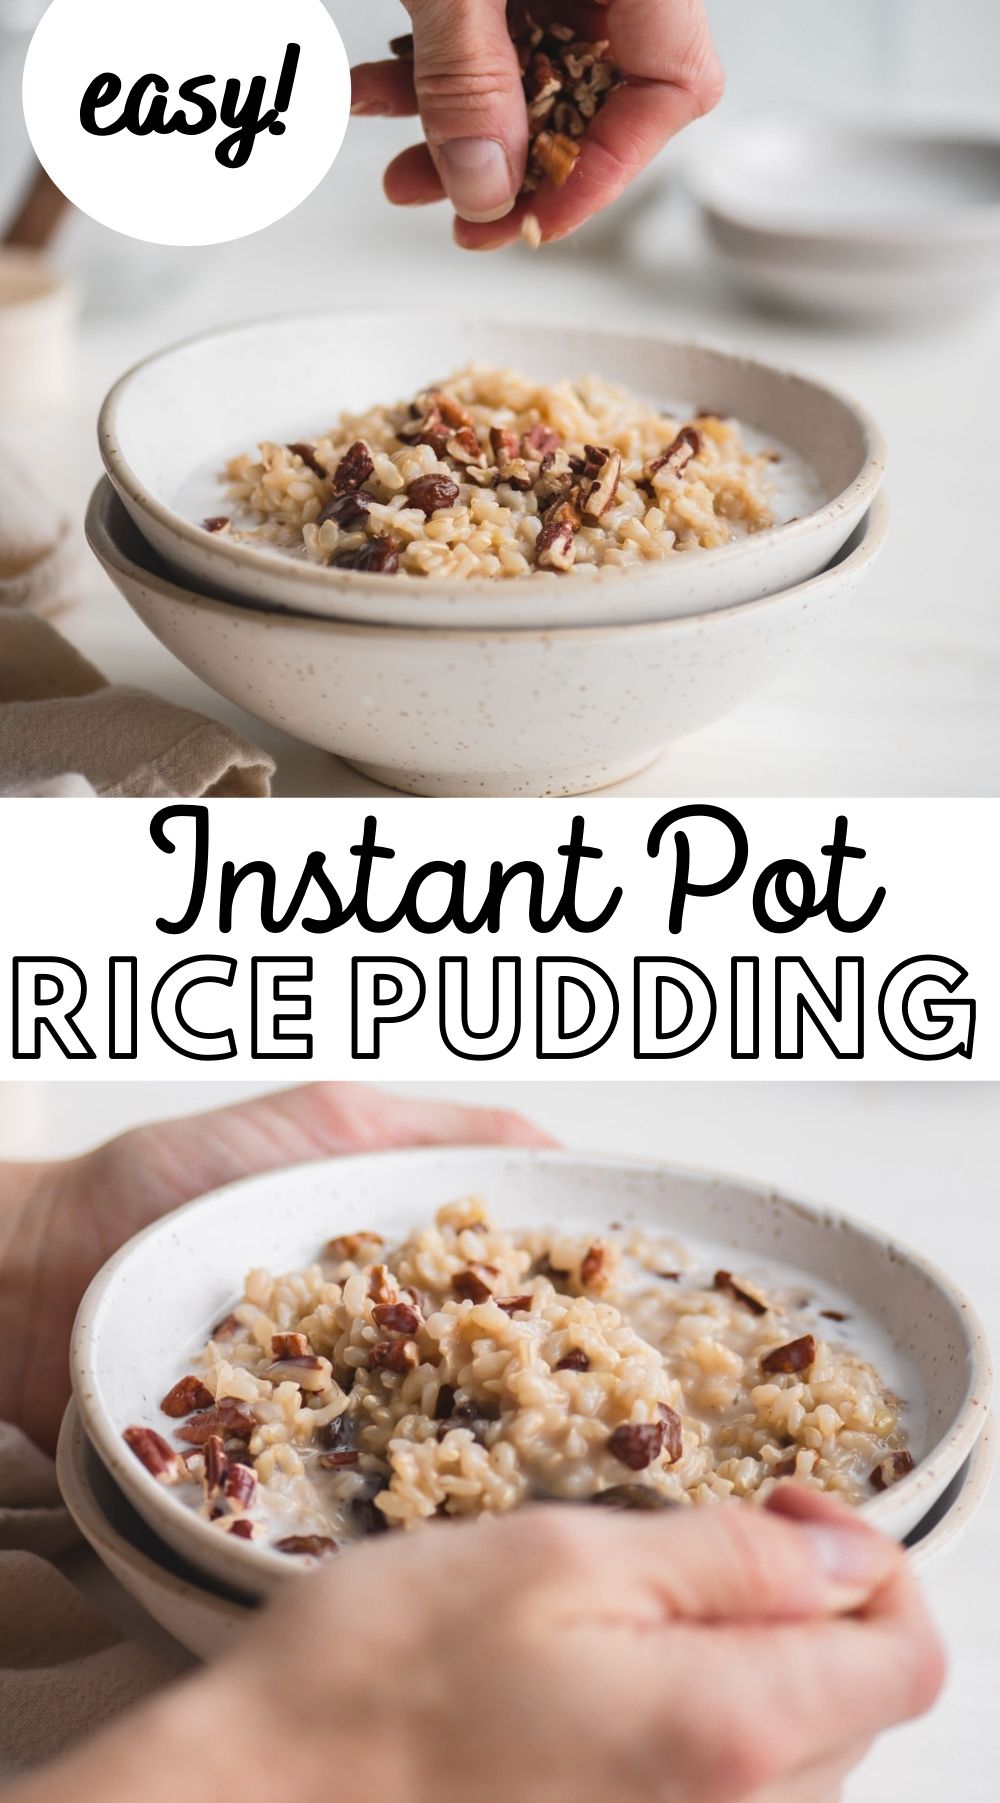
This Instant Pot brown rice pudding is creamy, comforting and surprisingly easy to make. Made with brown rice, plant-based milk, cinnamon and maple syrup, it’s a healthier take on traditional rice pudding that’s perfect for breakfast, dessert or a cozy snack.
The Instant Pot does most of the work so it’s easy to make with just a few simple ingredients. Enjoy it warm right after cooking or chilled from the fridge with your favourite toppings.
These Instant Pot Rolled Oats also make a super easy Instant Pot breakfast option.
Why You’ll Love Instant Pot Brown Rice Pudding
- Made entirely in the Instant Pot.
- Uses wholesome brown rice instead of white rice.
- Naturally dairy-free and vegan.
- Great for meal prep.
- Enjoy warm or cold.
- Easy to customize with different spices and toppings.
Traditional rice pudding is usually made with white rice, but brown rice adds a slightly nutty flavour, more fiber and a heartier texture. While it takes longer to cook, the result is a rich and creamy pudding that’s a little more wholesome while still delivering all the comfort of classic rice pudding.
Ingredient Notes
This list is not complete. Please see the recipe card at the end of the post for the complete ingredient list with measurements and detailed instructions.
- Brown Rice: Use a short-grain brown rice and rinse well before use.
- Milk: You can use any unsweetened plant milk but I’d suggest almond or cashew milk for their mild flavour.
- Sweetener: The recipe calls for maple syrup but agave syrup, brown sugar, cane sugar or coconut sugar are all suitable.
- Spices: The recipe calls for cinnamon, nutmeg and ginger but these can be mixed and matched and adjusted to suit your preference. Cardamom is also nice!
- Flavour Enhancers: Vanilla and sea salt help to enhance the other flavours.
- Coconut Milk: I recommend light coconut milk in this recipe, or you can full-fat coconut milk and just thin it out with some water or lighter plant milk.
- Raisins: Substitute chopped dates, goji berries, dried figs or cranberries or mix and match any of those. You can also omit added fruit if you prefer.
How to Make Instant Pot Brown Rice Pudding
Step 1: Rinse the rice well under cold water in a mesh strainer.
Step 2: Add the rinsed rice and everything except for the coconut milk and raisins to your Instant Pot and cook on High Pressure for 22 minutes.
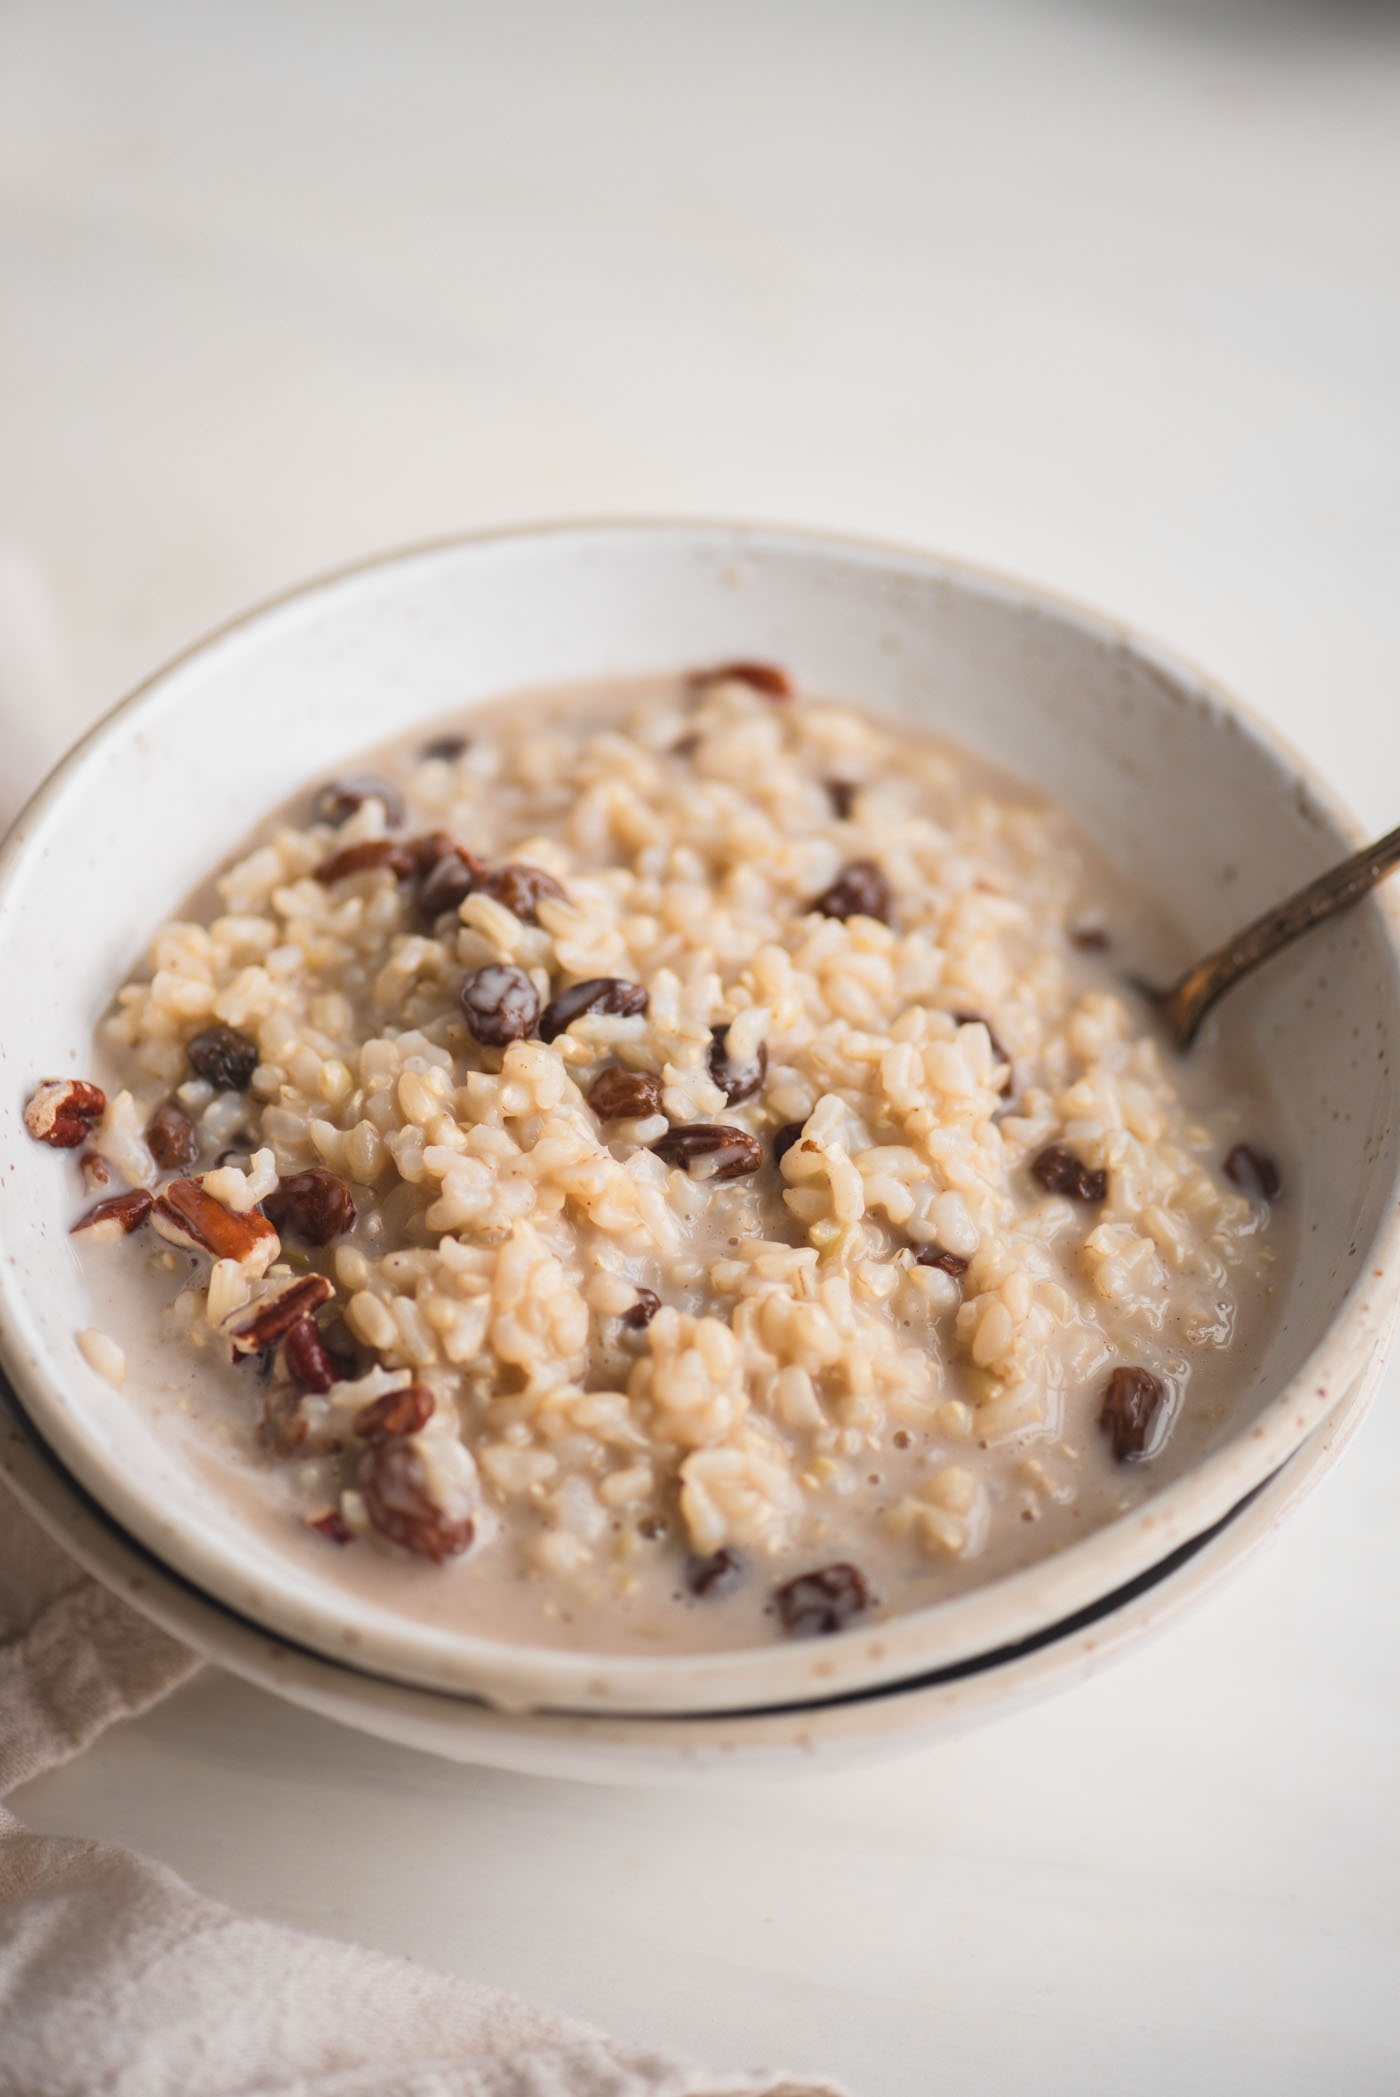
Once the timer goes off, let the pressure release naturally for at least 15 minutes. Release any remaining pressure and carefully remove the lid. It will seem very watery at this point but will continue to thicken.
Step 3: Stir in the coconut milk and raisins and press the “Saute” button. Bring the mixture to a boil, this should only take a couple of minutes, then press “Cancel” and rest the lid back on the Instant Pot.
Let it sit for another 10-30 minutes, stirring a few times, until thickened.
Quick Tip: If you’re making it in advance and storing but don’t have time to let it thicken in the Instant Pot, it will continue to thicken after storing in the fridge.
FAQs
It’s supposed to look watery when it first comes out of the Instant Pot, so don’t worry. After the natural release, stir in the coconut milk and raisins, bring it to a light boil on saute, turn it off then rest the lid on top and let it sit for 10 to 30 minutes, stirring now and then. It thickens substantially as it sits and keeps setting up once it’s in the fridge, so a looser texture out of the pot is exactly what you want.
Yes, long-grain works. Short-grain has a softer, rounder, plumper grain that breaks down into a creamier pudding, so it’s my first choice, but long-grain still gives a good c with a slightly looser texture.
It’s less sweet than traditional rice pudding on purpose, which works well if you’re eating it for breakfast. For a sweeter bowl, increase the maple syrup to 1/4 cup, or serve it topped with a little brown sugar, coconut sugar, or an extra drizzle of maple syrup.
Yes, this is a good make-ahead recipe. It firms up nicely in the fridge, so a day ahead actually works in your favour. Store it sealed for up to 5 days and stir in a splash of milk when you reheat to loosen it back to the texture you like.
How to Serve Brown Rice Pudding
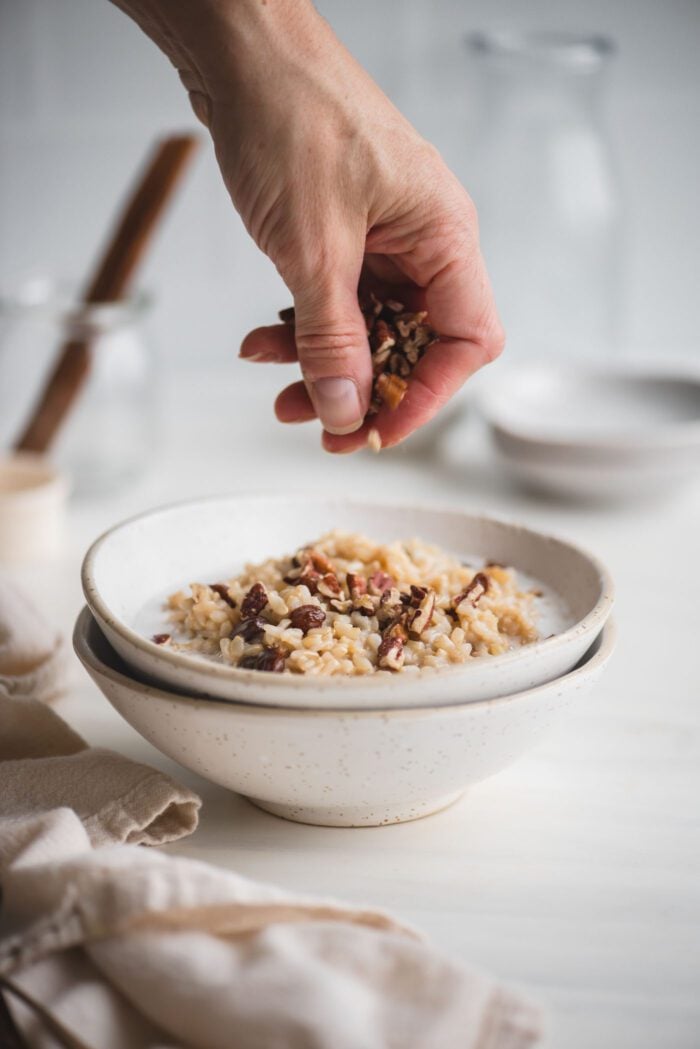
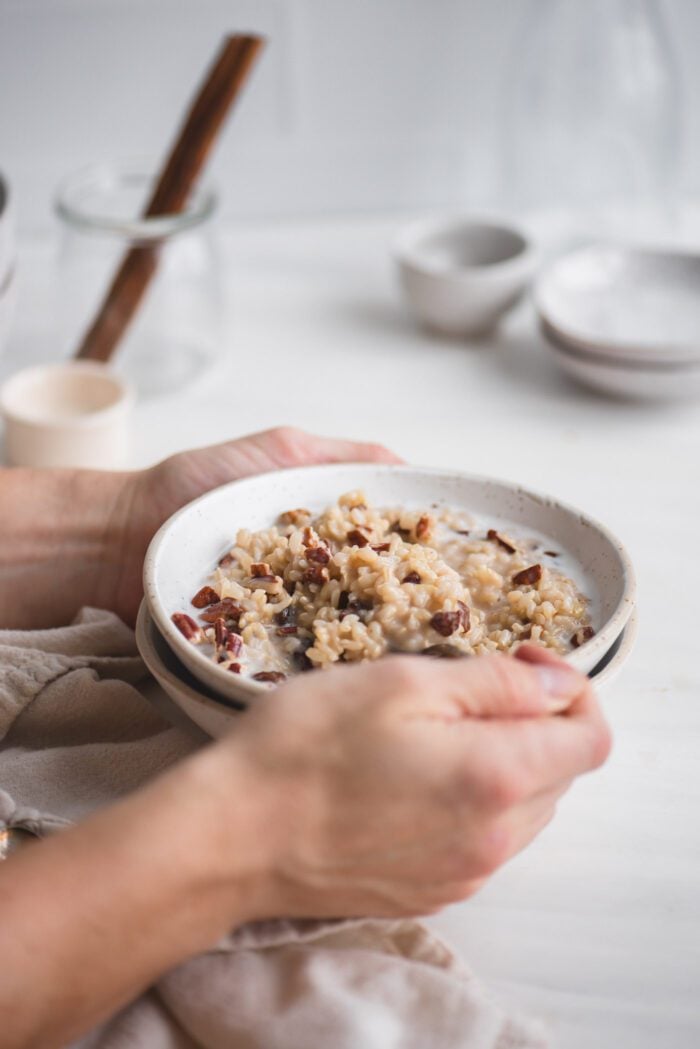
- For dessert rice pudding, sprinkle with brown or coconut sugar, chopped pecans or walnuts and another drizzle of coconut milk.
- For breakfast, try topping your rice pudding with banana, apple, berries, yogurt or any nuts and seeds.
How to Store
- Let cool before storing.
- Fridge: Store in a sealed container for up to 5 days.
- Freezer: Rice pudding isn’t ideal for freezing but you can if you have to. Be sure to cool completely before freezing. Freeze in a freezer bag or freezer-safe container for up to 3 months. Thaw in the fridge before enjoying.
- Rice pudding can be enjoyed cold or reheated in the microwave or stovetop, stirring in some additional milk to adjust the consistency if needed.
If you make this recipe, please consider leaving a comment and a ⭐⭐⭐⭐⭐ rating in the comment section below. It helps others who are thinking of making the recipe, and I love to hear from you. Thanks for trying my recipes! – Deryn
Instant Pot Brown Rice Pudding
Ingredients
- 1 cup short grain brown rice, 220 g
- 1.5 cups water, 375 mL
- 1.5 cups plant-based milk such as almond or cashew, 375 mL
- 3 tbsp maple syrup, 45 mL
- 1/2 tsp sea salt
- 1 tsp vanilla extract
- 1/2 tsp cinnamon
- 1/4 tsp nutmeg, optional
- 1/2 tsp ground ginger, optional
- 1/3 cup raisins, 50 g
- 1 cup light coconut milk, 250 mL
Instructions
- Rinse Rice: Rinse the rice well under cold water then add to your Instant Pot with everything except for the raisins and coconut milk.
- Cook Rice: Seal the lid and make sure the vent is turned to sealed. Press the pressure cook button and set the timer to 22 minutes. After the cooking time has completed, let the pressure release naturally for 15 minutes. If there is any pressure remaining, turn the vent to venting to release.
- Add Coconut Milk & Raisins: Carefully remove the lid and stir in the coconut milk and raisins. It will seem very watery at this point but will thicken substantially after it sits. Press Saute and bring to a light boil, this should only take a few minutes.
- Thicken: Press Cancel to turn off Saute then rest the lid back on the Instant Pot and let sit, stirring occasionally, until thickened to your preference (10-30 minutes). The longer it sits, the thicker it will get and it will continue to thicken after storing in the fridge.
- Serve: Enjoy as is or topped with a sprinkle of brown sugar or coconut sugar, coconut milk, banana, berries, yogurt, or any chopped nuts or seeds.


All I have is long grain brown rice – do you think that will work? Thanks!
You can. Short grain has a softer, rounder, plumper grain so it’s better suited for rice pudding.
This turned out perfectly. I skipped the vanilla and ginger but added more nutmeg and some cardamom along with the cinnamon. I also used half raisins and goji, which gave it some fun colour. It thickened it so nicely and I can’t wait to enjoy a bowl of it for dessert. Thanks, Deryn, for a delicious, comforting, and nostalgic recipe!!
I’m so glad you liked it! Thanks for trying the recipe – I was waiting for some feedback because it does take a while to thicken up after the initial cooking time. Thanks for the review!