Roasted Garlic Hummus
Fresh, flavourful and full of nutrition, this roasted garlic hummus recipe is guaranteed to be a crowd-pleaser!
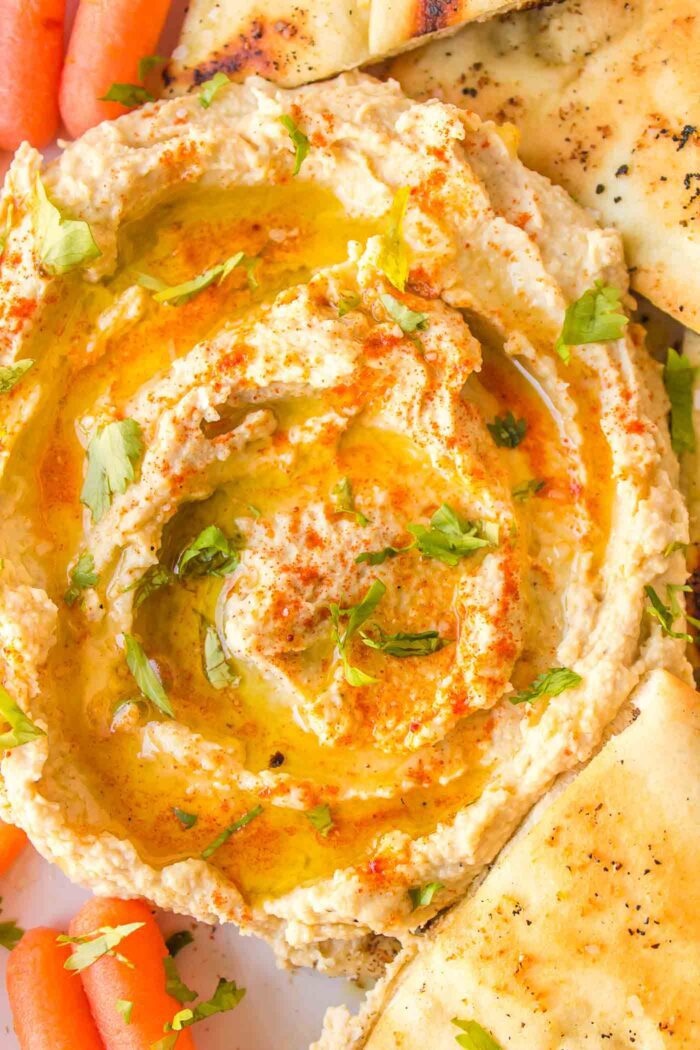
About this Recipe
Roasted garlic really kicks things up a notch in this creamy roasted garlic hummus, giving it a nutty, slightly sweet and earthy flavour. If you’re a garlic-lover, this is the hummus for you!
Garlic hummus is delicious spread on toast or crackers for a savory snack, used in pitas and sandwiches or served with raw veggies, pita and crackers for a classic appetizer.
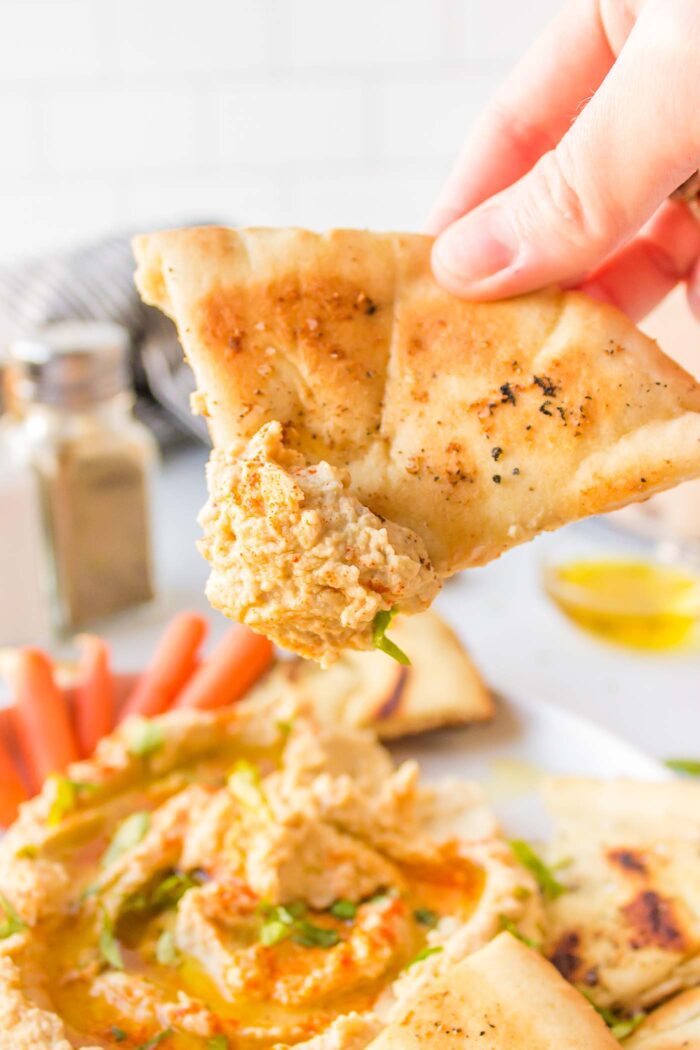
Roasted garlic hummus is so packed full of flavour from the rich garlic and bright, zesty lemon juice, there will be no need to go back to store-bought.
Serve this hummus at your next gathering for a delicious dip everyone will enjoy. It’s the perfect snack or appetizer for any occasion!
What You’ll Need
This section covers notes on specific ingredients used and any possible substitutions. You’ll find the complete ingredient list with measurements in the recipe card at the end of the post.
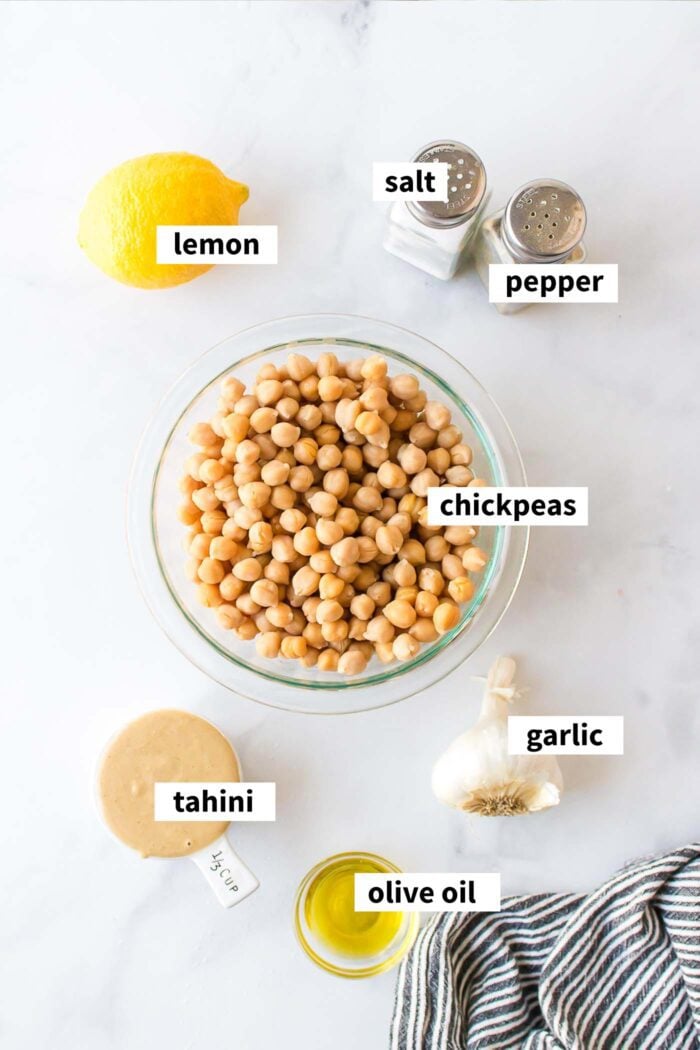
- Chickpeas: This recipe calls for canned chickpeas though you could cook chickpeas from scratch if you like. You’ll need about 3 cups of cooked chickpeas.
- Garlic: You’ll need a whole head of garlic to make the roasted garlic for this recipe (or make 2 if you’re a garlic-lover!). You can also skip the roasting and just use 3-4 cloves fresh garlic if you like.
- Tahini: Tahini, or sesame seed paste, is an essential ingredient for hummus. Good tahini is somewhat runny and not too dry and has a slightly sweet, nutty flavour. It shouldn’t be bitter. Look for tahini with just 1 ingredient: sesame seeds.
- Olive Oil: Good quality extra virgin olive oil is key for smooth, creamy and satisfying hummus.
- Salt and Pepper: Amounts are listed but use salt and pepper to taste.
- Lemon Juice: You’ll need 1-2 fresh lemons to make 1/4 cup lemon juice for the recipe.
How to Make (with Photos)
Step 1: Roast the garlic.
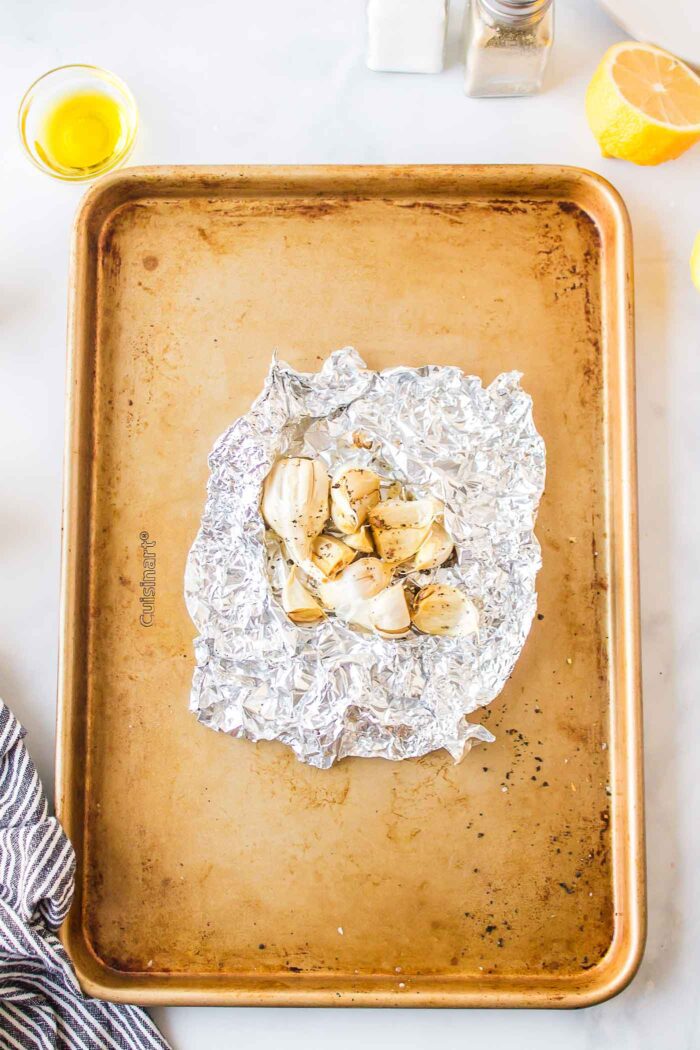
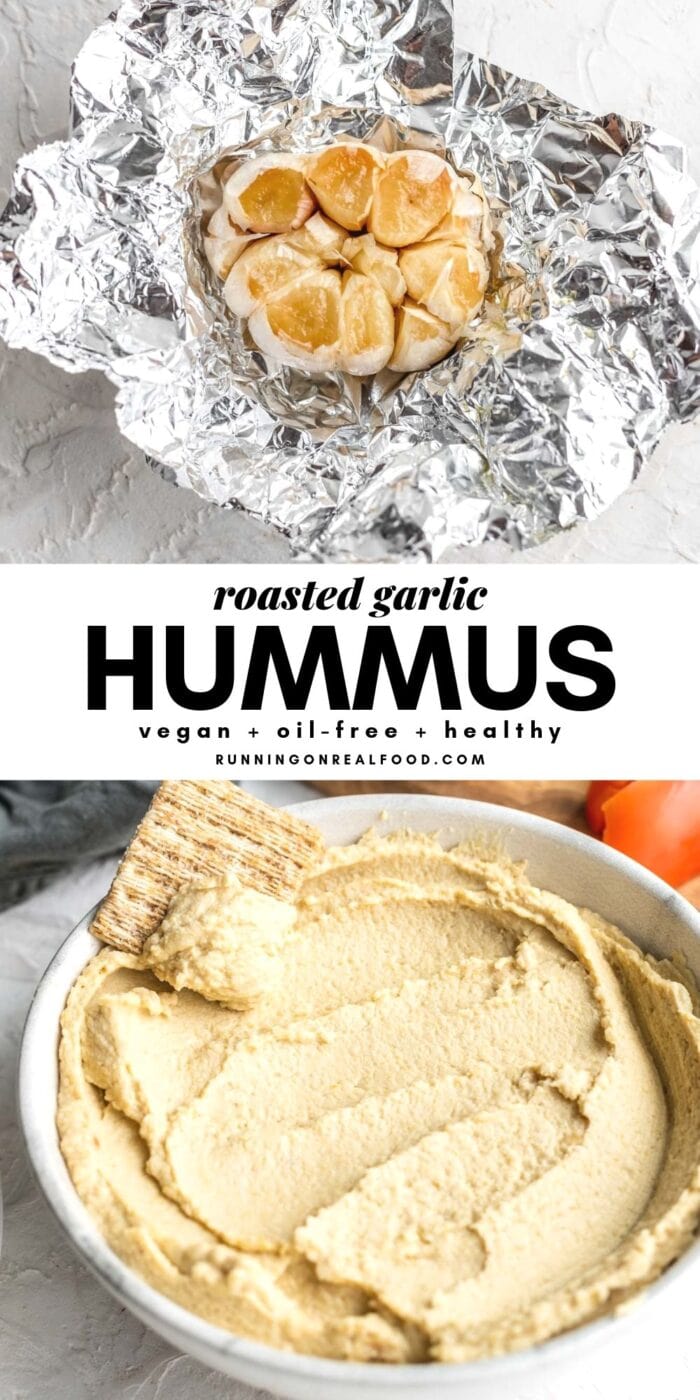
To roast the garlic, slice the top off the head of garlic so the tops of the cloves are exposed. It’s okay if they separate.
Quick Note: Garlic lover? Roast an extra clove in case you want to add more to the hummus. If not, you can use the extra roasted garlic in a soup, pasta sauce or anywhere else you’d use fresh garlic.
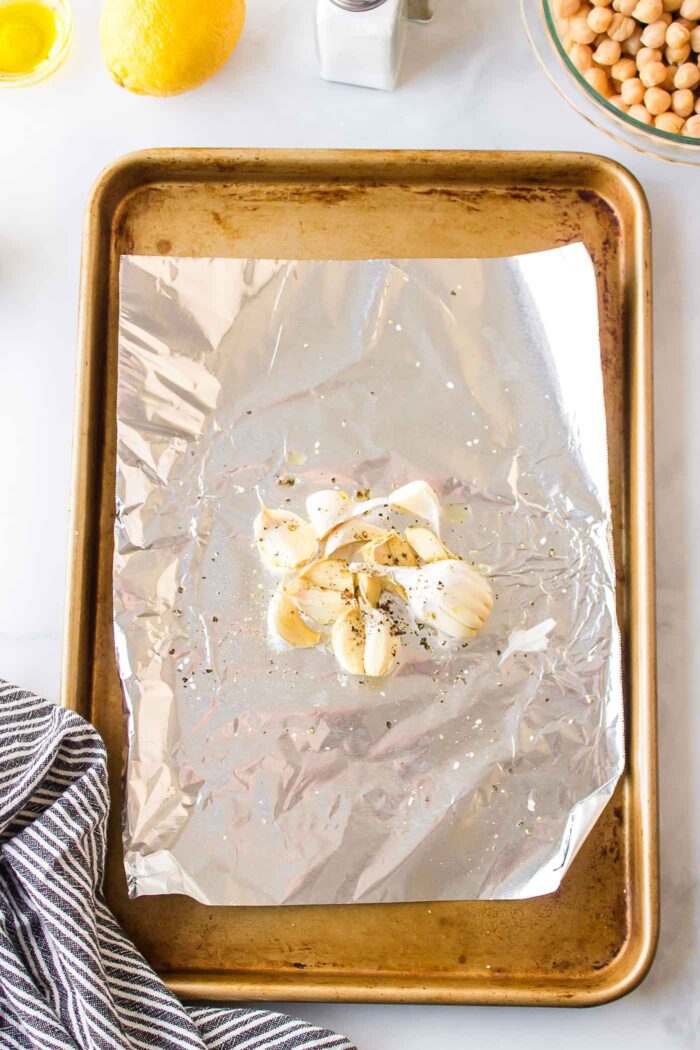
Place them on a small square of foil and drizzle with 1 tablespoon of the olive oil and a good pinch of salt and pepper. Wrap the cloves up in the foil and roast on a baking sheet for about 30 minutes.
Once they’re done roasting, remove from the oven and let them until you can handle them.
Step 2: Boil and peel the chickpeas.
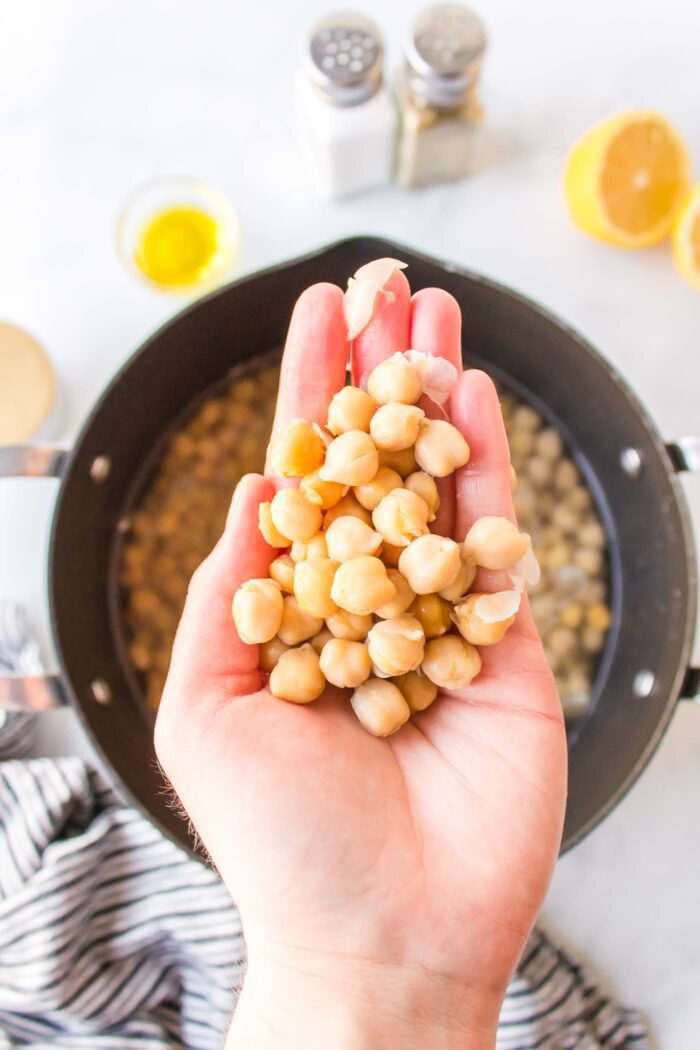
Boiling and peeling the chickpeas makes for beautifully smooth hummus.
Quick Note: This step is technically optional, so if you don’t mind a bit more texture to your hummus, you can add the drained and rinsed chickpeas straight to the food processor.
If you’d like to try the boil and peel method, bring a pot of water to a boil on the stovetop and add the drained and rinsed chickpeas. Boil them for 10 minutes, then reserve 1/2 cup of the chickpea water before draining.
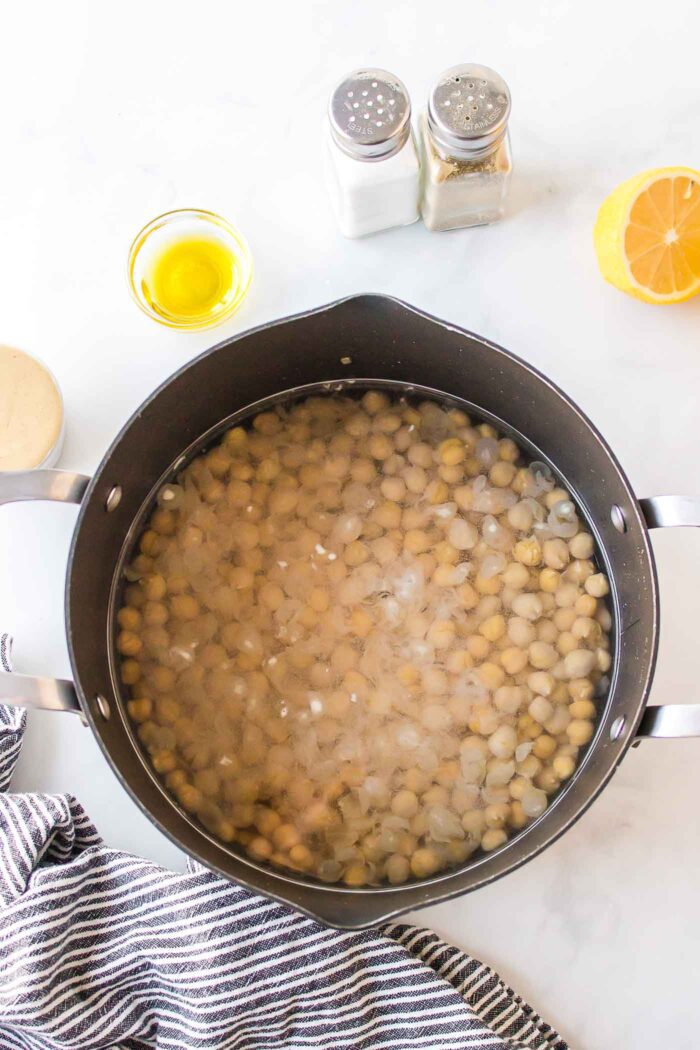
Place the drained chickpeas back in the pot and cover them with cold water. Use your hands to rub the skins away from the chickpeas. Drain them again and remove any skins you see. It’s okay if there are a few left behind.
Quick Tip: You can also roll the boiled chickpeas around in a dish towel to remove the skins but it’s a little messier than the cold water method.
Step 3: Blend the hummus.
Use your fingers to squeeze the roasted garlic cloves out of the skins into a food processor. Use 4-5 cloves or more if you like.
Quick Tip: If you have extra roasted garlic, use it in things like soups, pasta sauces or mashed potatoes. You can also freeze it in an ice cube tray and use it as a base for any savoury recipe.
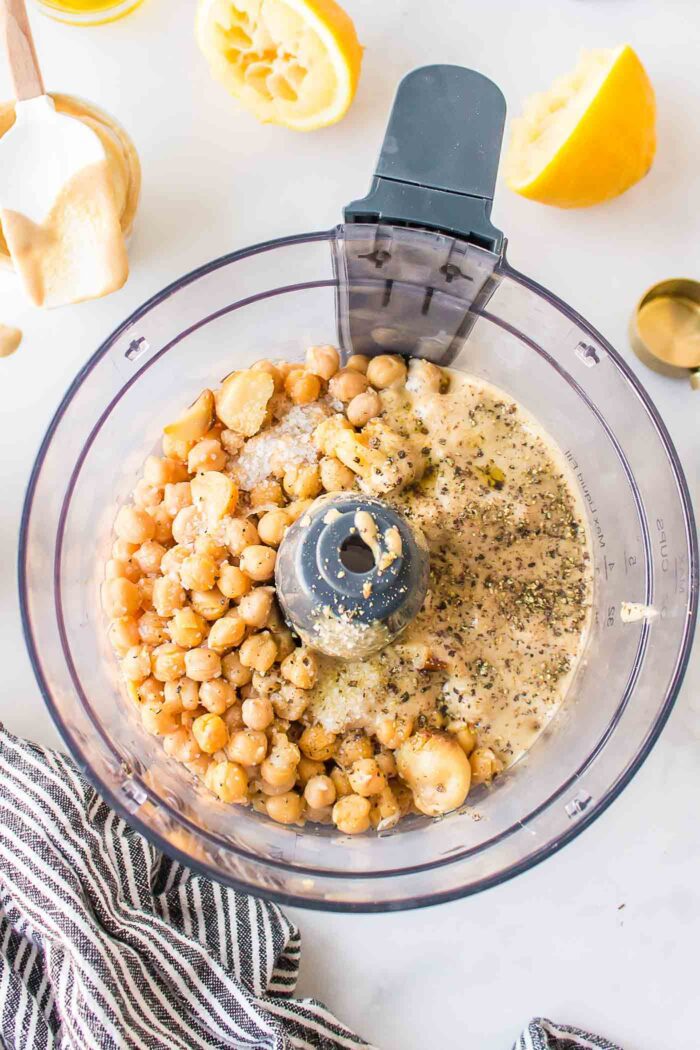
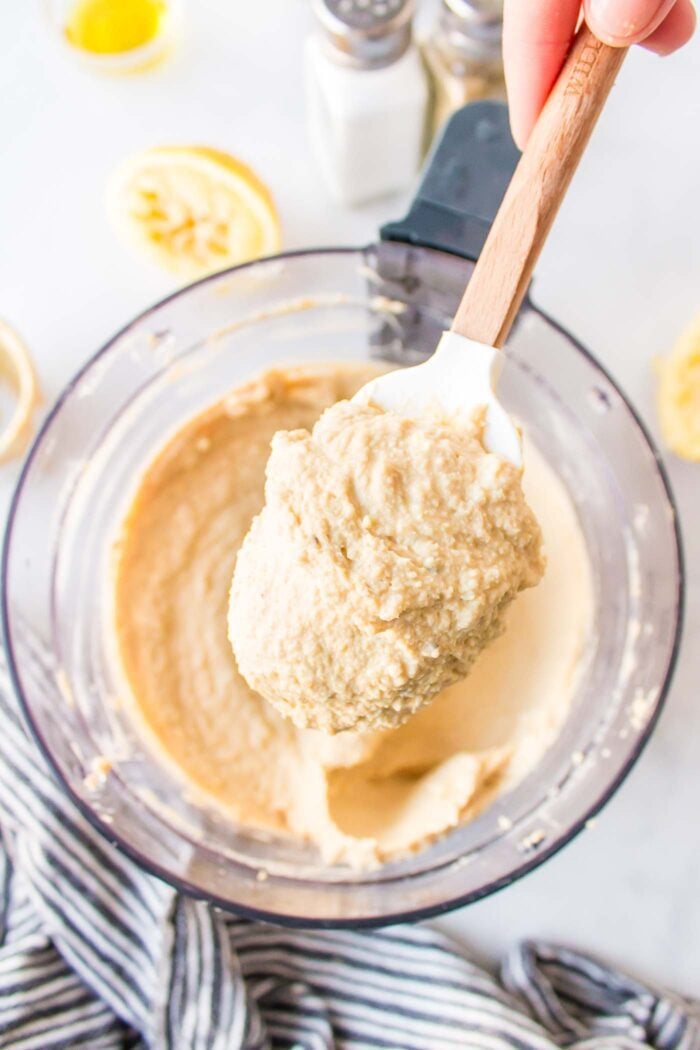
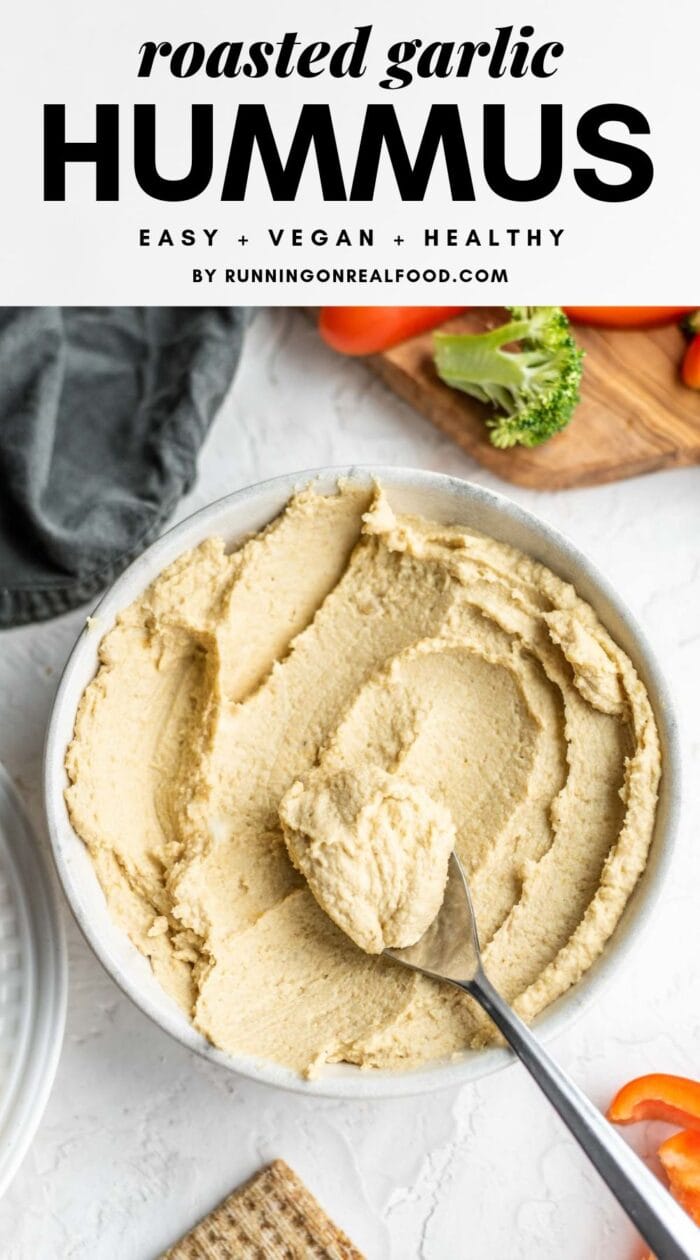
Add the chickpeas, salt, pepper, lemon, olive oil and tahini and blend until smooth. Gradually add some of the reserved chickpea water until you reach your desired consistency.
Quick Tip: If you’d like to add additional seasonings, add those now as well. Cayenne or red chili flakes work well for spicy hummus or you can try spices like cumin or paprika.
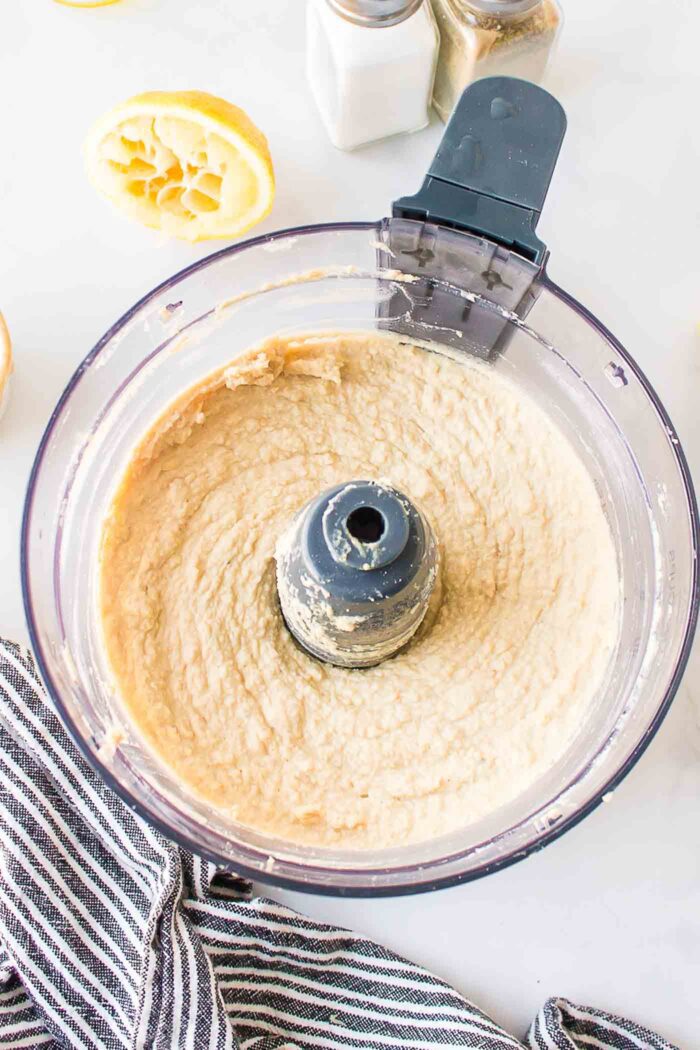
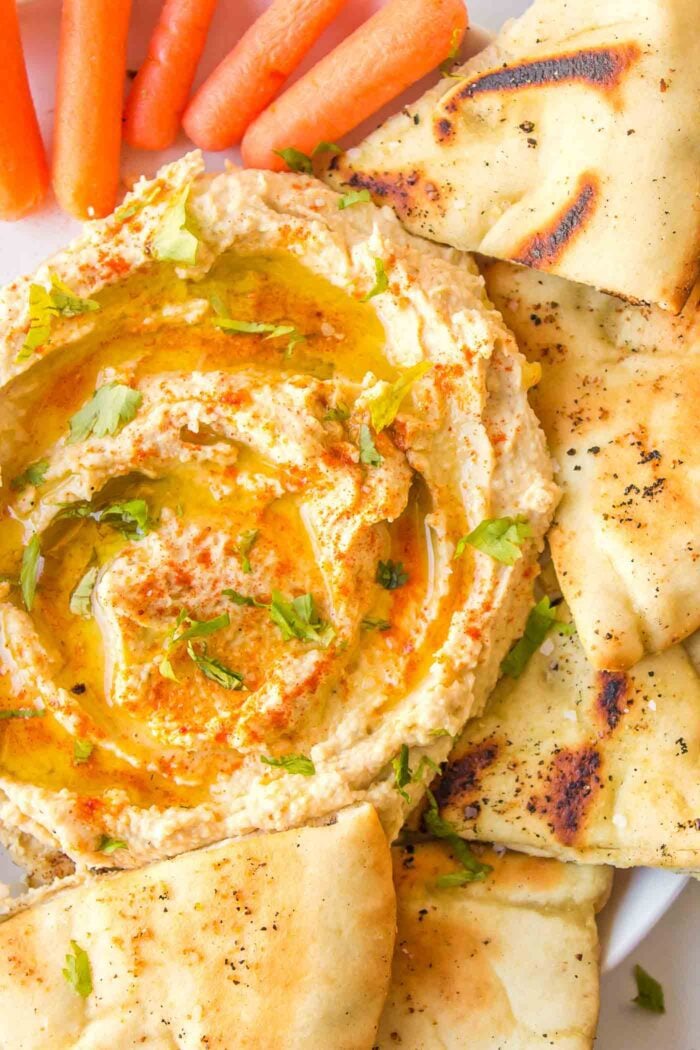
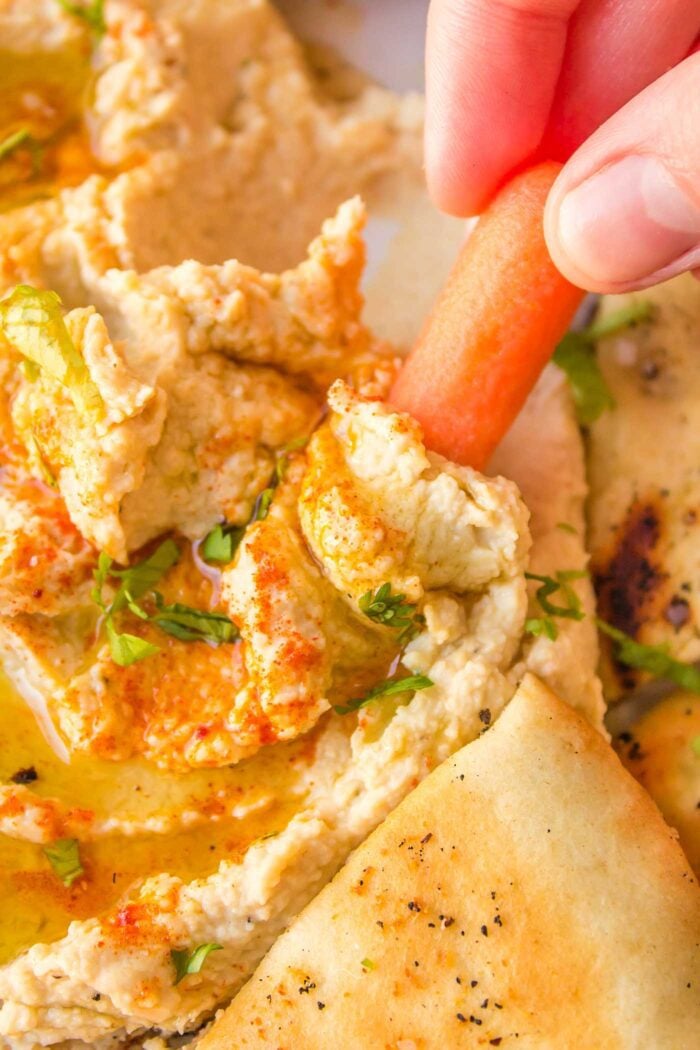
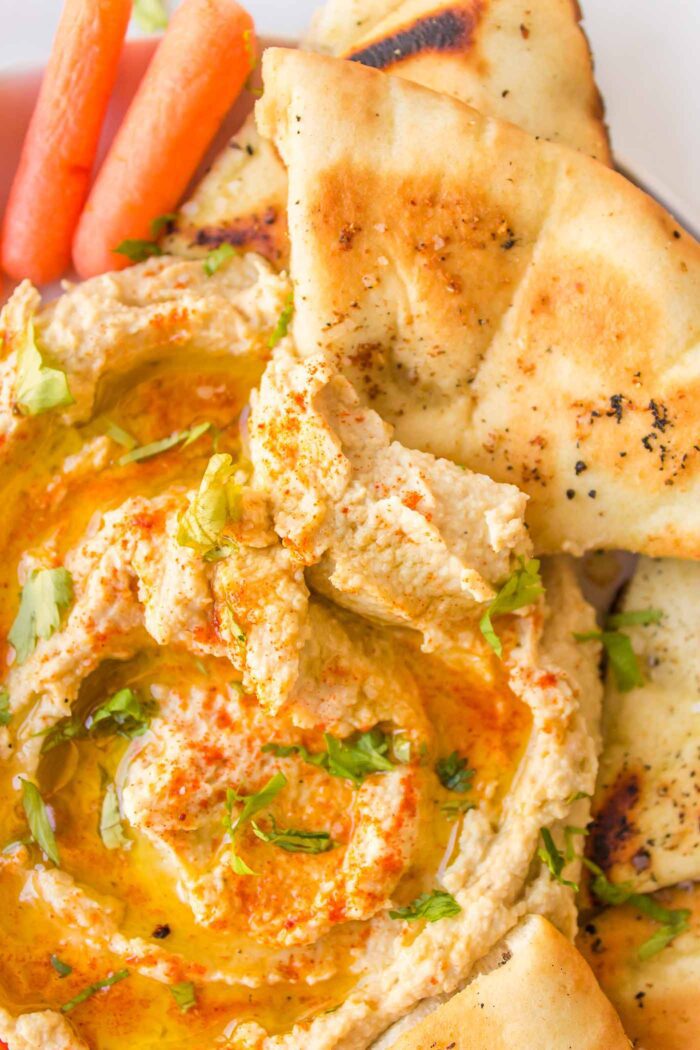
Serve your hummus sprinkled toppings like parsley, cayenne, paprika or sumac, a drizzle of olive oil and plenty of pita and veggies for dipping.
What to Do with Garlic Hummus
The uses for hummus are endless! Here are some recipes to use it in:
- Mediterranean Quinoa Bowls
- Mediterranean Farro Salad
- Hummus Bowls
- Quinoa Grain Bowl
- Spicy Chickpea Wraps
- Chickpea Shawarma Salad
- Cauliflower Quinoa Tabouli Bowls
Here are some other ideas:
- spread on toast or crackers for a quick snack or breakfast
- add to avocado toast
- spread in any wrap or sandwich
- add to a pizza
- add a scoop to any salad
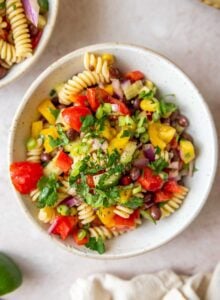
- mix into pasta salad (like this orzo salad)
- water down to make a quick salad dressing
- make loaded hummus dip by topping a layer of hummus with olives, pine nuts, feta, tomato, cucumber, and roasted bell pepper
Frequently Asked Questions
Yes. To make this recipe oil-free. Omit the oil for roasting the garlic and adding to the hummus. Add a little extra tahini and chickpea water until you reach your desired consistency.
Yes. To separate the garlic from coming in contact with the foil, you can add a layer of parchment paper in between. Simply wrap the garlic bulb in parchment, then wrap that in foil.
To avoid using tin foil altogether, place each bulb in a muffin tin cup, then place another tin upside down on top of it.
Both work but I prefer a food processor to make hummus because it has a wider base but you can also use a high-speed blender such as a Vitamix.
It’s a little more work in a blender because you have to stop and scrape down the sides or use a tamper to push the hummus down as it blends.
Yes. To make this recipe without tahini, either omit the tahini and add extra olive oil to reach your desired consistency or substitute peanut butter, cashew butter, sunflower butter or almond butter.
Expert Tips
- For the chickpeas, the amount doesn’t have to be exact as can sizes can vary. Use 2 x 14-15 ounce cans or 1 x 28-30 ounce can.
- For the garlic, you can use 4-5 cloves, the whole head of garlic or even increase it to two heads of garlic. Roasting garlic softens the flavour so it no longer has that sharp “bite” but is rather slightly sweet, buttery, earthy and nutty. You may find you want more than a few cloves!
- To simplify the recipe, you can skip boiling and peeling the chickpeas. Simply drain, rinse and add directly to the food processor. You can reserve some of the liquid from the can to adjust the consistency of the hummus or use a little water, more oil or tahini.
Variations
- For a variation on classic hummus, you can use peanut butter, sunflower butter, almond butter or cashew butter instead of tahini.
- Omit the roasted garlic for classic hummus.
- Roast an extra clove of garlic and serve the roasted garlic on top of the hummus.
How to Store
- Homemade hummus can be stored in the fridge in an airtight container for up to 1 week.
- Hummus can be frozen for up to 3 months. Let it thaw overnight in the fridge and stir well before serving. Note that the texture and consistency will change after freezing.
Did you try this recipe? I’d love to hear about it! Scroll down to the comment section to leave a star rating and review.
⭐️⭐️⭐️⭐️⭐️
Roasted Garlic Hummus
- Prep Time: 10 mins
- Cook Time: 40 mins
- Total Time: 50 minutes
- Yield: 12-14
- Category: Dip
- Cuisine: Mediterranean
- Diet: Vegan
Description
Enjoy this roasted garlic hummus for a perfectly smooth and silky blend of slightly sweet, smoky and nutty roasted garlic, chickpeas, lemon and tahini.
Ingredients
For the Hummus
- 28 ounces canned chickpeas, drained and rinsed
- 1 head of garlic
- ⅓ cup tahini (80 g)
- 3 tablespoons olive oil, divided (45 mL)
- 1–2 teaspoons salt
- 1 –2 teaspoons black pepper
- ¼ cup lemon juice (60 mL)
For Serving
Instructions
- Roast the Garlic: Preheat your oven to 400 degrees F. Prepare a garlic head. Slice the top of your garlic head, revealing the cloves, it’s okay if they separate. Place on a small square of aluminium foil and drizzle with 1 tablespoon of olive oil, ¼ teaspoon salt, and ¼ teaspoon of black pepper. Wrap in foil and place in the oven on a baking sheet for 30-40 minutes. Remove from the oven and let cool until you can handle them.
- Prepare the Chickpeas: While your garlic is baking, add the drained and rinsed chickpeas to a pot of water on the stovetop and bring to a boil. Boil for 10 minutes. Reserve ½ cup chickpea water and set aside. Drain the chickpeas then place back into the pot and cover with cold water. Using your hand gently scrub the skins away from the chickpeas. Drain again and remove any skins you see. It’s okay if some skins remain.
- Blend the Hummus: Add the chickpeas to a food processor, then use your fingers to squeeze the 4-5 cloves of roasted garlic out of the skins into the food processor (use more or less if you prefer). Add 2 teaspoons salt, 1 teaspoon black pepper, lemon juice, 2 tablespoons olive oil, and the tahini. Blend together while gradually adding in chickpea water until desired consistency.
- Top with a drizzle of olive oil, paprika, and finely chopped parsley. Serve with vegetables and pita for dipping.
Notes
For the chickpeas, the amount doesn’t have to be exact as can sizes can vary. Use 2 x 14-15 ounce cans or 1 x 28-30 ounce can.
For the garlic, you can use 4-5 cloves, the whole head of garlic or even increase it to two heads of garlic if you’re a garlic-lover! Roasting garlic softens the flavour of garlic, cutting down the sharpness, so you may find you want more than a few cloves!
Nutrition
- Serving Size: 4 tbsp
- Calories: 145
- Sugar: 0 g
- Sodium: 382 mg
- Fat: 8 g
- Carbohydrates: 14 g
- Fiber: 4 g
- Protein: 5 g
This recipe was originally published March 2013.







Hi Deryn! Like to all recipes there I want to try this one too;) just a little question, because I’m the only one eating it, can I freeze some for later? I know that texture will change a bit, maybe if I thaw and blend again that would help? What do you think?
Thanks so much for your work!
Hmm, I’ve actually never frozen hummus before! I think it should be fine though. Just freeze and thaw at room temp or in the fridge as needed. You could blend it again if you like but I don’t think you’d have to. You can also cut the recipe in half if that helps!