No-Bake Chocolate Chia Energy Bars

on Jul 18, 2021, Updated Oct 15, 2026
This post may contain affiliate links.
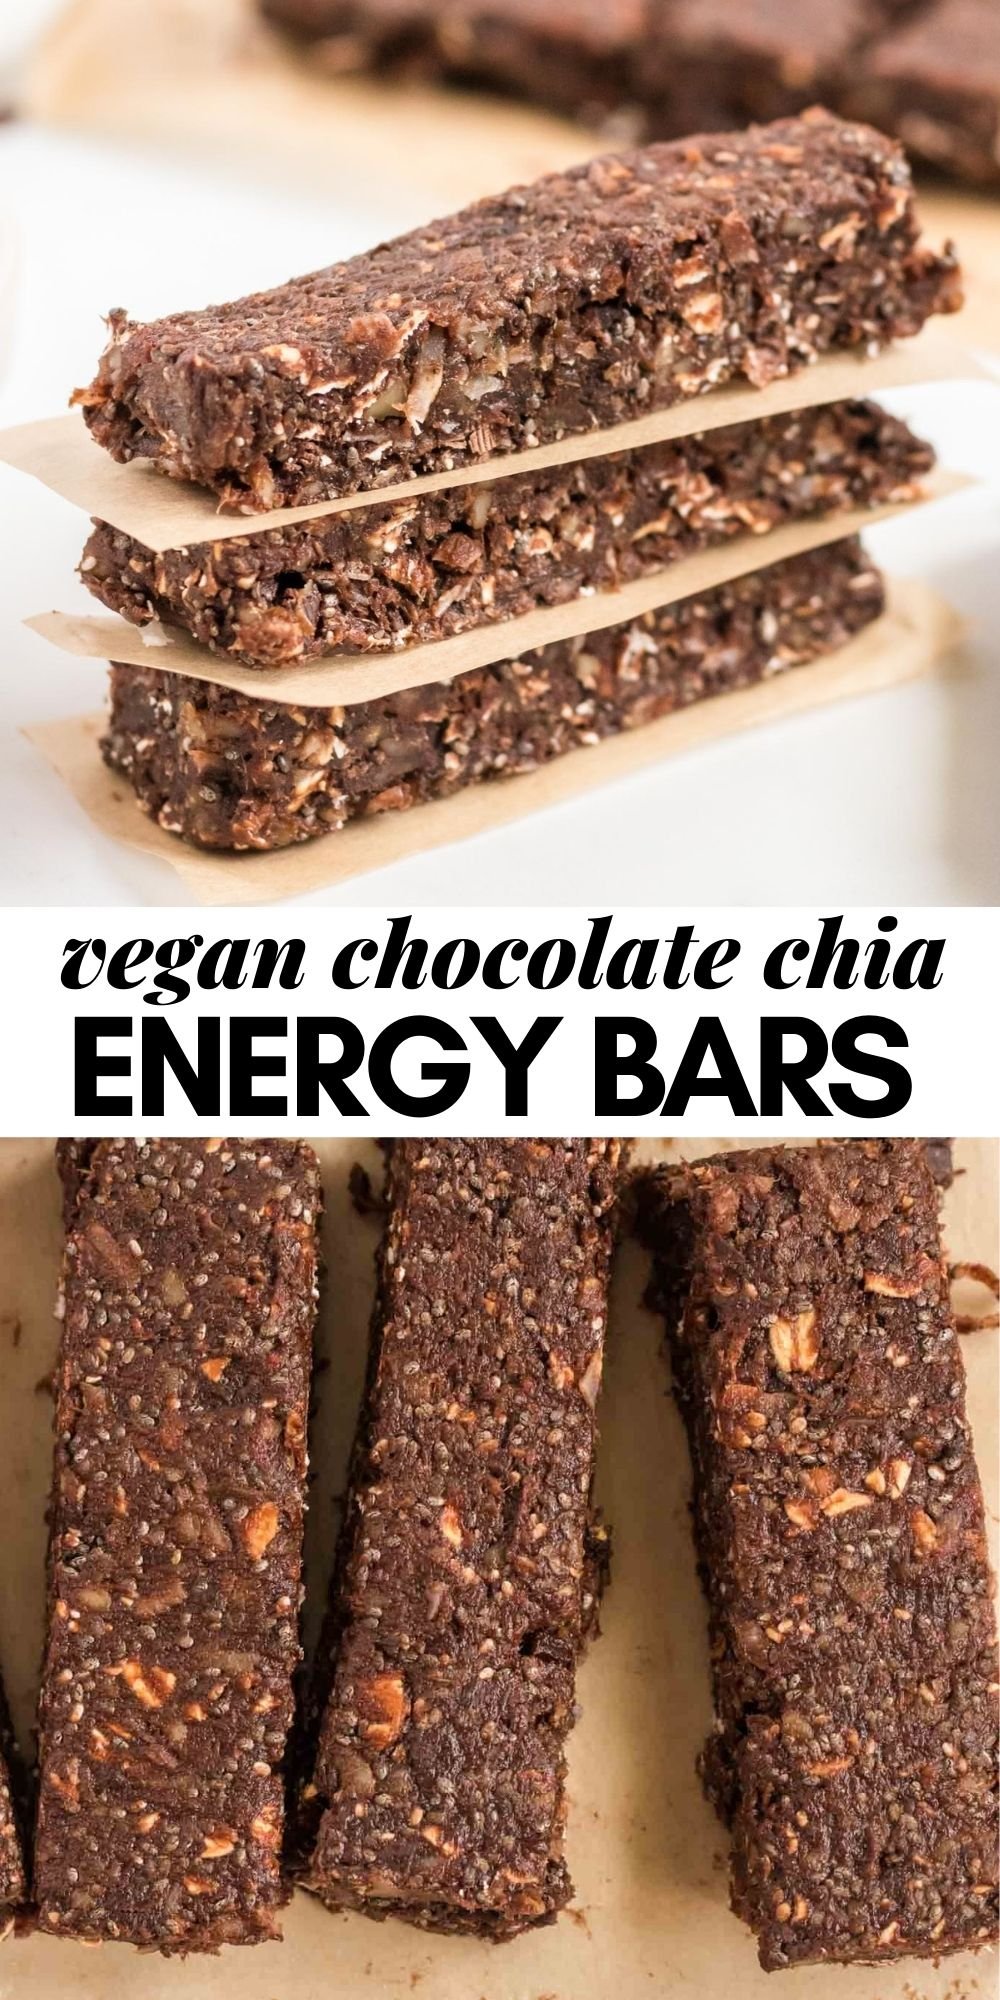
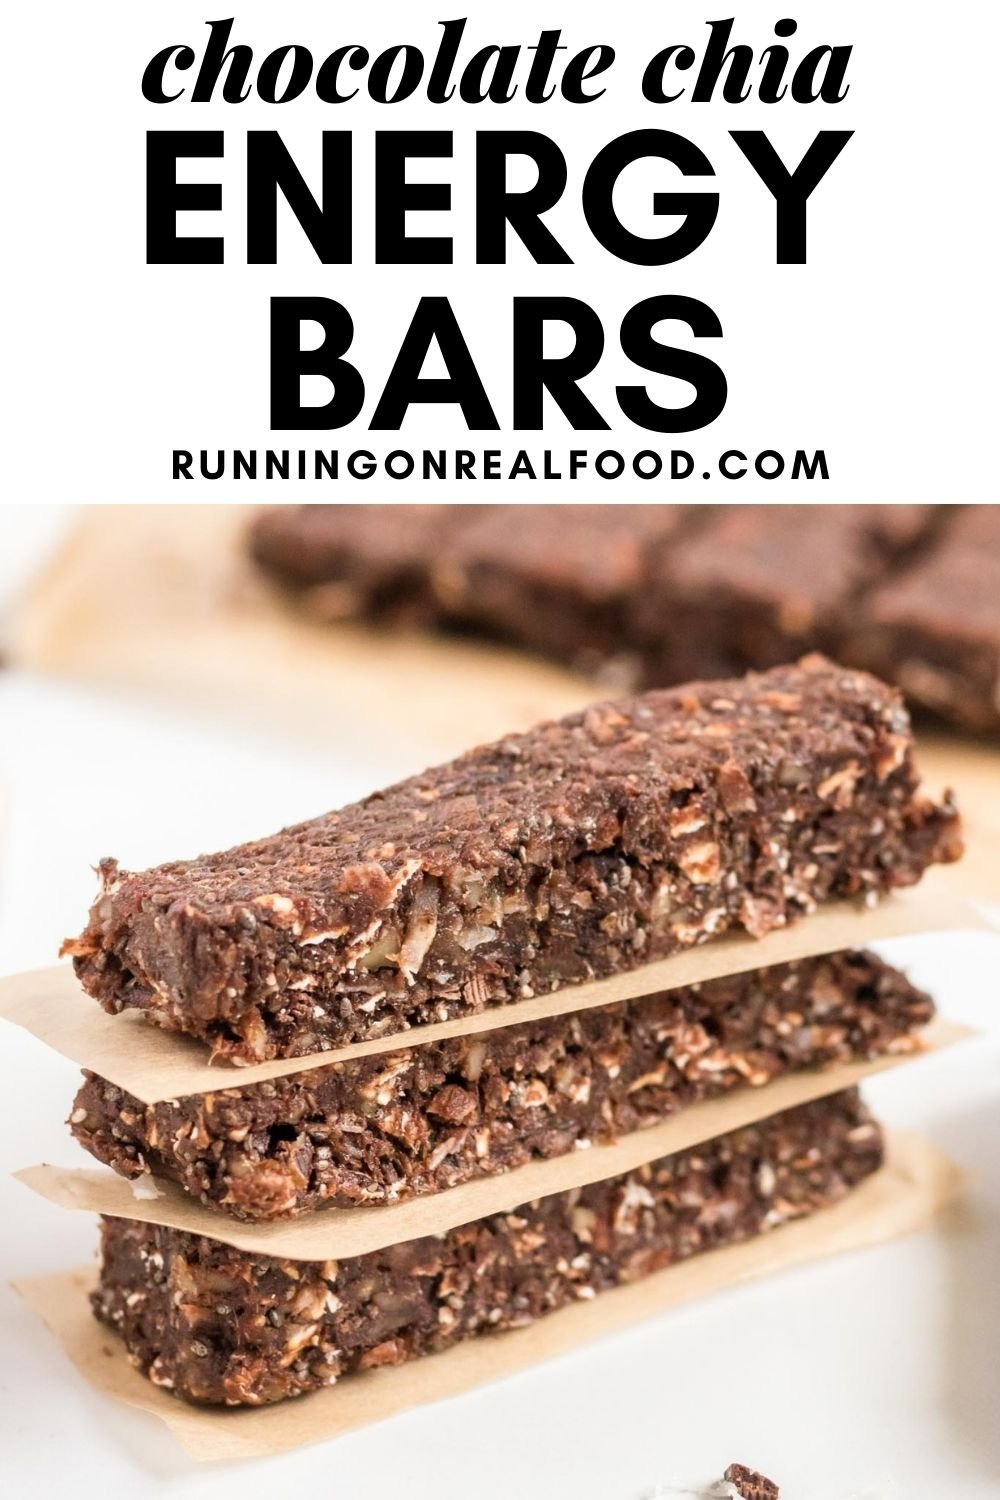
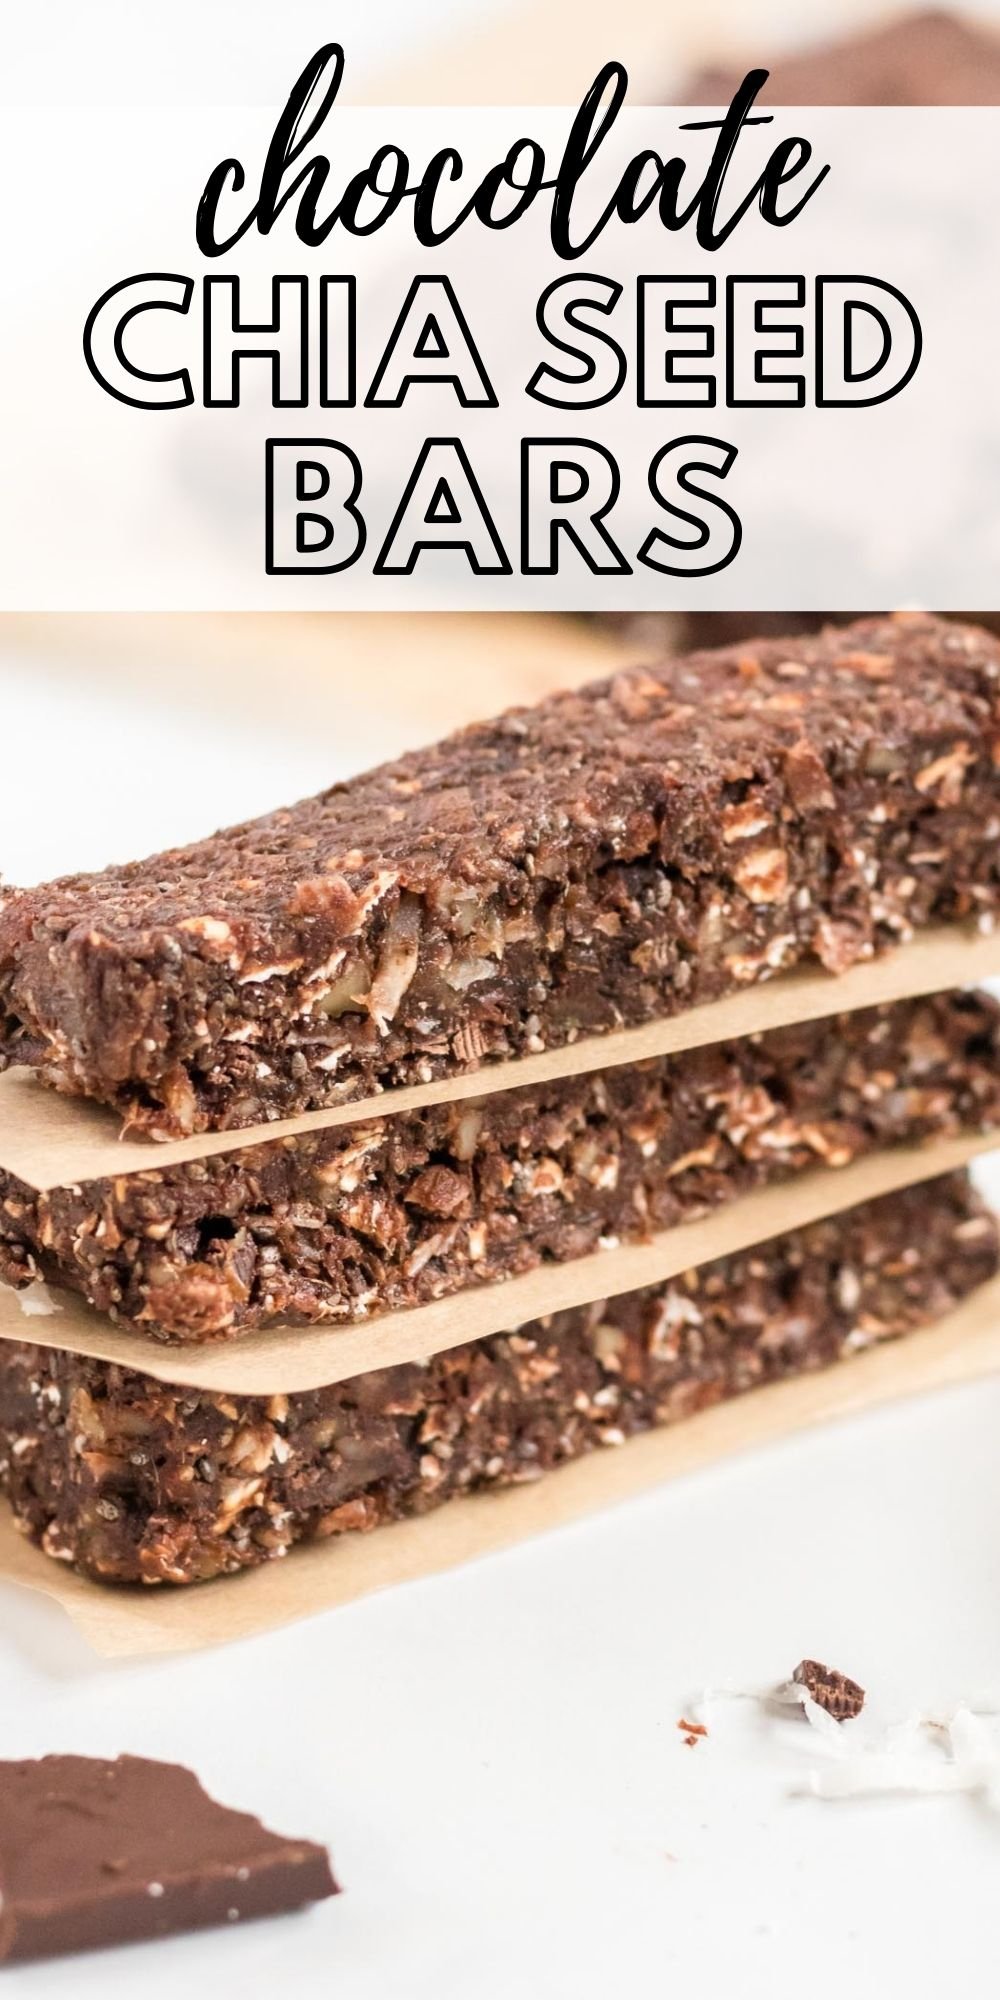
These no-bake chocolate chia energy bars are packed with chocolate flavour, dates, walnuts and chia seeds. Made in a food processor with simple pantry ingredients, they’re an easy homemade snack for busy days, hiking, road trips or meal prep.
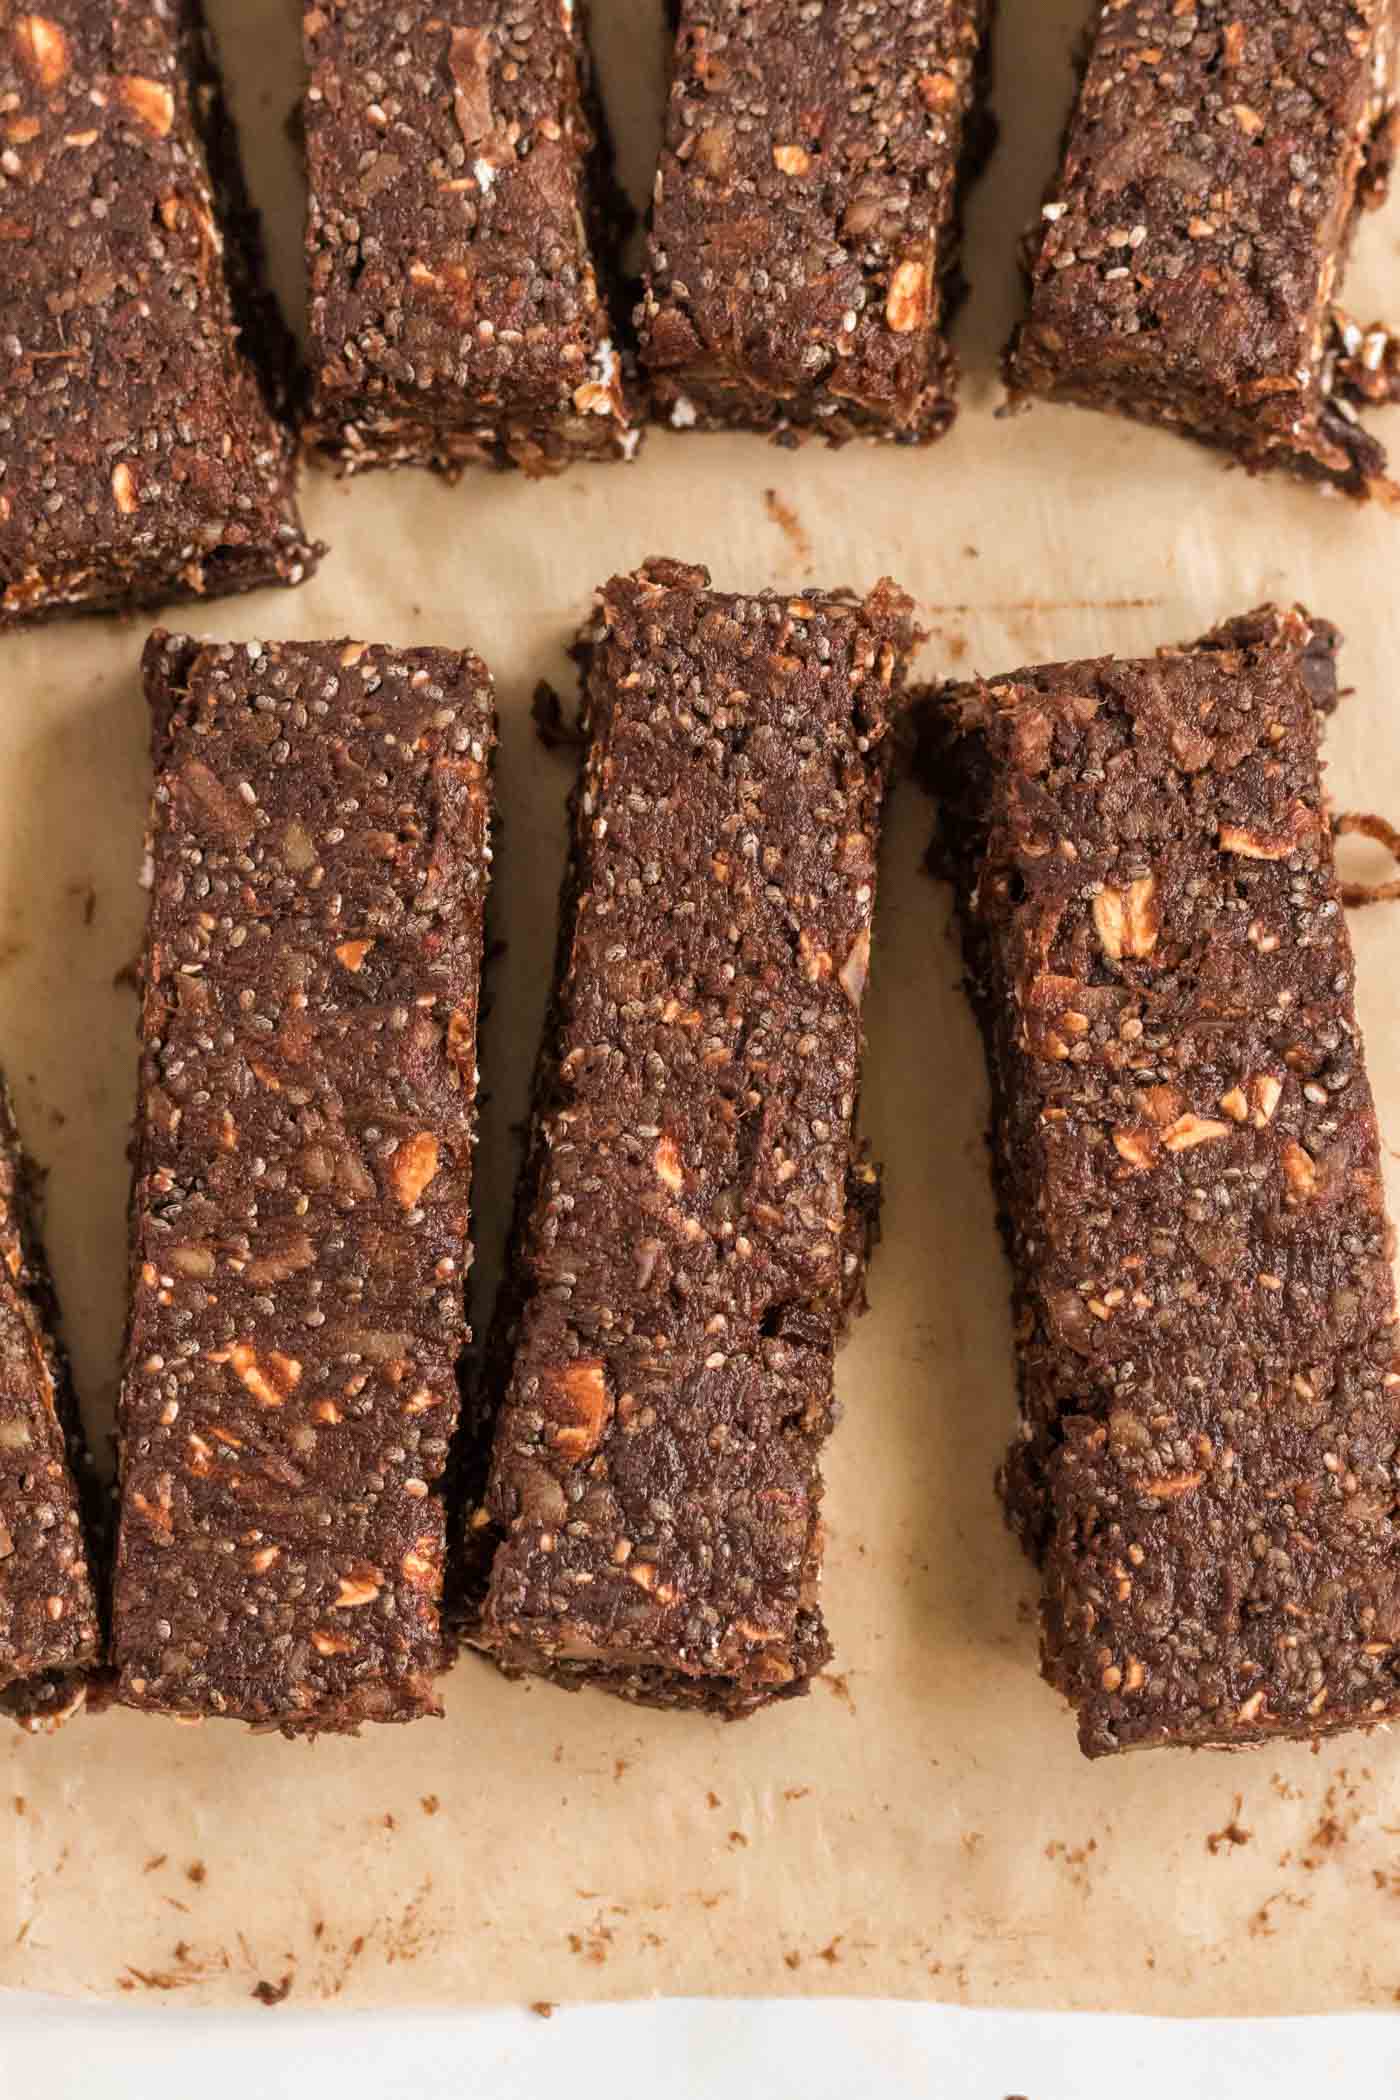
With a soft, chewy texture and a little crunch from the chia seeds, these bars are naturally sweetened with dates and made with cocoa powder and dark chocolate for a rich, double chocolate flavour. Keep a batch in the freezer for an easy snack whenever you need one.
If you enjoy making homemade energy bars, try my No-Bake Chocolate Coconut Chia Seed Bars and No-Bake Hemp Seed Chia Energy Bars.
What Readers Are Saying
These bars are unreal! I used pecans because I didn’t have walnuts, but I’m completely blown away! Thanks for the delicious recipe!
Why You’ll Love These Chocolate Chia Energy Bars
- No baking required: Make the bars in a food processor, press into a pan and freeze until firm.
- Rich chocolate flavour: Cocoa powder and dark chocolate give these bars a decadent double chocolate taste.
- Naturally sweetened: Soft dates provide sweetness and help bind the ingredients together.
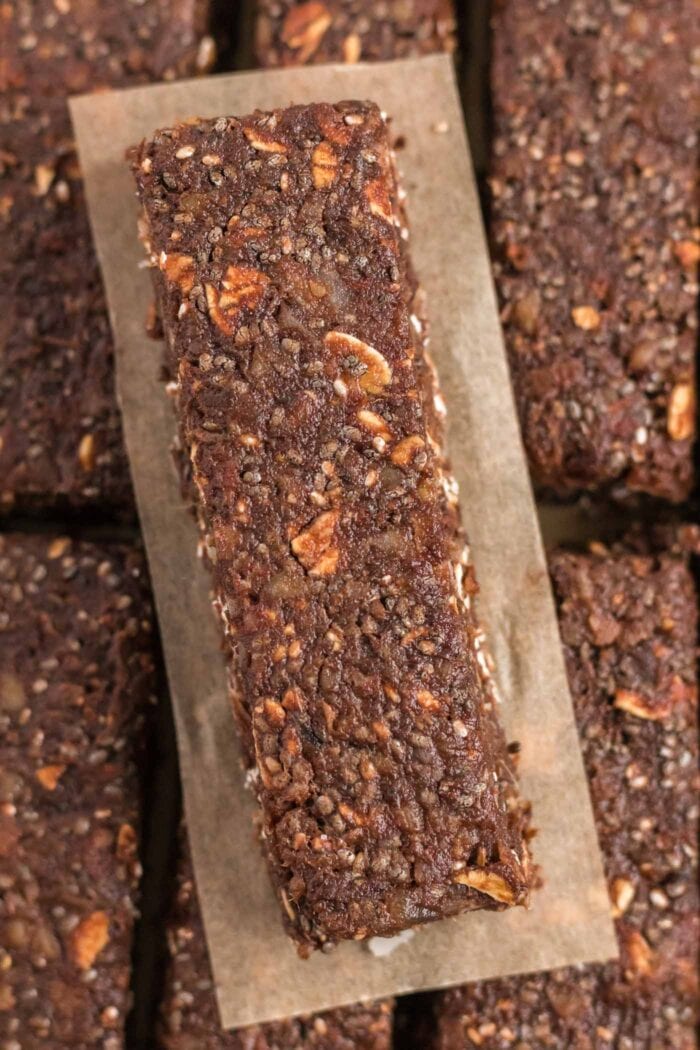
- Chewy with a little crunch: Walnuts, oats, coconut and chia seeds add texture to every bite.
- Easy to meal prep: Make a batch ahead and keep the bars in the fridge or freezer for convenient snacks.
- Vegan and gluten-free: The ingredients are naturally plant-based. Use certified gluten-free oats and check your chocolate labels if needed.
Ingredient Notes
Below is a quick overview of what you’ll need to make the recipe and any substitutions you can make. Use the recipe card with the full list of ingredients and measurements at the bottom of the post when you’re ready to make the recipe.
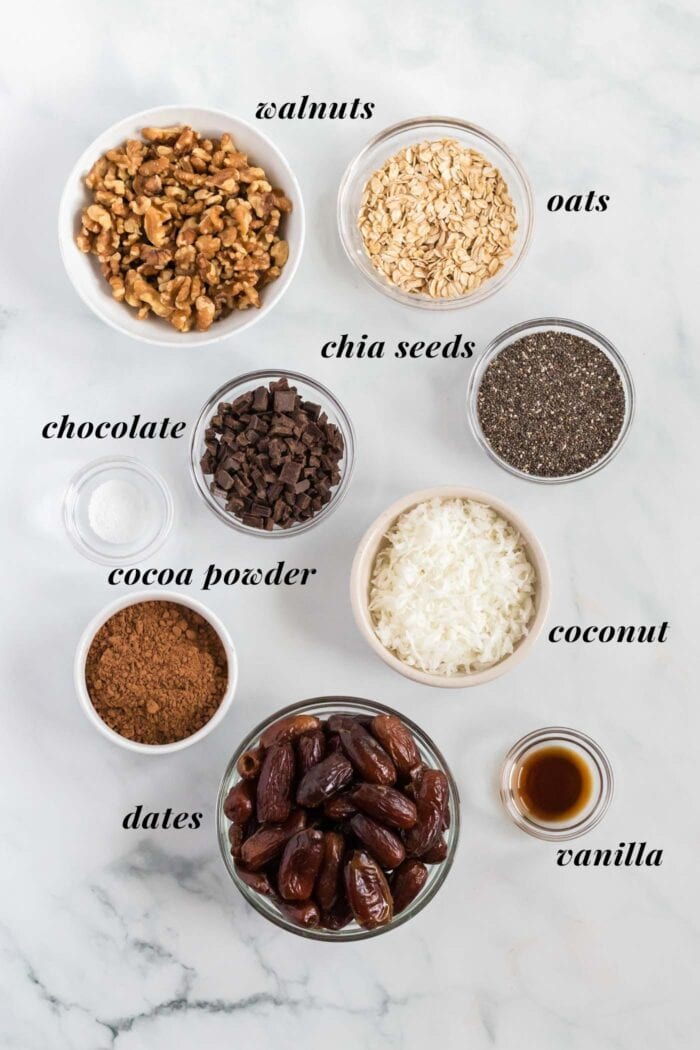
- Dates: Use soft, moist, pitted dates for the best texture. Medjool dates work well, but other varieties are fine. If your dates feel dry, soak them in hot water for 15 minutes, then drain thoroughly before blending.
- Cocoa powder: Unsweetened cocoa powder provides the chocolate flavour. Dutch-process cocoa or cacao powder can also be used.
- Chia seeds: Whole black or white chia seeds both work. They add texture and help give the bars their characteristic crunch.
- Shredded coconut: Use unsweetened fine or medium shredded coconut (desiccated coconut).
- Walnuts: Raw, unsalted walnuts provide richness and help form the base of the bars. You can substitute almonds, cashews or pecans, or use a combination of nuts.
- Dark chocolate: Chopped dark chocolate or dairy-free chocolate chips both work. Choose your preferred chocolate, depending on how sweet you like your bars.
- Oats: Rolled oats or quick oats are suitable. For a gluten-free version, use certified gluten-free oats.
How to Make Chocolate Chia Energy Bars
Step 1: Process the walnuts. Add the walnuts to a food processor and pulse until they resemble a coarse flour. A few larger pieces are fine.
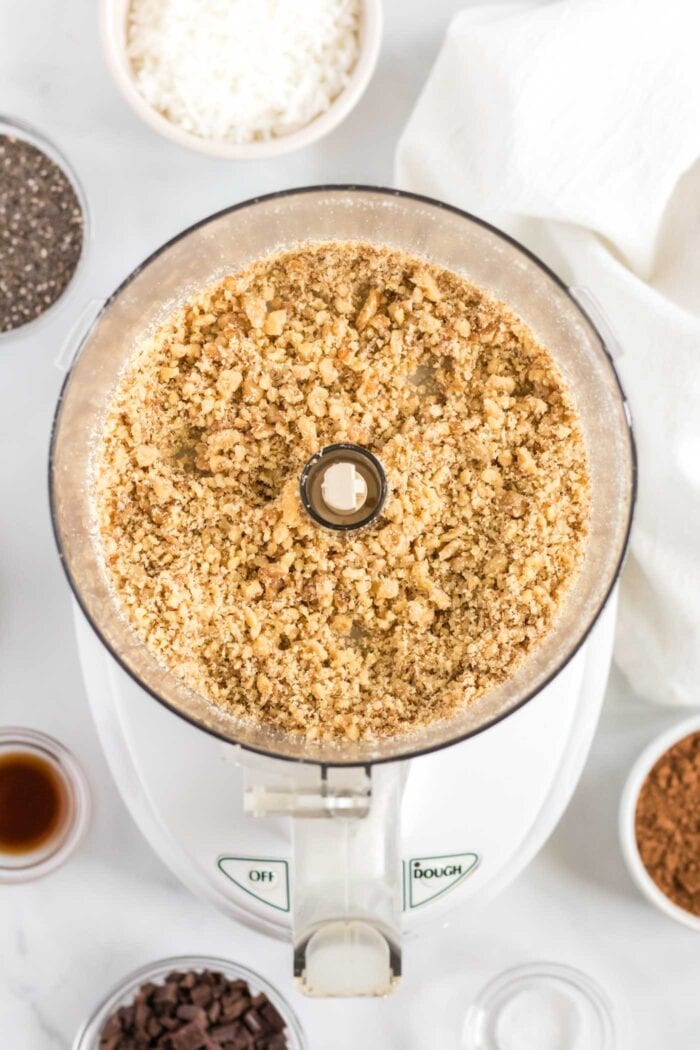
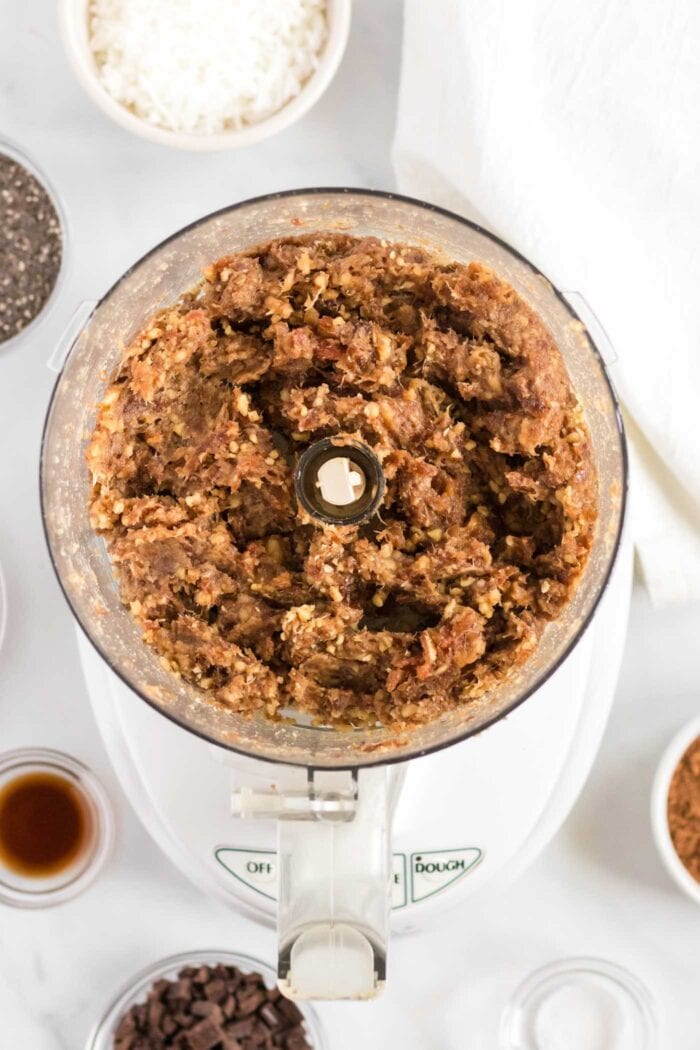
Step 2: Add the dates. Add the pitted dates and process until the mixture forms a thick, sticky paste. Stop to scrape down the sides of the bowl as needed.
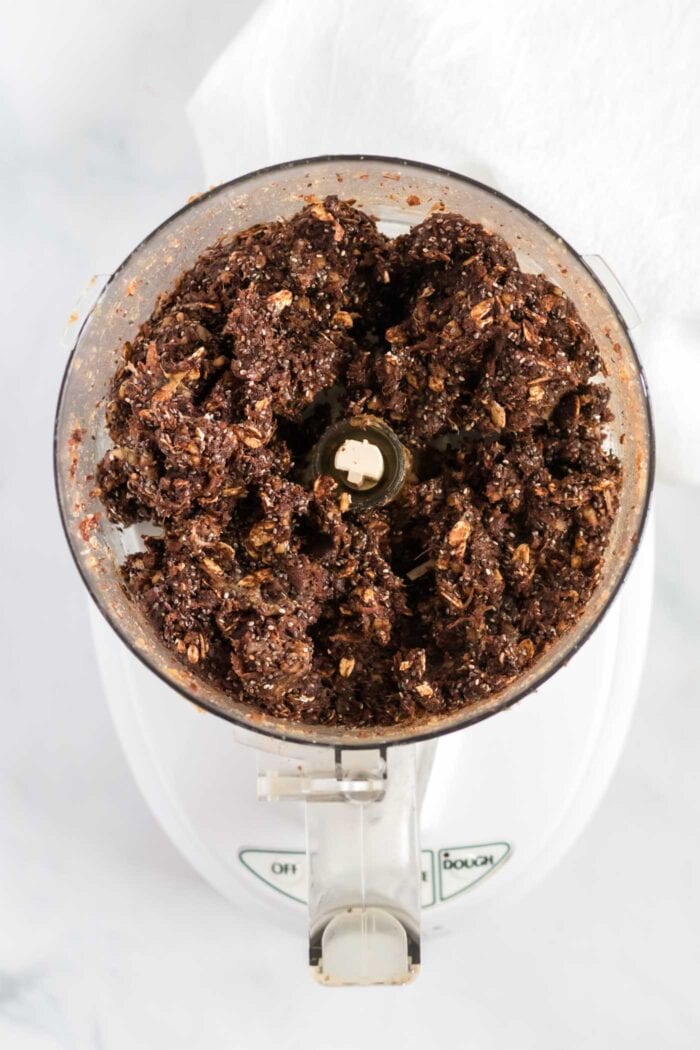
Step 3: Add the remaining ingredients. Add the cocoa powder, chia seeds, shredded coconut, dark chocolate, oats, vanilla and salt. Process until the mixture forms a thick, sticky dough that holds together when pressed between your fingers.
If the mixture is too crumbly to hold together, add warm water, 1 tablespoon at a time, and process again until the texture is workable.
Step 4: Press into the pan. Line a 7- or 8-inch square baking pan with parchment paper, leaving some overhang to make removal easier. Transfer the mixture to the pan and press it firmly into an even layer, paying particular attention to the corners.
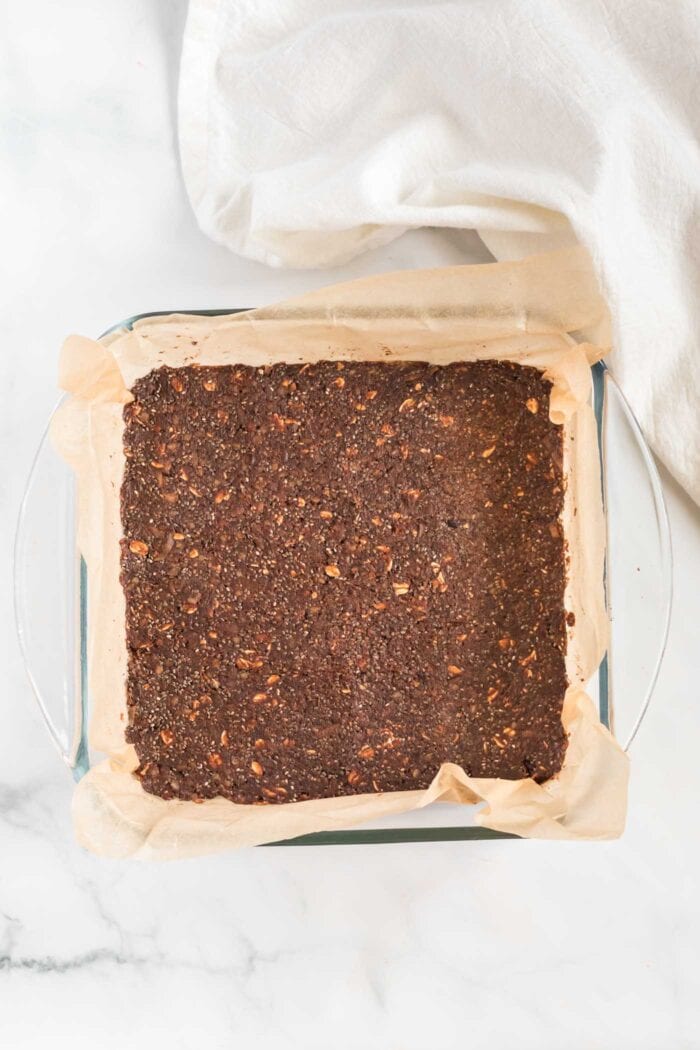
Step 5: Chill until firm. Place the pan in the freezer for at least 1 hour, or until the mixture is firm enough to slice cleanly.
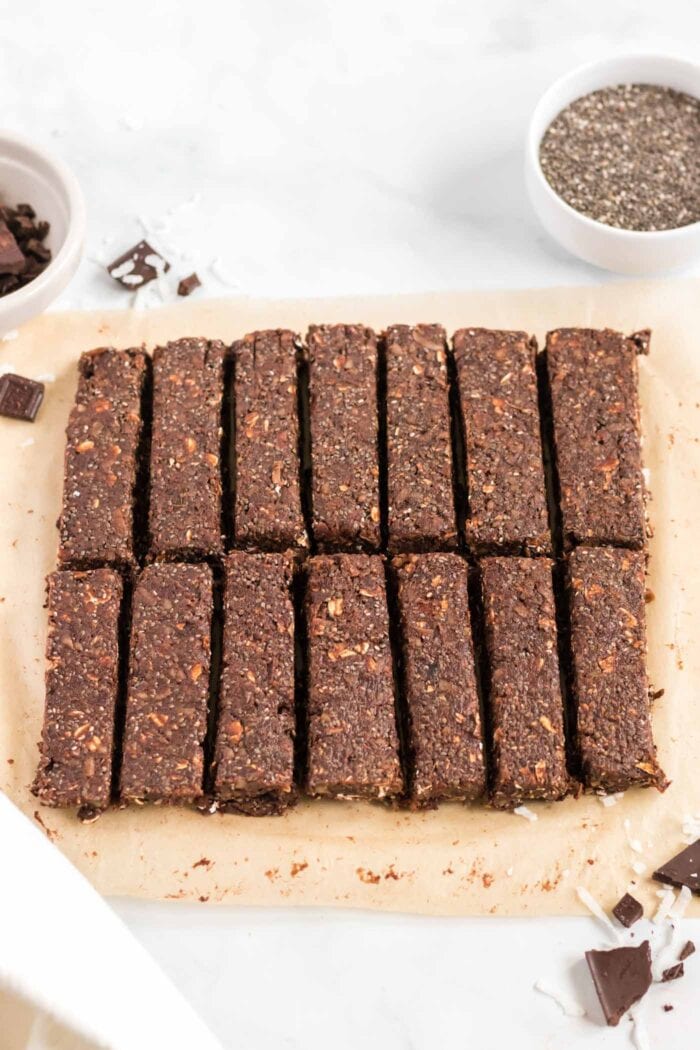
Step 6: Slice and serve. Lift the mixture out of the pan using the parchment paper. Cut into 14 bars and enjoy.
Recipe FAQs
The recipe relies on walnuts for its base and texture. For a nut-free version, you would need to test a suitable substitute, such as sunflower seeds, rather than simply omitting the walnuts. The texture and flavour may differ.
The ingredients can be gluten-free, but oats may be subject to cross-contamination during processing. Use certified gluten-free oats if you need to avoid gluten.
Dry dates are the most likely cause. Soak them in hot water for 15 minutes, drain them well and then blend. If the mixture is still too crumbly after adding the remaining ingredients, add warm water, 1 tablespoon at a time, until it holds together when pressed.
A food processor is recommended because it breaks down the walnuts and dates into a cohesive mixture. A high-powered blender may work, but the mixture can be difficult to process evenly. A standard blender may struggle with the thick, sticky dough.
Yes. Use chopped dark chocolate or dairy-free chocolate chips. The sweetness will depend on the chocolate you choose.
How to Store
- Refrigerator: Store the bars in an airtight container in the fridge for up to 2 weeks.
- Freezer: Freeze the bars in an airtight, freezer-safe container or bag for up to 3 months. For easy grab-and-go snacks, wrap the bars individually before freezing.
- On the go: Pack a bar for a hike, road trip or day out. Keep it cool when possible, especially in warm weather, as the bars will soften at room temperature.
If you make this recipe, please consider leaving a comment and a ⭐⭐⭐⭐⭐ rating in the comment section below. It helps others who are thinking of making the recipe, and I love to hear from you. Thanks for trying my recipes! – Deryn
No-Bake Chocolate Chia Energy Bars
Ingredients
- 1 ½ cups packed, soft pitted dates, 350 g
- ⅓ cup cocoa powder, 35 g
- 1/2 cup whole chia seeds, 75 g
- 1/2 cup unsweetened shredded coconut, 45 g
- 1 cup raw walnut pieces, 125 g
- 1/2 cup chopped dark chocolate, 70 g
- 1/2 cup rolled oats, 50 g
- 1 tsp vanilla extract, optional, enhances flavour
- 1/4 tsp sea salt, optional, enhances flavour
Instructions
- It’s important to use soft, moist dates in this recipe. If your dates are on the dry side, place them in a bowl and cover with hot water. Soak for 15 minutes then drain well before using in the recipe. If you’re unsure, it can’t hurt to soak the dates first.
- Add the walnuts to a food processor and blend until broken down into a grainy consistency. It's ok if there are some larger chunks left behind but they should resemble a coarse flour.
- Add the dates and blend until the dates and walnuts form a thick, sticky paste.
- Add the rest of the ingredients and process until it forms a thick dough. You should easily be able to press the dough together between your fingers. If it seems too crumbly (this can happen if the dates were dry), add 1-2 tbsp of warm water and process again.
- Line a 7- or 8-inch square baking pan with parchment paper so it sticks out over the sides of the pan. Use your hands to firmly press the mixture into the pan, taking a few minutes to make sure it's really pressed down, especially in the corners. You can wet your hands if it helps to smooth the top out.
- Place in the freezer for at least 1 hour to firm.
- Lift out of the pan using the edges of the parchment and cut into 14 bars.
Notes
Nutrition
Originally published April 4, 2014









Enjoyed the bars,easy to make & my husband liked them as well. Which is saying something. 😊
This recipe looks so delicious! I am supposed to be avoiding oats so I was wondering by how would this recipe do without them or are they needed?
You can use an additional 1/2 cup of walnuts or use ground almonds or buckwheat. Thanks!
These are great! I used cashews instead of walnuts. Since I use Diamond Crystal kosher salt I increased the amount to 1/2 tsp. I added 1 Tbsp adaptogen powder. I also added 2 Tbsp warm water to help it stick together. I rolled them into 1 oz balls and got exactly 28.
Thanks, Cassie! So glad you enjoyed!
Made these for my son, who is always pestering me to buy “healthy” snack bars from the supermarket, which are expensive and not as healthy as they make out. He loved them! I noted that some people found it too crumbly so I soaked the dates in water for a few hours and reserved some of the liquid, which I then added whilst the dates and walnuts were in the food processor. I ended up adding another 4 tbsp of liquid and it came out perfect.
These tasted too sweet for me. Is there a dried fruit that isn’t as sweet tasting?
I wouldn’t really recommend any other dried fruit in this recipe. The dates help bind everything together. you could maybe use soaked dried apricots, figs, cherries or raisins but they’d still be quite sweet and I haven’t tested it with any other dried fruit.
This recipe is so delicious!
I made quite a few substitutions but it still tasted amazing. I made this in a late night craving, so I was missing some of the necessary ingredients. Thankfully, I had similar ones. Some substitutions I made were instead of dates, I used 1 cup of sun dried jumbo raisins and 1 tbsp of sweet almond oil. I also used cashews instead of walnuts, and added a little almond milk to help with it forming a dough. And I used 1/2 cup of ghiradelli dark chocolate baking chips as I wanted to be quick. Did I say how delicious it was yet?
Haha, amazing. Glad they worked and you enjoyed them!!
Sounds good!! How long can you keep them out of the fridge?
They’ll be fine for a day or so, they’ll get a bit soft but otherwise be fine. Freeze them first and keep cool if possible and they’ll last longer!
Can I use almonds instead of walnuts? This recipe looks delish xx
Yes, that should be fine..thanks!
Can I leave out the coconut or replace it with something? I’m allergic to coconut.
I haven’t tested anything but you can try hemp seeds or increase the walnuts to 1.5 cups. Enjoy!
These are the best healthy power snacks. Have made them many times now. The biggest difference between these and others that I have made, is they are not too sweet. Perfect for an afternoon snack if my stomach starts growl. Love them!