No-Bake Chocolate Chia Energy Bars
on Jul 18, 2021, Updated Aug 20, 2024
This post may contain affiliate links.
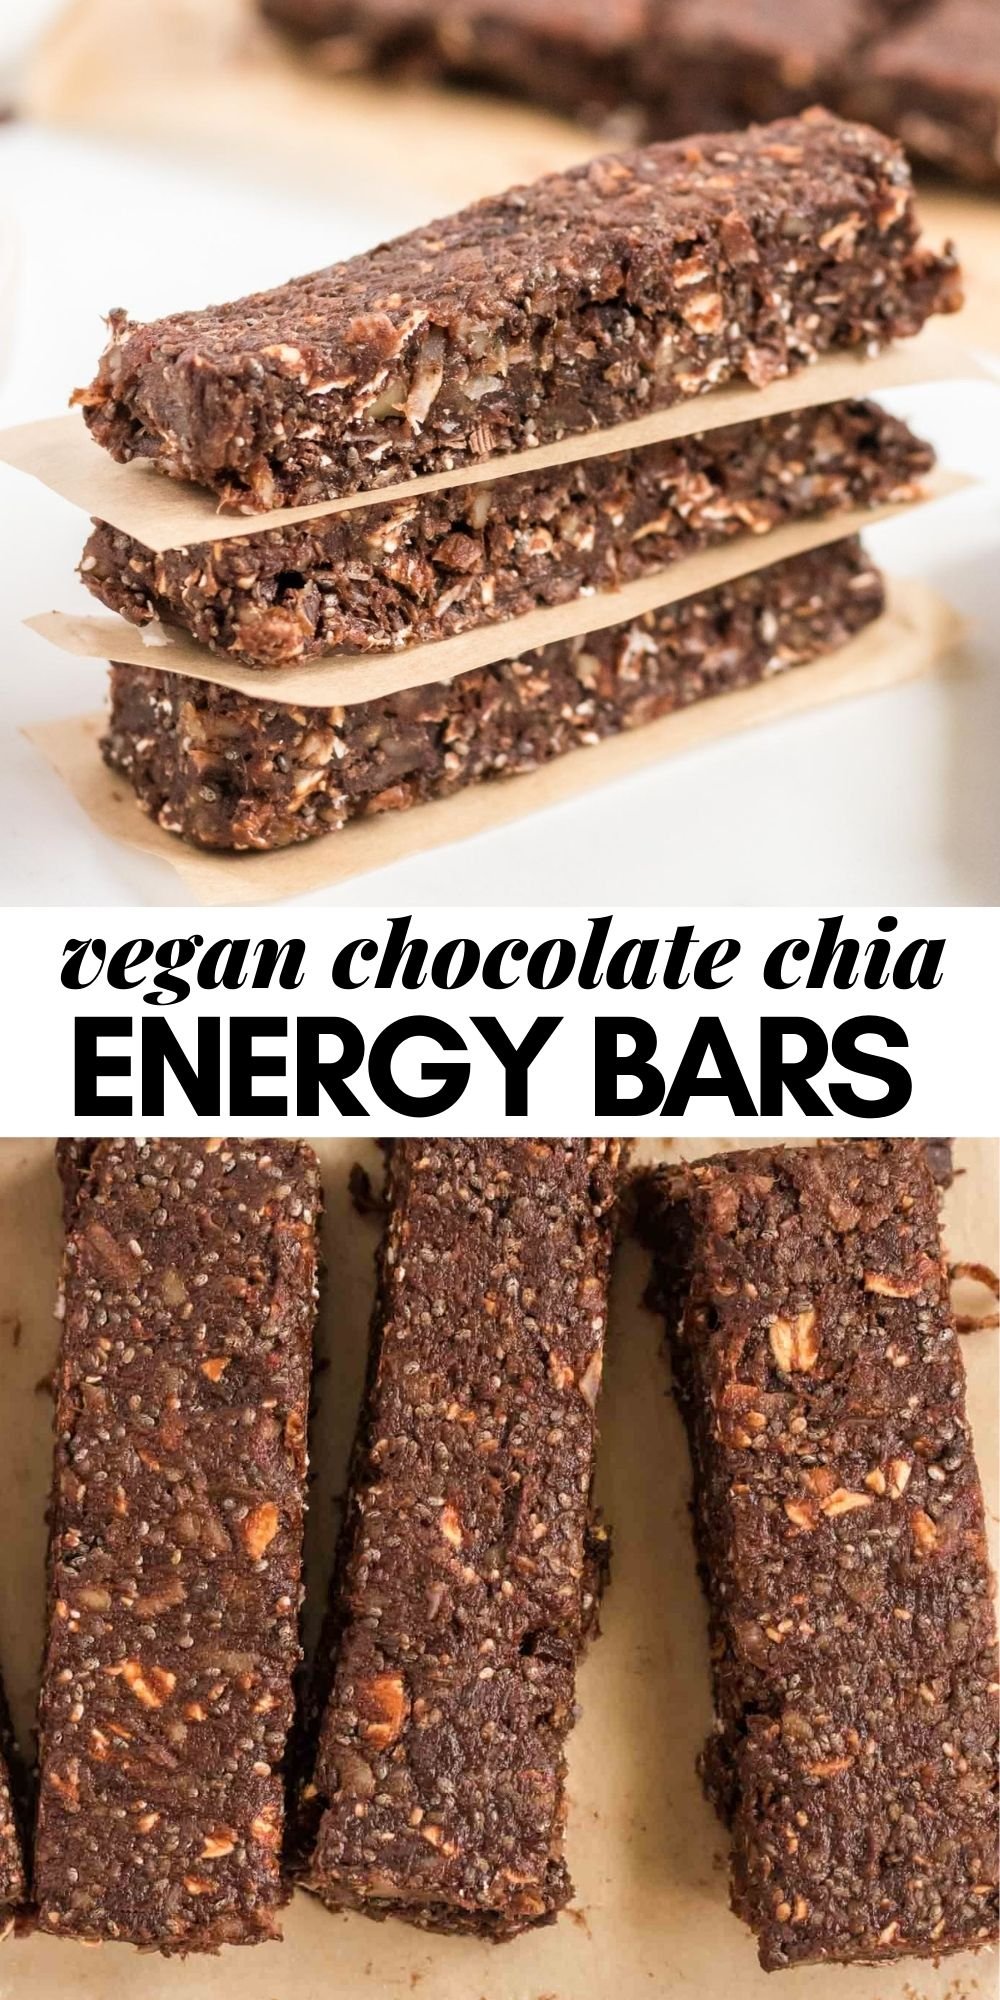
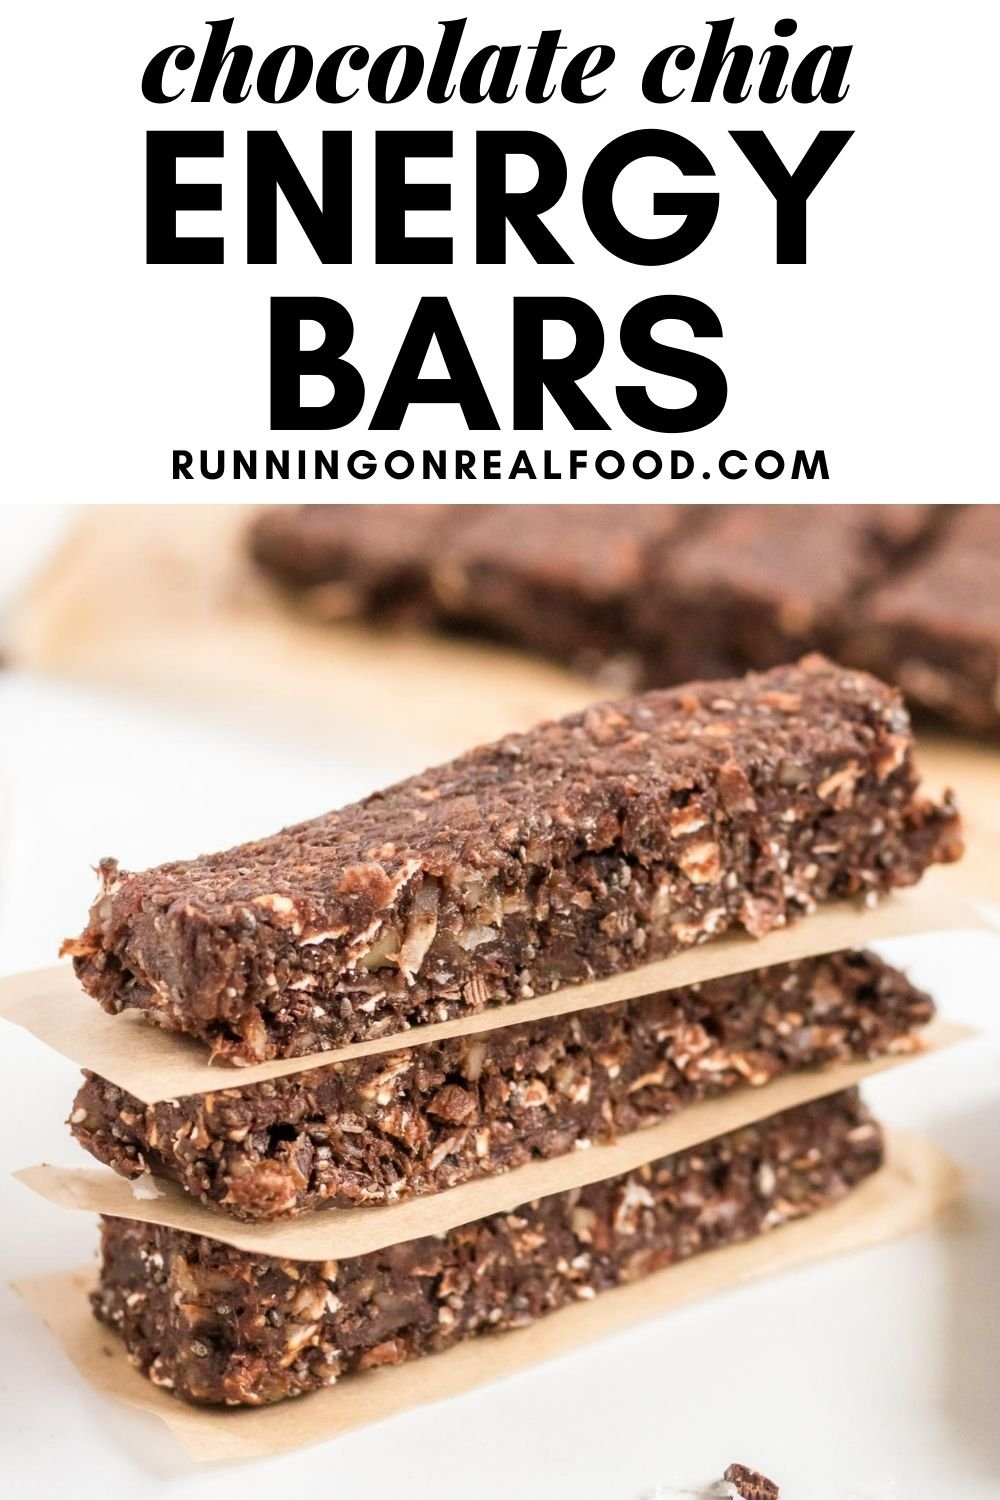
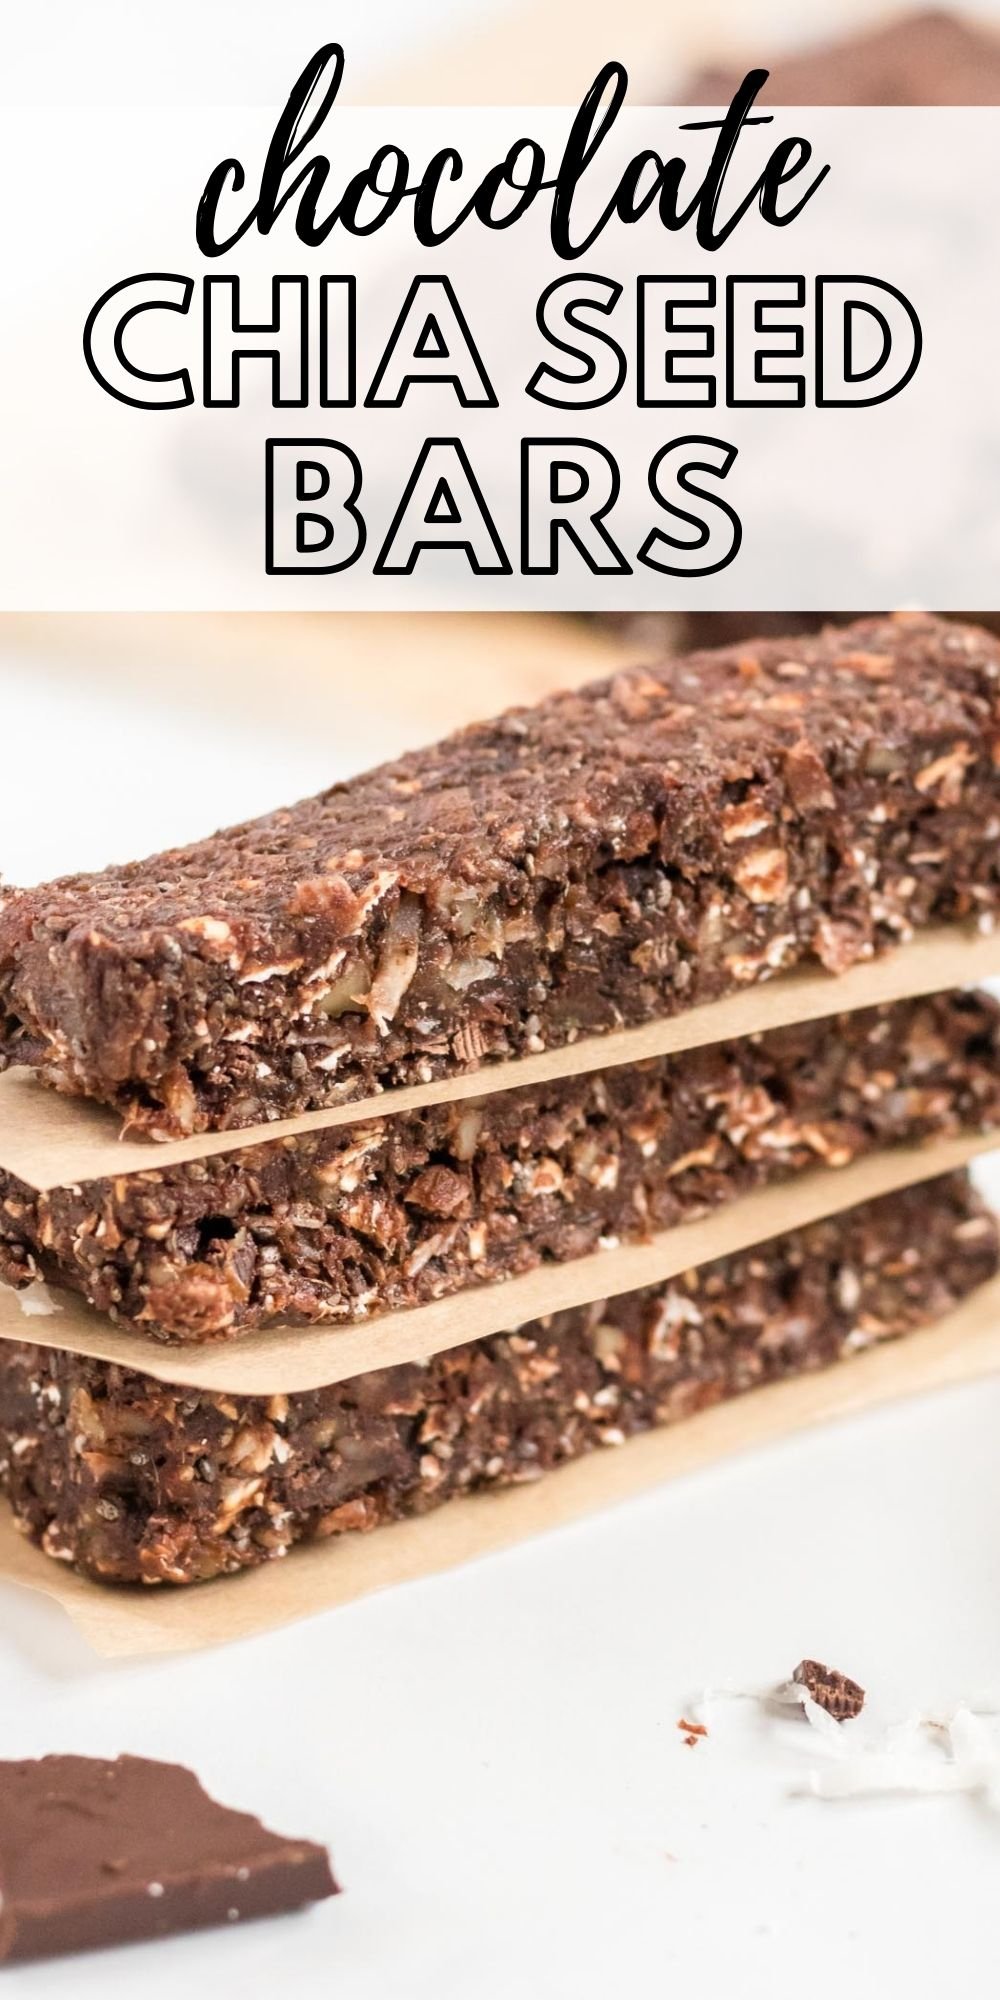
These healthy yet decadent, no-bake chocolate chia energy bars make the perfect snack for busy days, outdoor adventures or anytime you want something delicious yet nourishing.
These yummy bars are easy to make in a food processor with just a handful of wholesome ingredients. You’ll love the soft, chewy texture with a little crunch from the chia seeds.
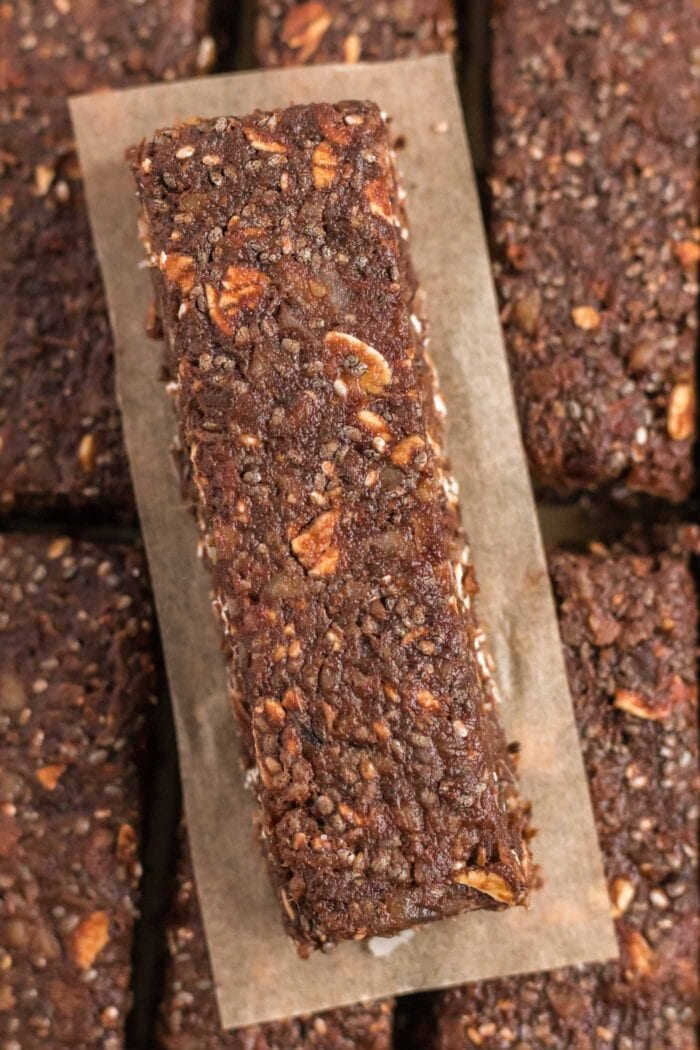
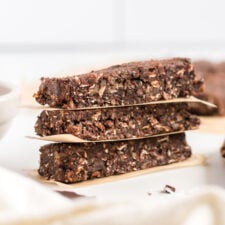
The flavour and rich and decadent with hints of dark chocolate, coconut, walnuts and sea salt. I like to keep a stash in the freezer for a nourishing and energizing snack anytime of day.
You can also use chia seeds in these No-Bake Chocolate Coconut Chia Seed Bars, No-Bake Hemp Seed Chia Energy Bars and No-Bake Vegan Chia Seed Granola Bars.
Recipe Highlights
- Dietary Features: Vegan and gluten-free.
- Snacking on-the-go. Wrap the bars individually in saran or wax paper and stash in the freezer so you can grab and take to-go anytime.
- Great for hiking, camping and busy days on the go.
- Made with natural, whole food ingredients.
- Easy to prepare in 10 minutes.
- Amazing rich chocolate flavour and soft, chewy texture.
- Rich in essential fatty acids.
- No baking required! Just blend, press, freeze and enjoy!
Ingredient Notes
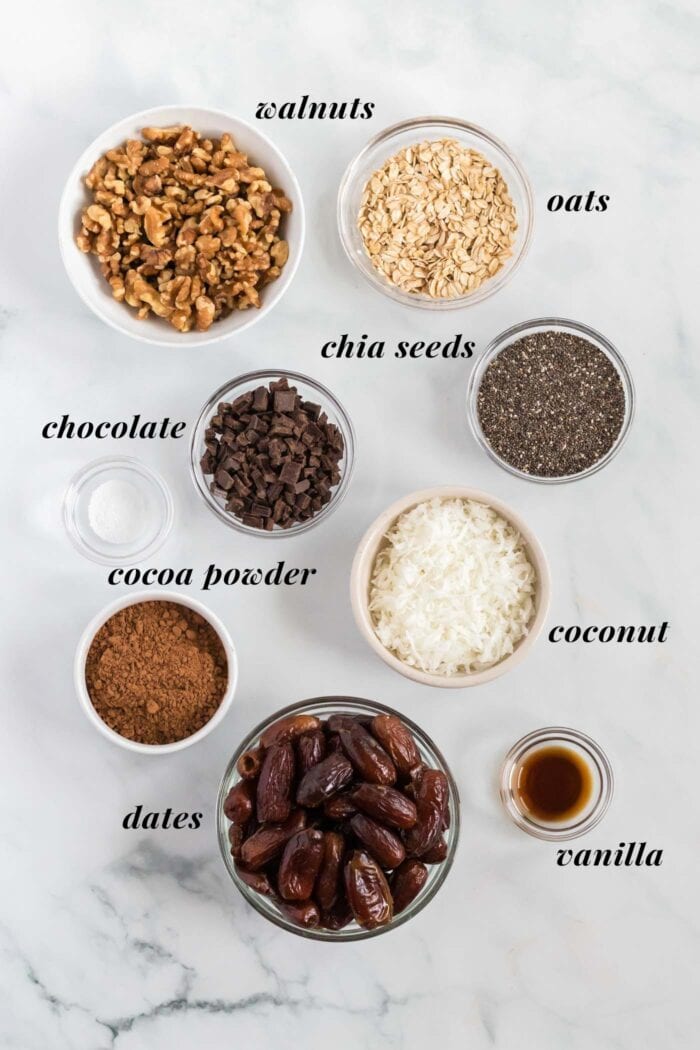
- Dates: It’s important to use soft, moist dates though any variety works. If your dates seem too dry, it’s suggested to soak them in hot water for 15 minutes before use.
- Cocoa Powder: Unsweetened dark cocoa powder is best but any variety works. You can also use raw cacao powder for some extra nutrients.
- Chia Seeds: Any variety (white, black, etc.) of whole chia seeds works.
- Coconut: Use fine or medium unsweetened shredded (desiccated) coconut.
- Walnuts: Use plain, raw walnuts with no added oil or salt. Almonds, cashews or pecans are a suitable substitute or you can mix and match various nuts to make 1 cup.
- Chocolate: Use chopped dark chocolate of choice or any dairy-free chocolate chips.
- Oats: Use rolled oats, quick oats or old fashioned oats. If you can’t do oats, it’s ok to leave them out or replace with some extra walnuts, coconut and chia seeds.
This list is not complete. Please see the recipe card at the end of the post for the complete ingredient list with measurements and detailed instructions.
Step-by-Step with Photos
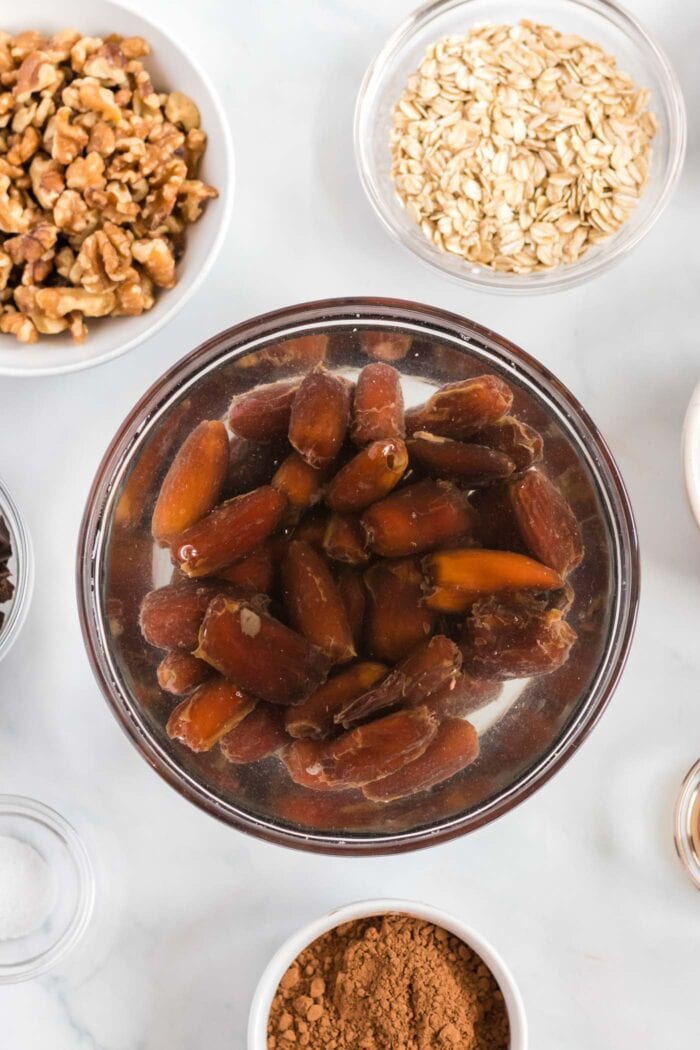
Quick Note: It’s important to use soft, moist dates in this recipe. If your dates are on the dry side or if you’re unsure if they’re soft enough, place the pitted dates in a bowl and cover with hot water. Soak them for 15 minutes then drain well before using them in the recipes.
Step 1: Add the walnuts to a food processor and process into a grainy consistency. It’s ok if some large pieces remain but they should be resemble a coarse flour.

Step 2: Add the dates and blend into a thick paste.
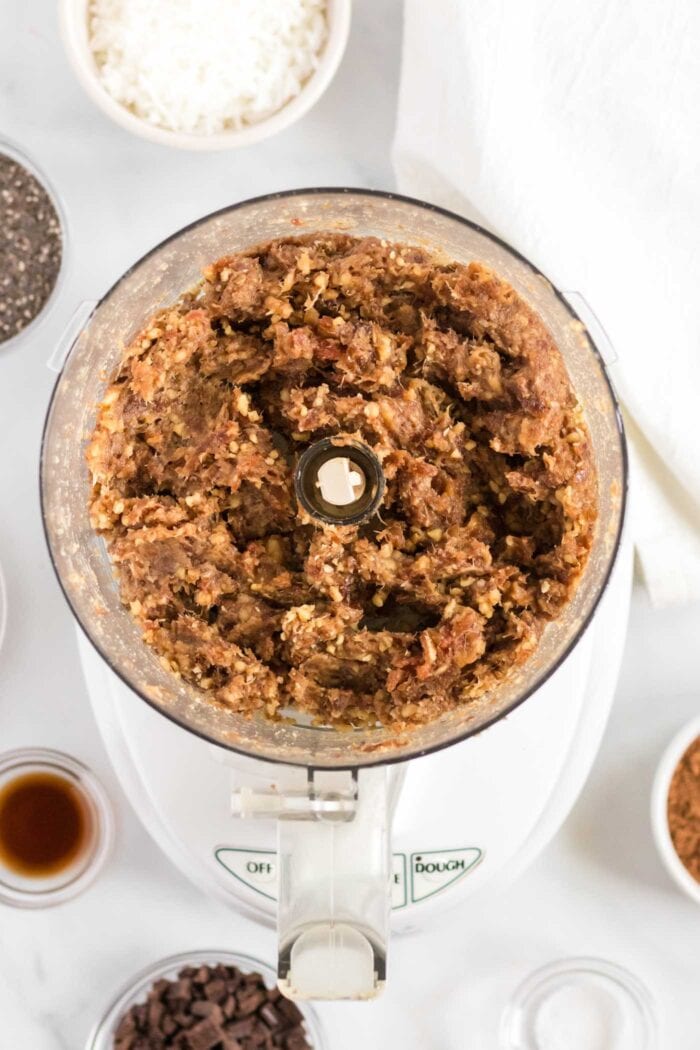
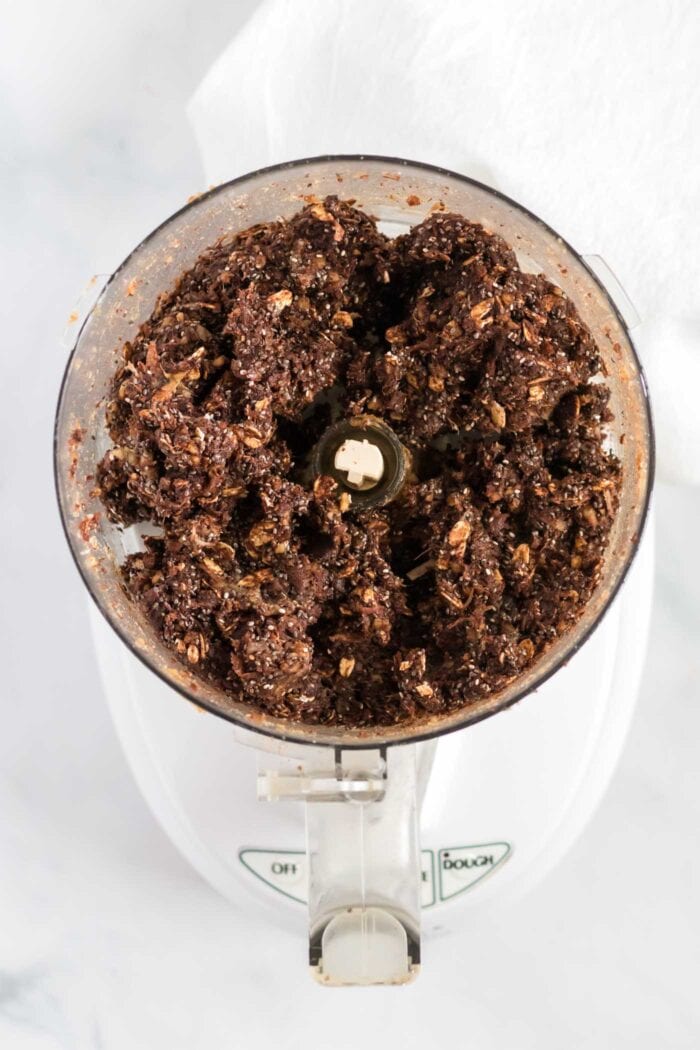
Step 3: Add the rest of the ingredients and blend into a thick, sticky dough.
You should be able to pinch the dough between your fingers. If it’s too crumbly (this can happen if the dates were too dry), you can add 1-2 tbsp warm water and process again.
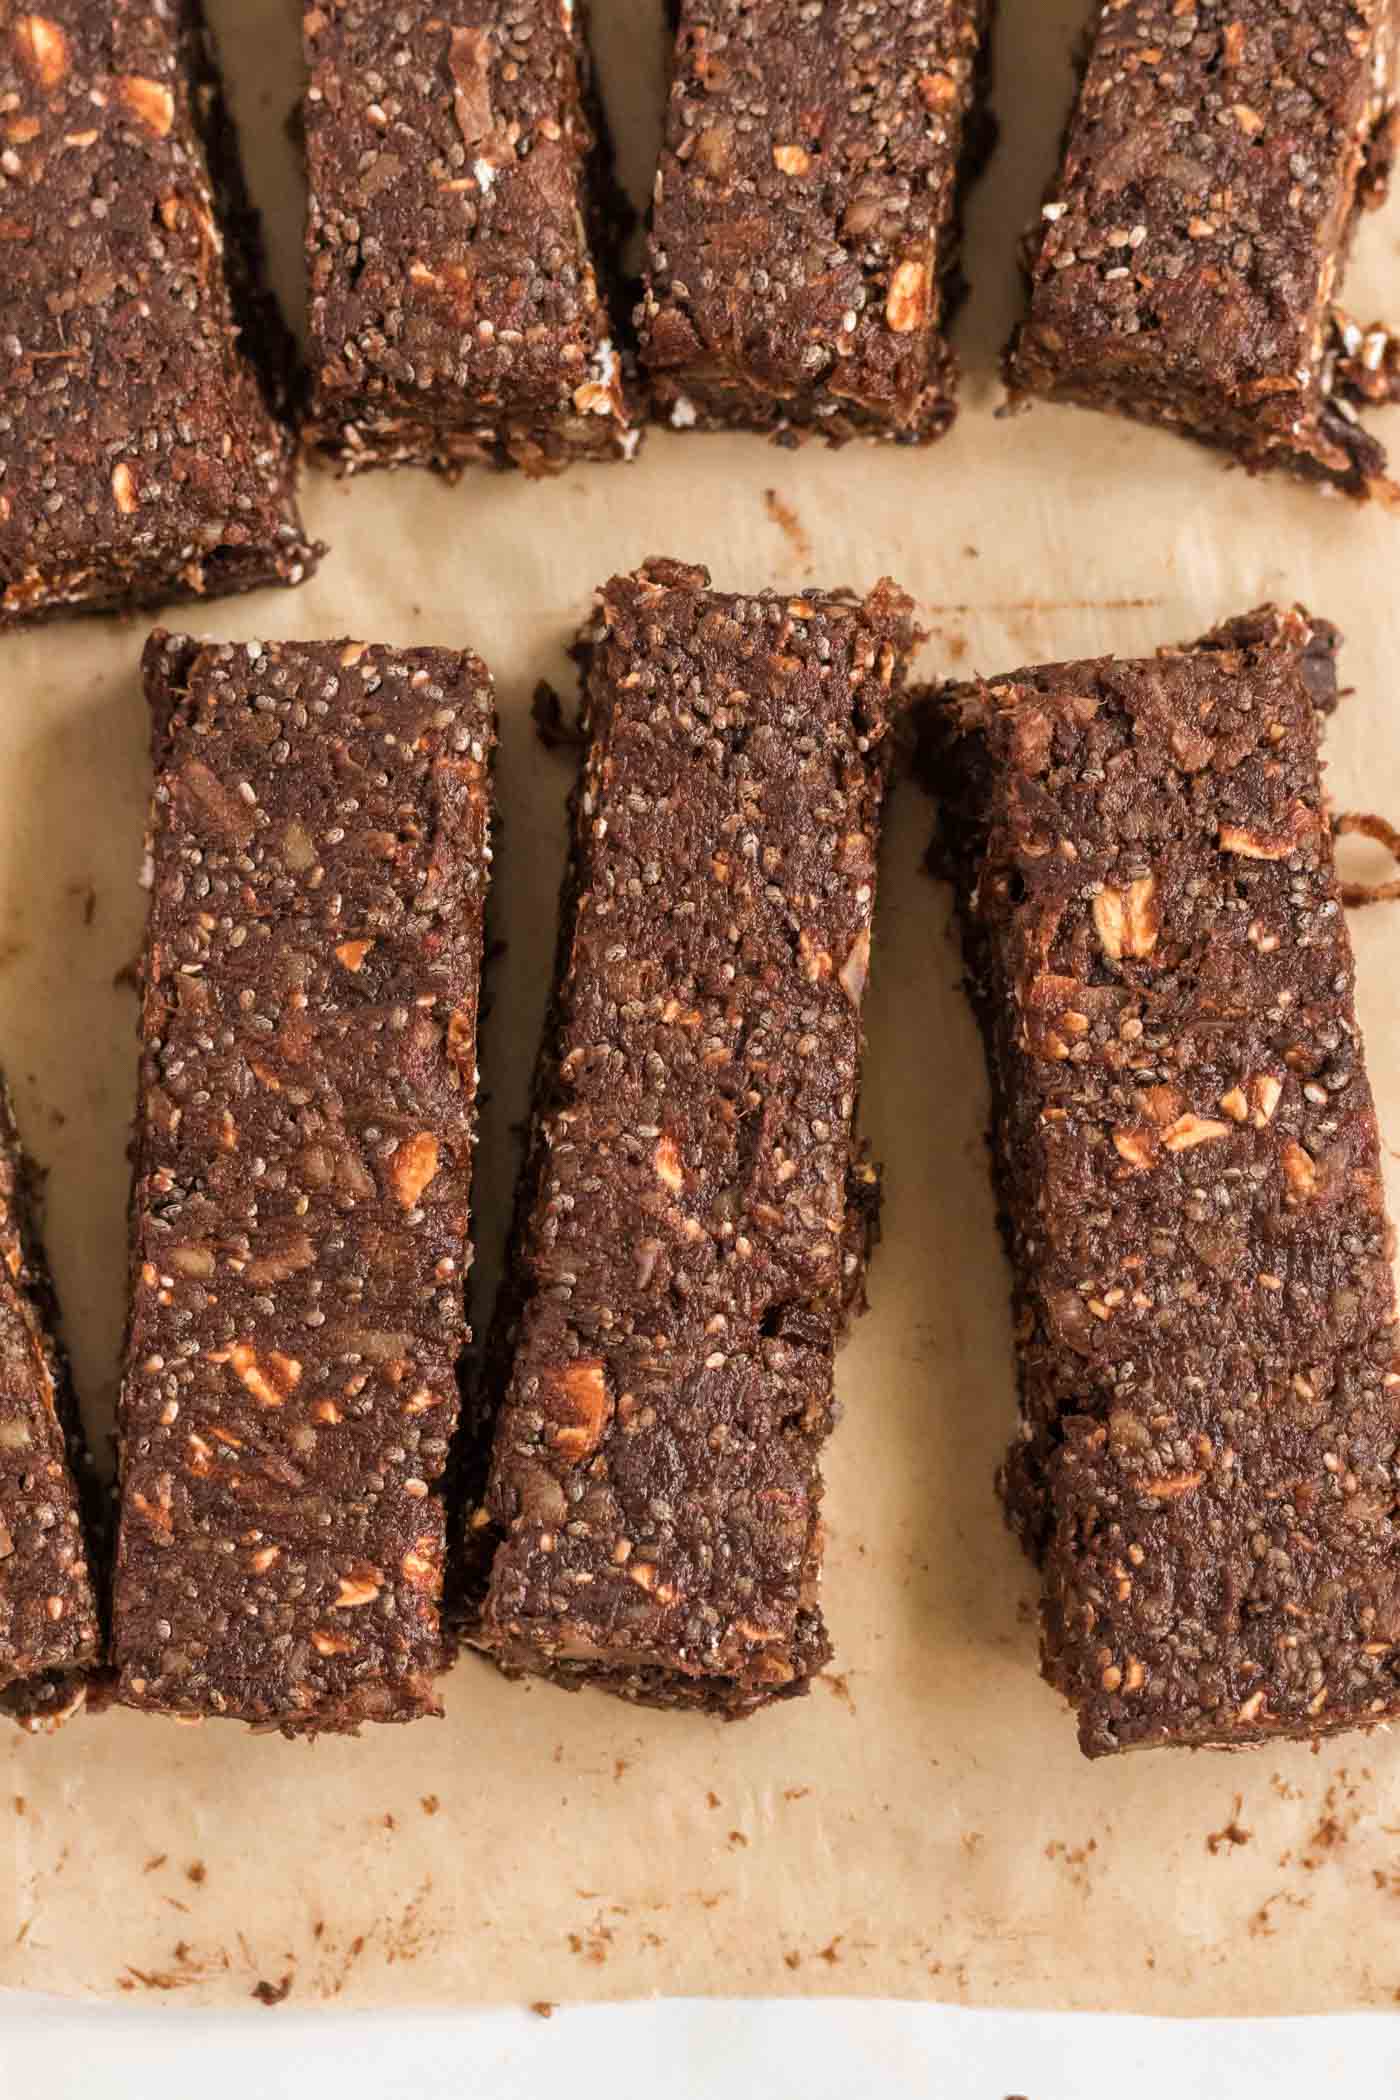
Step 4: Line a 7 or 8-inch square baking pan with parchment paper so it sticks out over at least two sides of the pan. Use your hands to firmly press the dough into the pan. Take a few minutes to press it down firmly and smooth out the top.
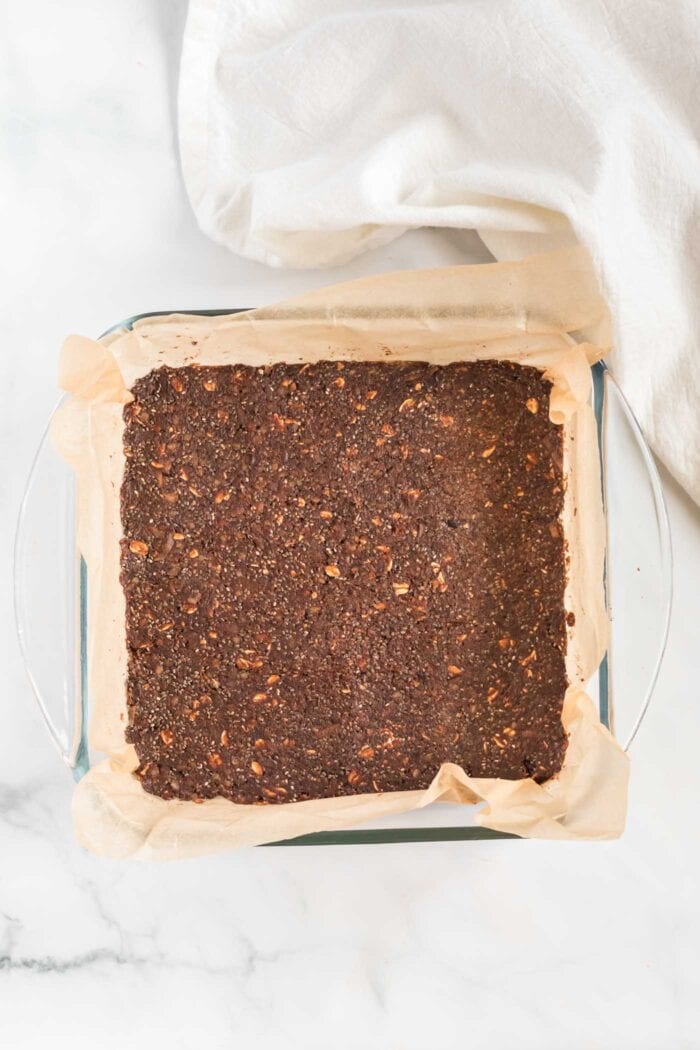
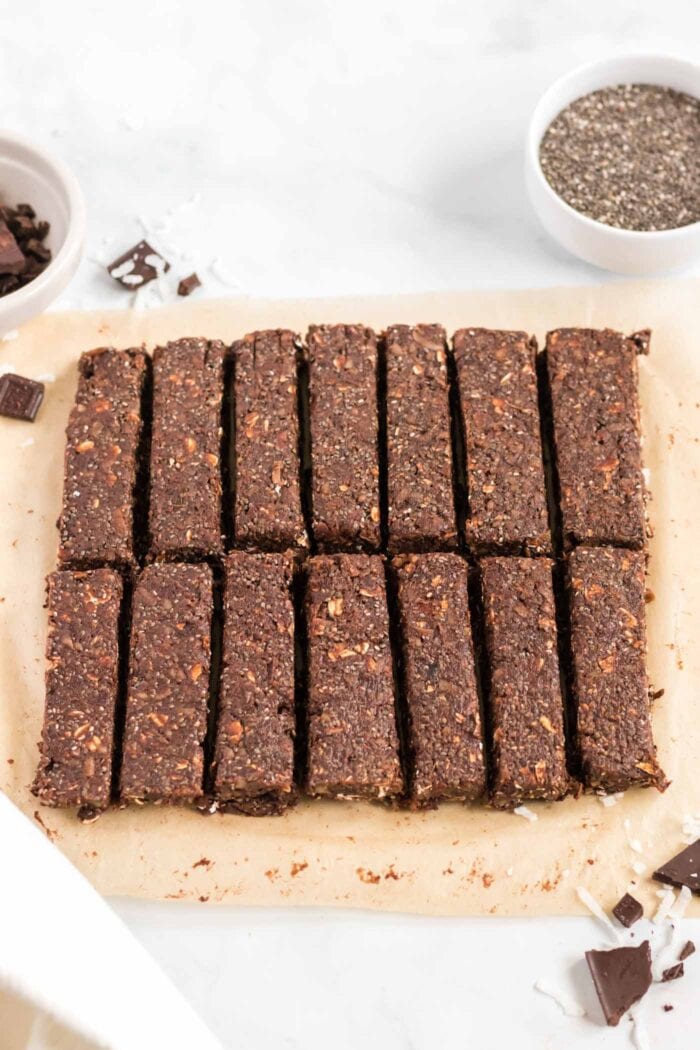
Place the bars in the freezer for an hour to firm then lift out of the pan and cut into bars. Enjoy!
Recipe FAQs
Yes, to make these nut-free, use sunflower seeds instead of walnuts.
Yes, these are gluten-free though make sure you use gluten-free certified oats if needed.
This can happen if you use dates that are very dry. If you’re unsure, I’d suggest soaking the pitted dates for 15 minutes in a bowl of hot water before use. After soaking, drain them well, pressing them against the side of the bowl to help remove excess water.
The don’t have to be dry before using in the recipe, just make sure any excess water is drained off. If you don’t soak the dates and the dough is crumbly, add 1-2 tbsp warm water, process again and that should do the trick.
I prefer the texture of the bars without soaking the dates so I usually skip this step. As long as your dates are soft and moist, you can use them without soaking them first. I like medjool dates or sayer dates best as they’re usually quite soft, gooey and fresh, which is perfect for making no-bake recipes like these balls.
Storing
- Fridge: Store in a sealed container up to 2 weeks.
- Freezing: Store as is or individually wrapped in a freezer-safe bag or container for up to 3 months.
- If taking to-go, try to keep cool as they’ll get soft if it’s warm. They’re ok out of the fridge for a day or two, or longer if kept cool.
No-Bake Chocolate Chia Energy Bars
Ingredients
- 1 ½ cups packed, soft pitted dates, 350 g
- ⅓ cup cocoa powder, 35 g
- 1/2 cup whole chia seeds, 75 g
- 1/2 cup unsweetened shredded coconut, 45 g
- 1 cup raw walnut pieces, 125 g
- 1/2 cup chopped dark chocolate, 70 g
- 1/2 cup rolled oats, 50 g
- 1 tsp vanilla extract, optional, enhances flavour
- 1/4 tsp sea salt, optional, enhances flavour
Instructions
- It’s important to use soft, moist dates in this recipe. If your dates are on the dry side, place them in a bowl and cover with hot water. Soak for 15 minutes then drain well before using in the recipe. If you’re unsure, it can’t hurt to soak the dates first.
- Add the walnuts to a food processor and blend until broken down into a grainy consistency. It's ok if there are some larger chunks left behind but they should resemble a coarse flour.
- Add the dates and blend until the dates and walnuts form a thick, sticky paste.
- Add the rest of the ingredients and mix until it forms a thick dough. You should easily be able to press the dough together between your fingers. If it seems too crumbly (this can happen if the dates were dry), add 1-2 tbsp of warm water and process again.
- Line a square 7 or 8 inch square baking pan with parchment paper so it sticks out over the sides of the pan. Use your hands to firmly press the mixture into the pan, taking a few minutes to make sure it's really pressed down, especially in the corners. You can wet your hands if it helps to smooth the top out.
- Place in the freezer for at least 1 hour to firm.
- Lift out of the pan using the edges of the parchment and cut into 14 bars.
Notes
Nutrition
Originally published April 4, 2014


My husband and I are both distance athletes. I originally made this recipe for a 50k he was doing. We both agreed the taste and the energy effects were great, but I agree that they are very crumbly. So now when I make them, I just do energy balls instead of bars. I just roll them up and press them together! They hold well and still freeze really well. Thanks for such a delicious all-natural vegan recipe!!
Glad you enjoy them! Thanks for the feedback!
Ok, I’ve solved it! I made these again this weekend. This time, I made a chia “egg” (one tbsp chia seeds stirred into 3 tbsp of water, let sit 5 min). It worked like a charm! They stayed together beautifully. I did end up reducing the 1/2 cup of chia seeds to about 1/4 cup (besides the “egg”) because I ran out. They still tasted and worked great!
That’s amazing! Thanks so much for the feedback..that’s such a great tip!
Hi there! Loved the recipe and have just made it. It tastes good BUT it is very crumbly – no way I can take them to go. I put 450 gr of dates instead of 350 and they are still crumbly. Any advice? I suppose I should try to put more dates and less dry ingredients.
I should have read the comments first. The bars didn’t fully stick together. I think the dates were too dry. I will soak them first as suggested or add oil next time.
Made these for a 5-day backpacking trip – and they were amazing! Tasty for the whole trip (and afterward, I’m eating one right now). I was a little concerned at first that they wouldn’t hold together, but they kept their shape the whole trip. I kept them frozen for several days beforehand. Made a double batch, adding probably 2 tbsp of coconut oil at the end to make sure they held together, put in a 8X8 pan, and froze. Thank you for the morale-boosting and nutritious snack! Will definitely be making again soon.
That’s so good to know! I’ve never had them out of the fridge for that long. So glad they worked out for you. Sounds like an epic trip!
These look delicious! I can’t wait to try. 🙂
“Dark Chocolate – High in antioxidants and phytonutrients. ”
Not if it was dutch processed dark chocolate!! I’ll stick with my 100% cacao which has the antioxidants and phytonutrients, not processed out like many dark chocolates are.
Totally, I always use a cacao dark chocolate for the health benefits, or even straight 100% cacao paste. 🙂 Hope you enjoy the recipe if you make it.
Made them and loved them!! I added 1 scoop of protein powder & a little honey. Amazing!!
Perfect loved by everyone. Thanks.
These bars are amazing! i just made them for the second time. I added some tahini so they stick together better. last time i added some almond milk. This recipe is a keeper. thank you Deryn!!
Awesome, so happy you liked them! Good call on tahini, sounds delicious!
This looks fabulous, thanks so much!