No-Bake Peanut Butter Blondies
These no-bake peanut butter blondies with peanut butter date caramel frosting are super easy to make and always a hit!
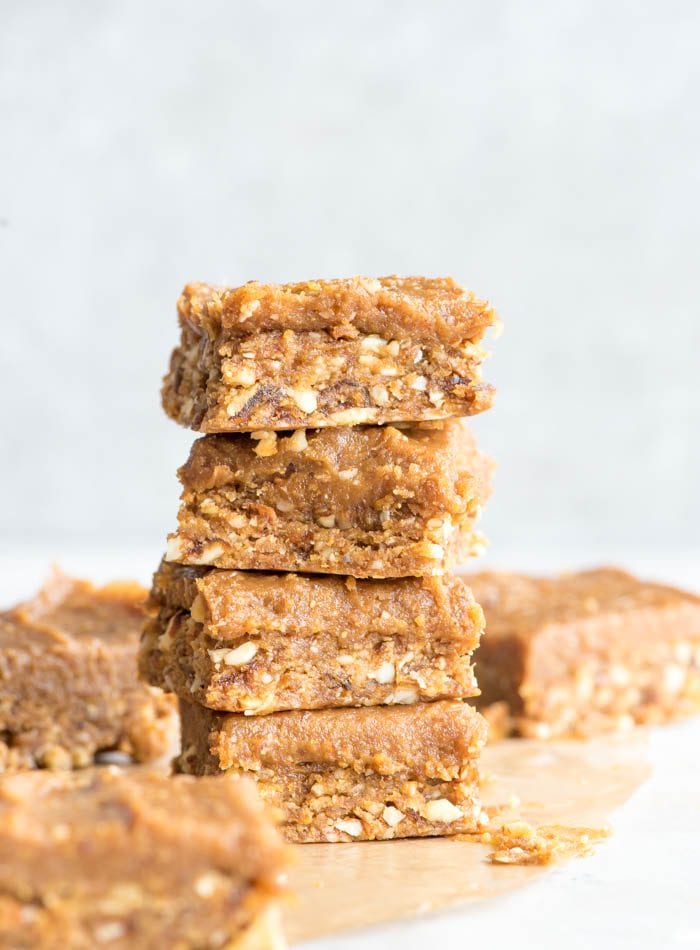
These peanut butter dessert bars are fun to make and even more fun to eat!
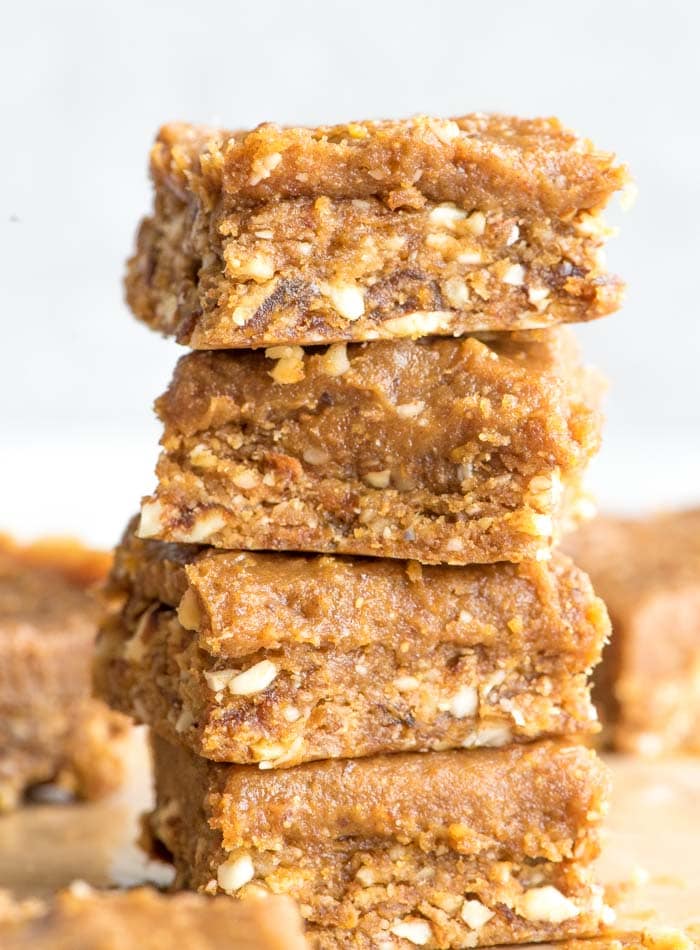
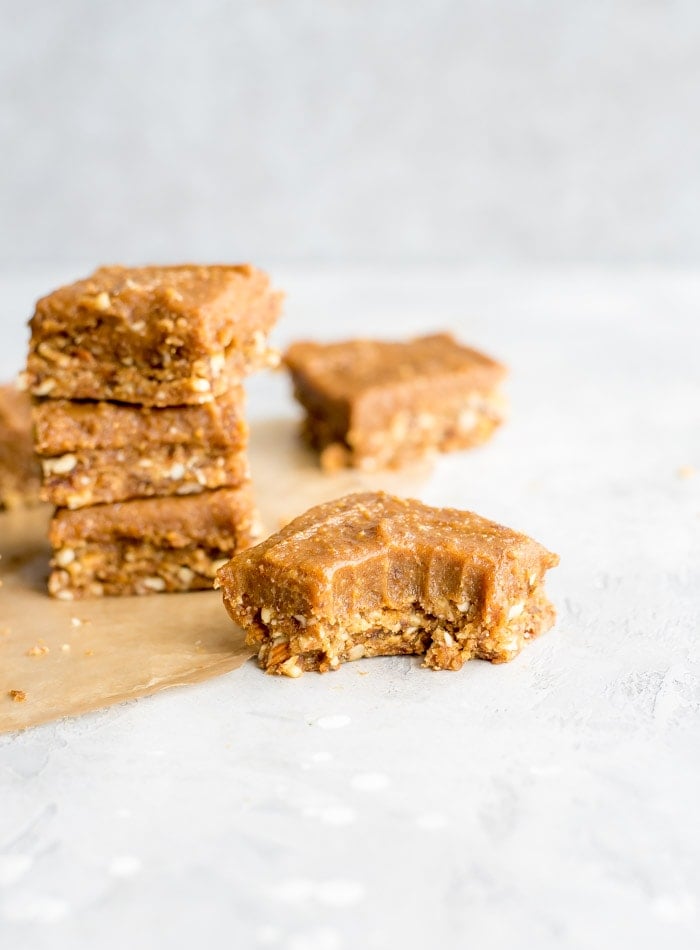
They feature a peanut butter, almond and date crust and since they’re topped with a peanut butter frosting, they’re kind of like a no-bake peanut butter bar without chocolate.
You’ll need to just a few simple ingredients to make them, they’re perfect for stashing in the freezer and can even be made peanut-free if needed. Enjoy these delicious bars as a snack or dessert any time of day!
Why You’ll Love this Recipe
- Vegan and gluten-free recipe (flourless, egg-free, dairy-free).
- They feature the most delicious, creamy peanut butter caramel frosting.
- They’re easy to make with just 6 simple ingredients.
- They can be made with chocolate frosting instead of peanut butter frosting.
- They’re decadent enough for a holiday treat!
- No baking required!
Ingredient Notes
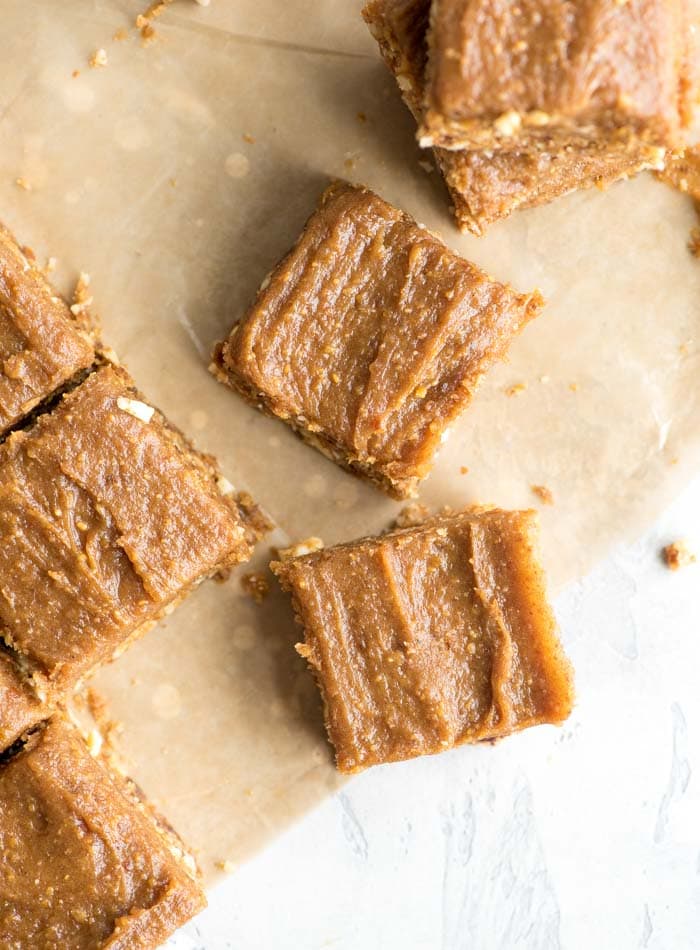
This list is not complete. Please see the recipe card at the end of the post for the complete ingredient list with measurements and detailed instructions.
- Almonds: The base of the recipe is made from almonds but if you want to double down on peanut flavour you can use dry roasted peanuts or blanched peanuts. Walnuts, cashews and pecans also work or you can mix and match from any of the above.
- Peanut Butter: Use natural peanut butter or substitute almond butter, tahini or sunflower seed butter.
- Dates: Any variety of date works as longa s they’re soft and moist. If your dates are overly dry, you’ll need to soak them in hot water for 15 minutes then drain well before use.
- Maple Syrup: This adds just a bit of extra sweetness to the blondie portion of the recipe. It’s technically optional though so you can omit if you prefer. Other suitable sweeteners would be honey or agave syrup.
- Coconut Oil: You’ll need coconut oil if you’re making the frosting layer.
- Milk: You’ll need just a bit of plant-based milk for the frosting layer. You can use any kind.
Step-by-Step Instructions
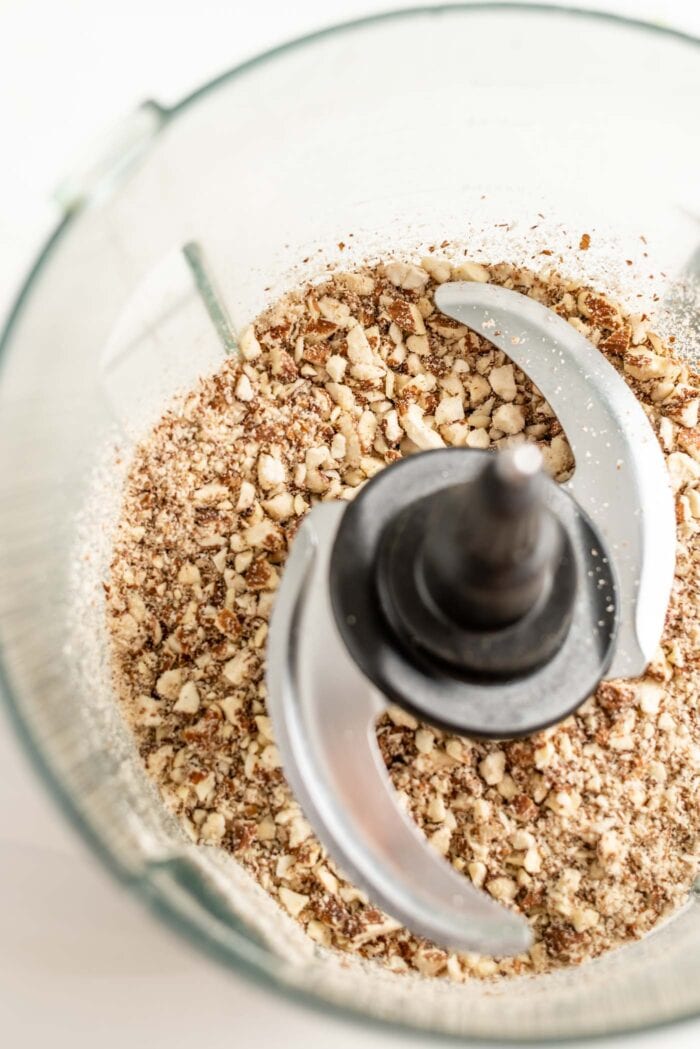
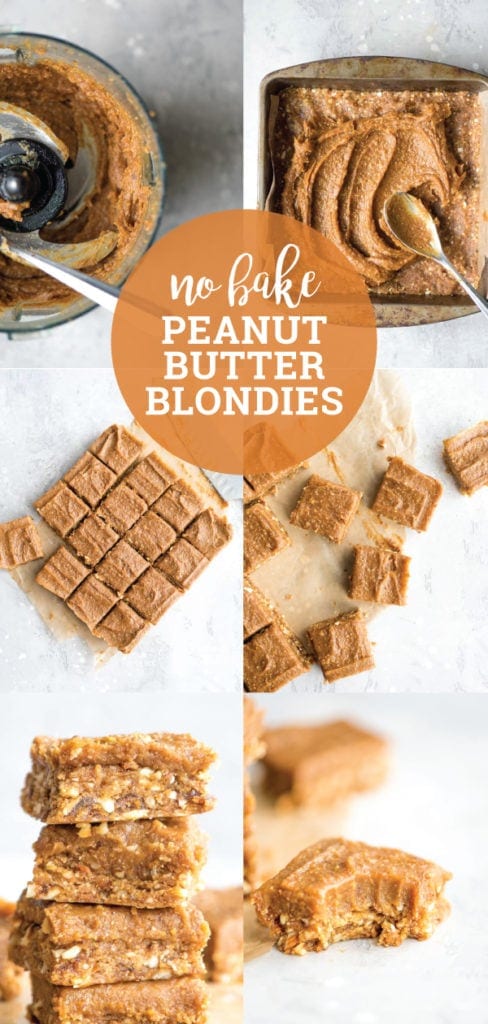
Step 1: Add the almonds to a food processor and blend until broken down into a grainy flour. It’s ok if there are some larger pieces left behind they should be mostly broken down.
Step 2: Add the dates, peanut butter, maple syrup and salt and blend until it forms a thick, sticky dough you can squeeze into a little ball between your finger.
Set the food processor aside for now, no need to wash it out.
Step 3: Line a 7 or 8-inch square baking pan with parchment paper so it sticks out over the sides. Dump the dough into the pan and firmly press it into an even layer, taking time to really work it down into the corners and smooth the surface.
Place the pan in the freezer while you make the frosting.
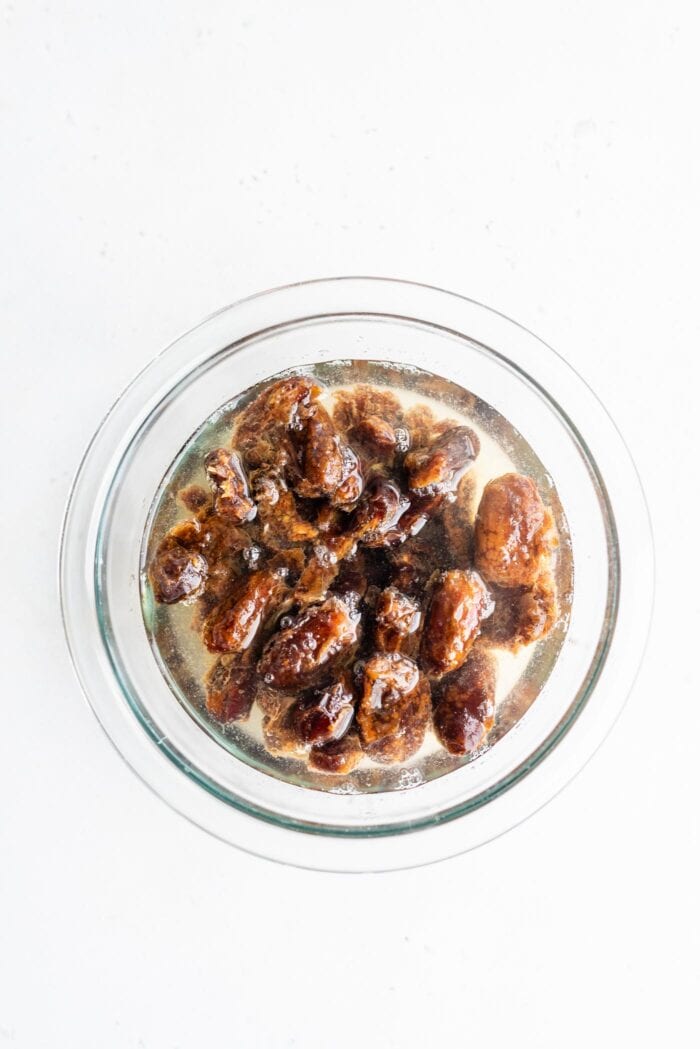
Step 4: Place the pitted dates in a bowl and cover with hot water. Soak the dates for 15-20 minutes then drain well, pressing them into the bowl to help squeeze off excess water.
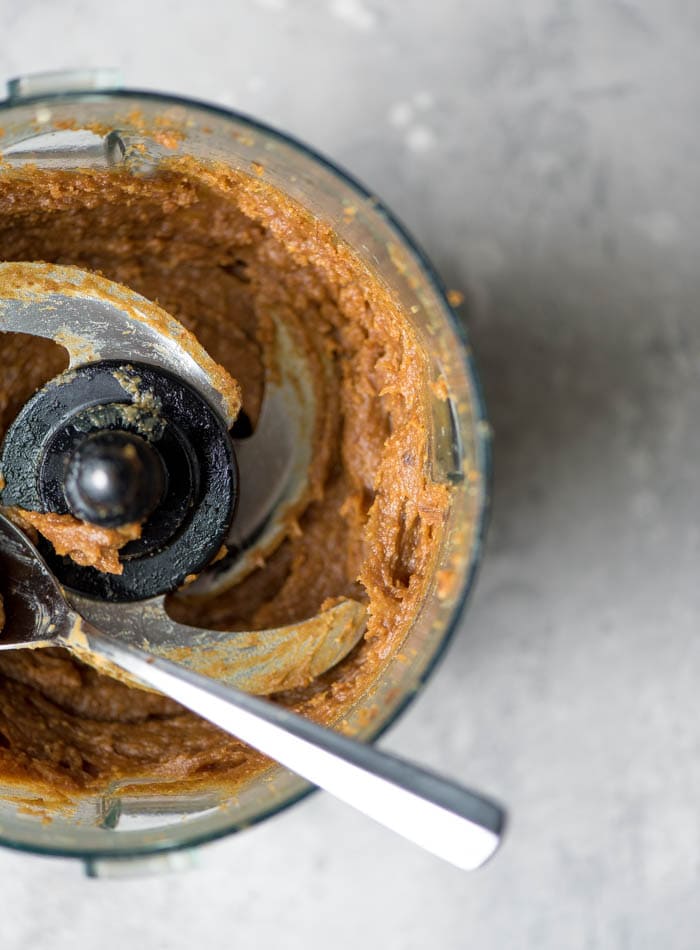
Step 5: Add the dates and the rest of the frosting ingredients to the food processor and blend into a thick, smooth frosting consistency.
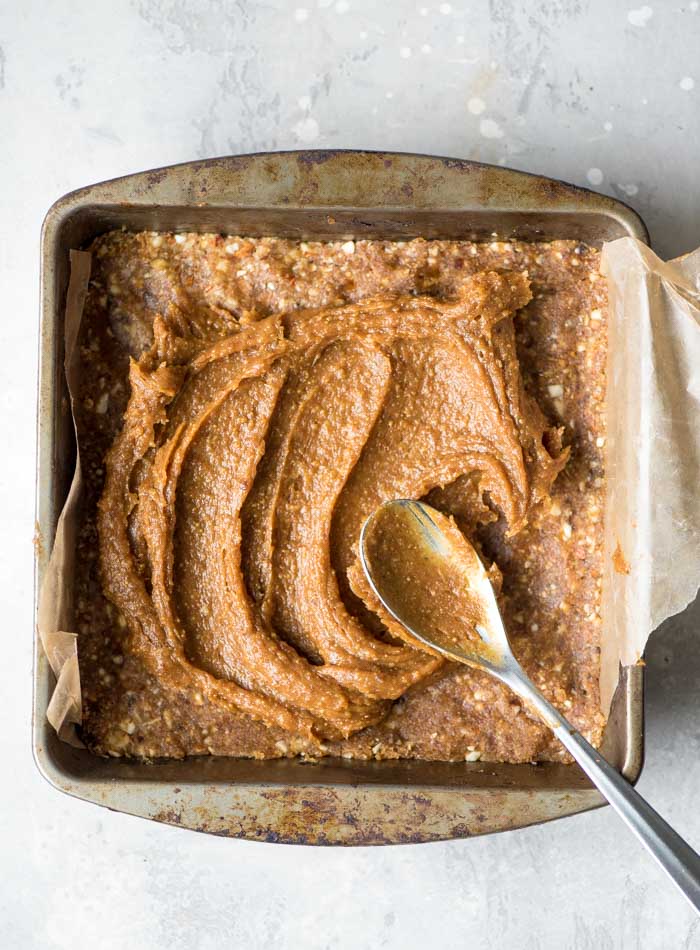
Step 6: Spread the frosting over the pan of blondies then place back in the freezer for 1-2 hours to firm.
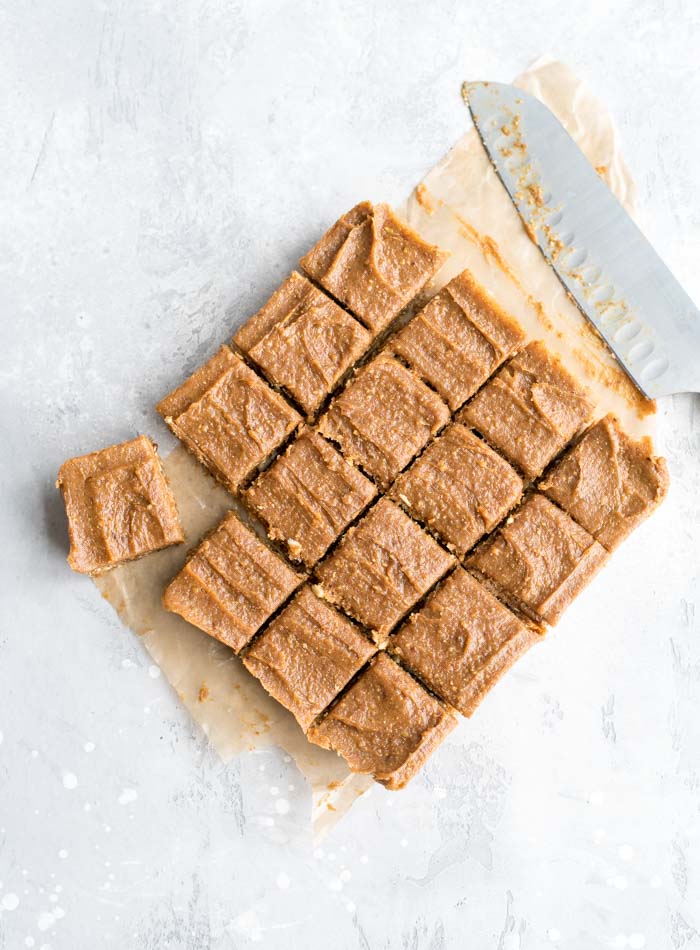
Step 7: Lift the blondies out of the pan using the edges of the parchment paper. Slice into 16 bars and enjoy!
Notes & Tips
- For chocolate frosting instead of peanut butter, use this chocolate ganache recipe or simply add a layer of melted chocolate.
- For an added treat, pulse up to 1/2 cup chocolate chips into the base layer dough.
- To make these peanut butter brownies, add 1/4 cup cocoa powder to the base layer.
FAQs
Yes, this recipe is naturally gluten-free without any substitutions. For gluten-free baked blondies, try these chickpea blondies.
Sure. To make them peanut-free, simply swap the peanut butter for almond butter or cashew butter.
Storing Instructions
- Fridge: Store in an airtight container for up to 2 weeks.
- Freezer (Recommended): Store in an airtight container for up to 4 months. They don’t freeze solid so can be enjoyed directly from the freezer.
- They’re ok at room temperature for some time but the frosting will get soft and melted as the coconut oil warms. Keep cool or freeze until just before serving.
No-Bake Peanut Butter Blondies
- Prep Time: 15 mins
- Total Time: 15 minutes
- Yield: 16 bars
- Category: Dessert
- Method: Food Processor
- Cuisine: Vegan
Description
These no-bake peanut butter blondies are easy to make with just 4 simple, wholesome ingredients. You can enjoy them without the frosting but it really takes them to the next level for a special treat! You can also roll the dough into yummy peanut butter balls if you prefer!
Ingredients
For the Peanut Butter Blondies
- 2 cups (280 g) raw almonds
- 1 1/2 cup (300 g) tightly packed, pitted soft dates
- 1/2 cup (120 g) natural peanut butter (sub almond butter)
- 2 tbsp (30 mL) pure maple syrup
- 1/2 tsp sea salt
For the Peanut Butter Frosting
- 1 cup (200 g) packed, soft pitted dates
- 1/2 cup (120 g) natural peanut butter
- 3 tbsp (45 g) coconut oil
- 2–4 tbsp plant-based milk
- pinch of sea salt
Instructions
- Blend the Almonds: Add the almonds to a food processor and blend until broken down into a grainy flour. It’s ok if there are some larger pieces left behind they should be mostly broken down.
- Blend the Blondies: Add the dates, peanut butter, maple syrup and sea salt and mix until it forms a thick, sticky dough you can squeeze together into a little ball between your fingers.
- Press Blondies: Line a 7 or 8 inch square baking pan with parchment paper so it sticks out over the sides then take a few minutes to firmly press the dough into the pan until you a firm, even layer. You can wet your hands and rub them over the surface to help smooth. Place the entire pan in the freezer while you make the frosting.
- Soak the Dates: Place the pitted dates in a bowl and cover with hot or just boiled water. Soak for 15-20 minutes then drain well. Press the dates into the bowl to help squeeze off any excess water.
- Blend Frosting: Add the dates and the of the frosting ingredients to the food processor and blend until you have a thick, smooth frosting. Start with 2 tbsp of milk and slowly add more to reach a thick but creamy consistency. You may need to stop a few times to scrape down the sides.
- Frost Blondies: Spread the frosting evenly over the blondies in the pan and place back in the freezer for 1-2 hours to firm.
- Serve: Lift the blondies out of the pan using the parchment paper and slice into 16 squares. Store in the fridge or freezer.
Nutrition
- Serving Size: 1
- Calories: 334
- Fat: 19 g
- Carbohydrates: 34 g
- Fiber: 5 g
- Protein: 8 g


These are quite delicious. I used almond butter as that is what I had on hand but didn’t add the frosting. But the bars are super as they are without the frosting.i have tried other bars from other websites, and these are by far the best. I will now try other snacks from your recipes. I used a 9 x 9 pan and got 16 good size squares.
Yum! That PB frosting reminds me of a PB spread I used to make for rice cakes. Haven’t enjoyed that in years!
oooh, good idea!! It sounds amazing on rice cakes.
These sound so amazing! Love how you used pantry staples I always have on hand. Saving this recipe, because I know I’ll want to make it over and over again!
Yes! So easy with pantry staples…too easy actually. Haha, these disappeared way too fast at my house. I hope you enjoy them!
No bake + peanut butter + blondies = Heaven in my mouth! These look incredible delicious. I cannot wait to try 🙂
I hope you do!! I’m obsessed and 100% agree, no-bake peanut butter blondies sounds like heaven to me!
I can’t wait to try these! I just pinned it so I don’t forget. They look scrumptious!
Let me know when you get a chance to try them, they’re SOOO good. Hope you like them!
I am really enjoying your blog and recipes. I made this without the frosting so it packs easier for travel and oh my are they delicious. I added in some mini chocolate chips. I can imagine the frosting will just put it over the top! I have one major criticism about your recipes. While I find your ingredients are spot on I love the cups and grams measurements. You neglect to say what size pan you use. I found this in a different recipe as well. From looking at your picture it looked like a standard 8×8 but I really don’t think I’m getting 16 bars the size of your picture from an 8×8. Can you please include pan sizes in your recipes. It will also impact the nutrional info which you provide and is truly appreciated!! Thanks so much!!
Thanks for the feedback. I think my pan is closer to 7×7, so a bit smaller than an 8×8. I’ll have to measure it when I get home as I’m out of town. As long as you create 16 servings, the nutritional info should stay the same, the bars will just be a bit thinner if they’re larger. Anyways…I will check on the pan size when I’m back in my kitchen and let you know! Thanks!
Thank you!! I just tasted the bars and my family is going nuts , they’re so good!!! I cut them into 12 becuase the size worked better for me as a meal replacement/breakfast. I actually made them as a care package for my daughter in college – she likes these types of things as breakfast before class.
Awesome. Ya, no worries if you make 12, sometimes it’s nice to have a larger bar for energy. So glad you liked them! Thanks so much for commenting.